How and with what to paint the lining inside the house: we understand
Wood, as before, remains one of the most popular finishing and building materials. But it, like any organic material, has the property of rapidly collapsing, especially if the operating conditions contribute to this. Therefore, despite the natural beauty and environmental friendliness, in order to extend the life of the product, many types of wood need proper chemical treatment. In this article we will tell you the better to paint the lining inside the house, and how to do it right.
The content of the article
We select material for painting
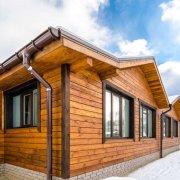
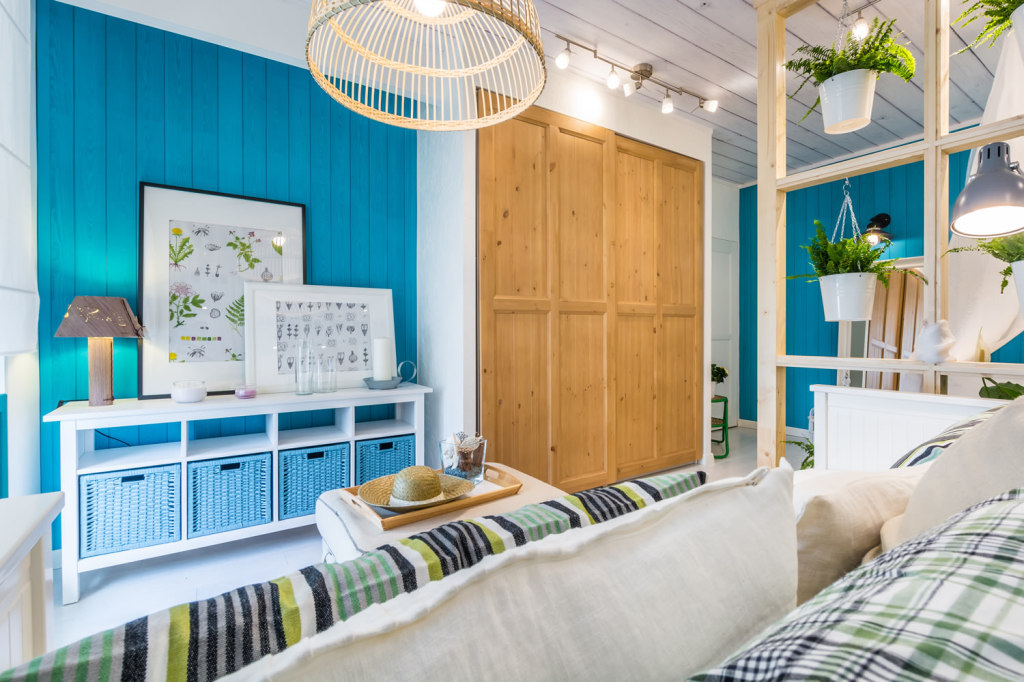
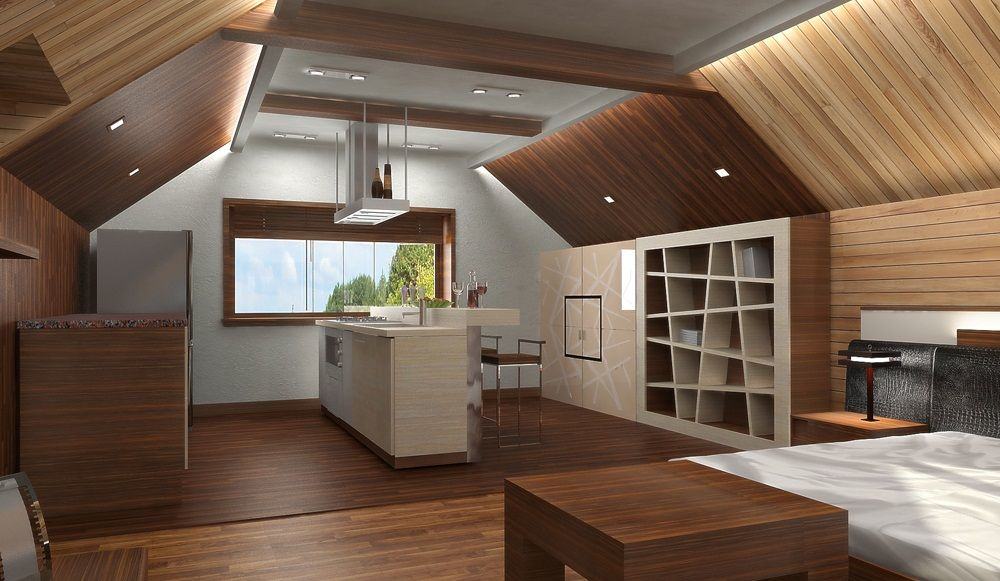
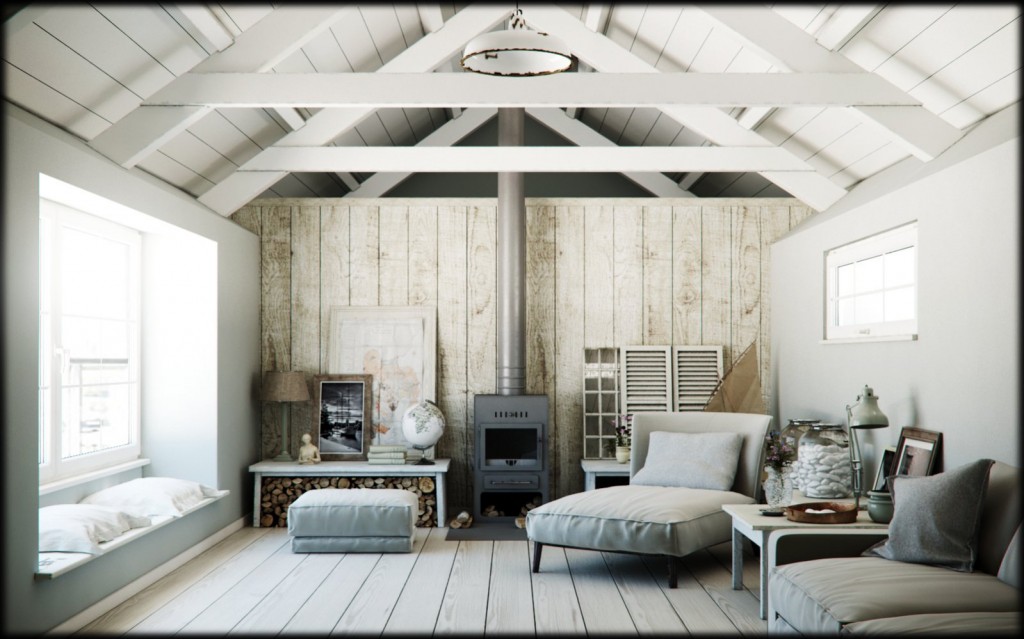
Lining is one of the most affordable and beautiful finishing materials, which has many positive qualities. It is used for cladding facades of buildings, interior spaces, attics, baths and verandas, and in city apartments, the owners can organize a natural corner somewhere on the loggia or balcony. But many do not know how to cover the lining inside the house, as they have no idea how to choose the right paint for the type of wood for internal work.
Protective compounds
Often, people prefer to leave the lining unpainted, in its original form. Yes, the natural texture of wood is very attractive, but even under the most comfortable operating conditions, it is exposed to the environment. Over time, with poor ventilation, the wood begins to turn blue, and when exposed to direct sunlight, it darkens.

If the unpainted lining has acquired such a shade, then it must be properly processed to return the original appearance. A blueish tree is the result of exposure to microorganisms, so chlorine or active oxygen must be used to whiten the surface.
The grayed lining does not need chemical treatment - it is enough to remove the top layer by grinding. After polishing, the wood will again become beautiful, but without proper processing, the color will quickly change again.
Therefore, it is best to initially protect the new coating with special compounds:
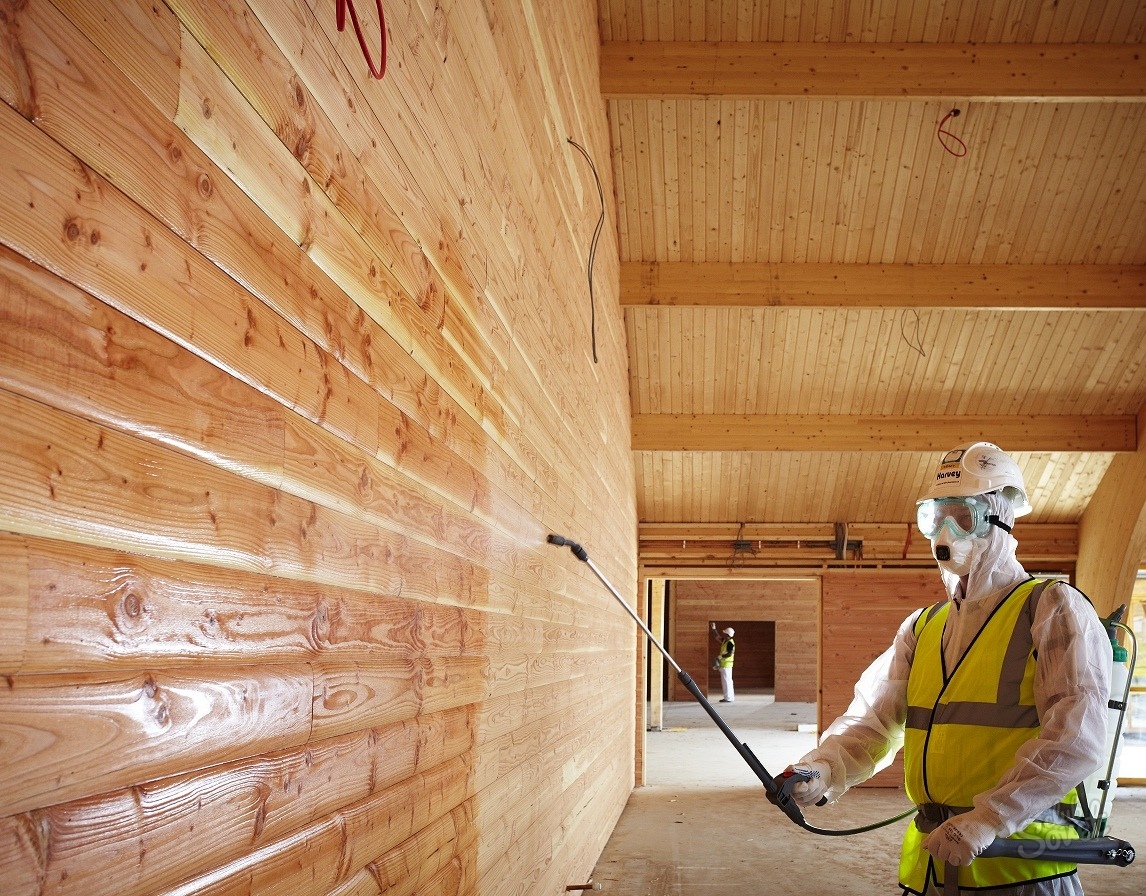
- Antiseptics - These are substances that destroy microorganisms and prevent their reappearance. All products of this type have a similar composition, and protect the tree from fungi, rot and even insects. This treatment does not change the color of the wood. If you are faced with the question of how to paint the euroboard inside the house, then when buying this product, make sure that it is suitable for internal work.
- Acrylic lacquer - a means to create a moisture-proof layer on the surface of a tree. Both protective and decorative means are used. It is transparent and translucent, while it is easily tinted and has a water base.
- Flame retardants - substances protecting the tree from fire. Processing with such compounds is mandatory when covering rooms with elevated temperature and open wiring.
Advice! Self-impregnation with flame retardants does not give the same result as machine processing at the factory. Therefore, if you are faced with the problem of choosing a finished product, and self-applying the composition, we recommend that you stay on the first option.
The instructions for each protective agent contain a detailed description of its properties. Some formulations can stain wood pink or green, which often can only be covered with opaque paints. Therefore, when choosing a tool, carefully read the annotation.
Decorative coatings
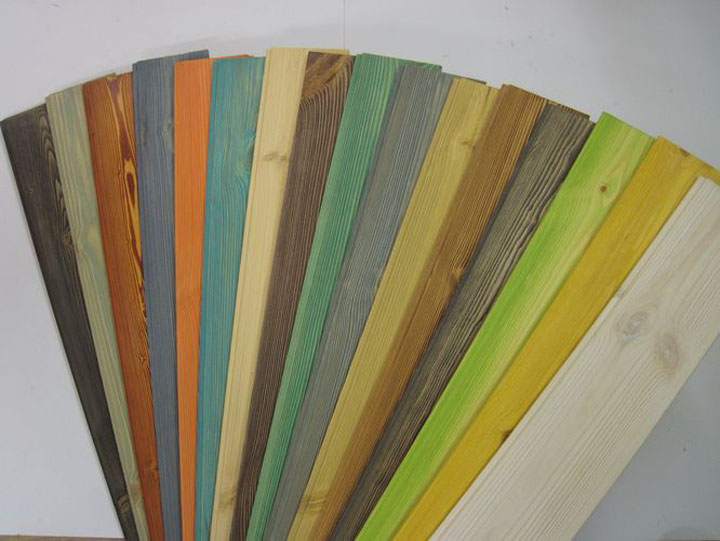
Many products used to decorate the lining also have protective properties. Decorative finishing means that after processing the natural color of the wood will change.
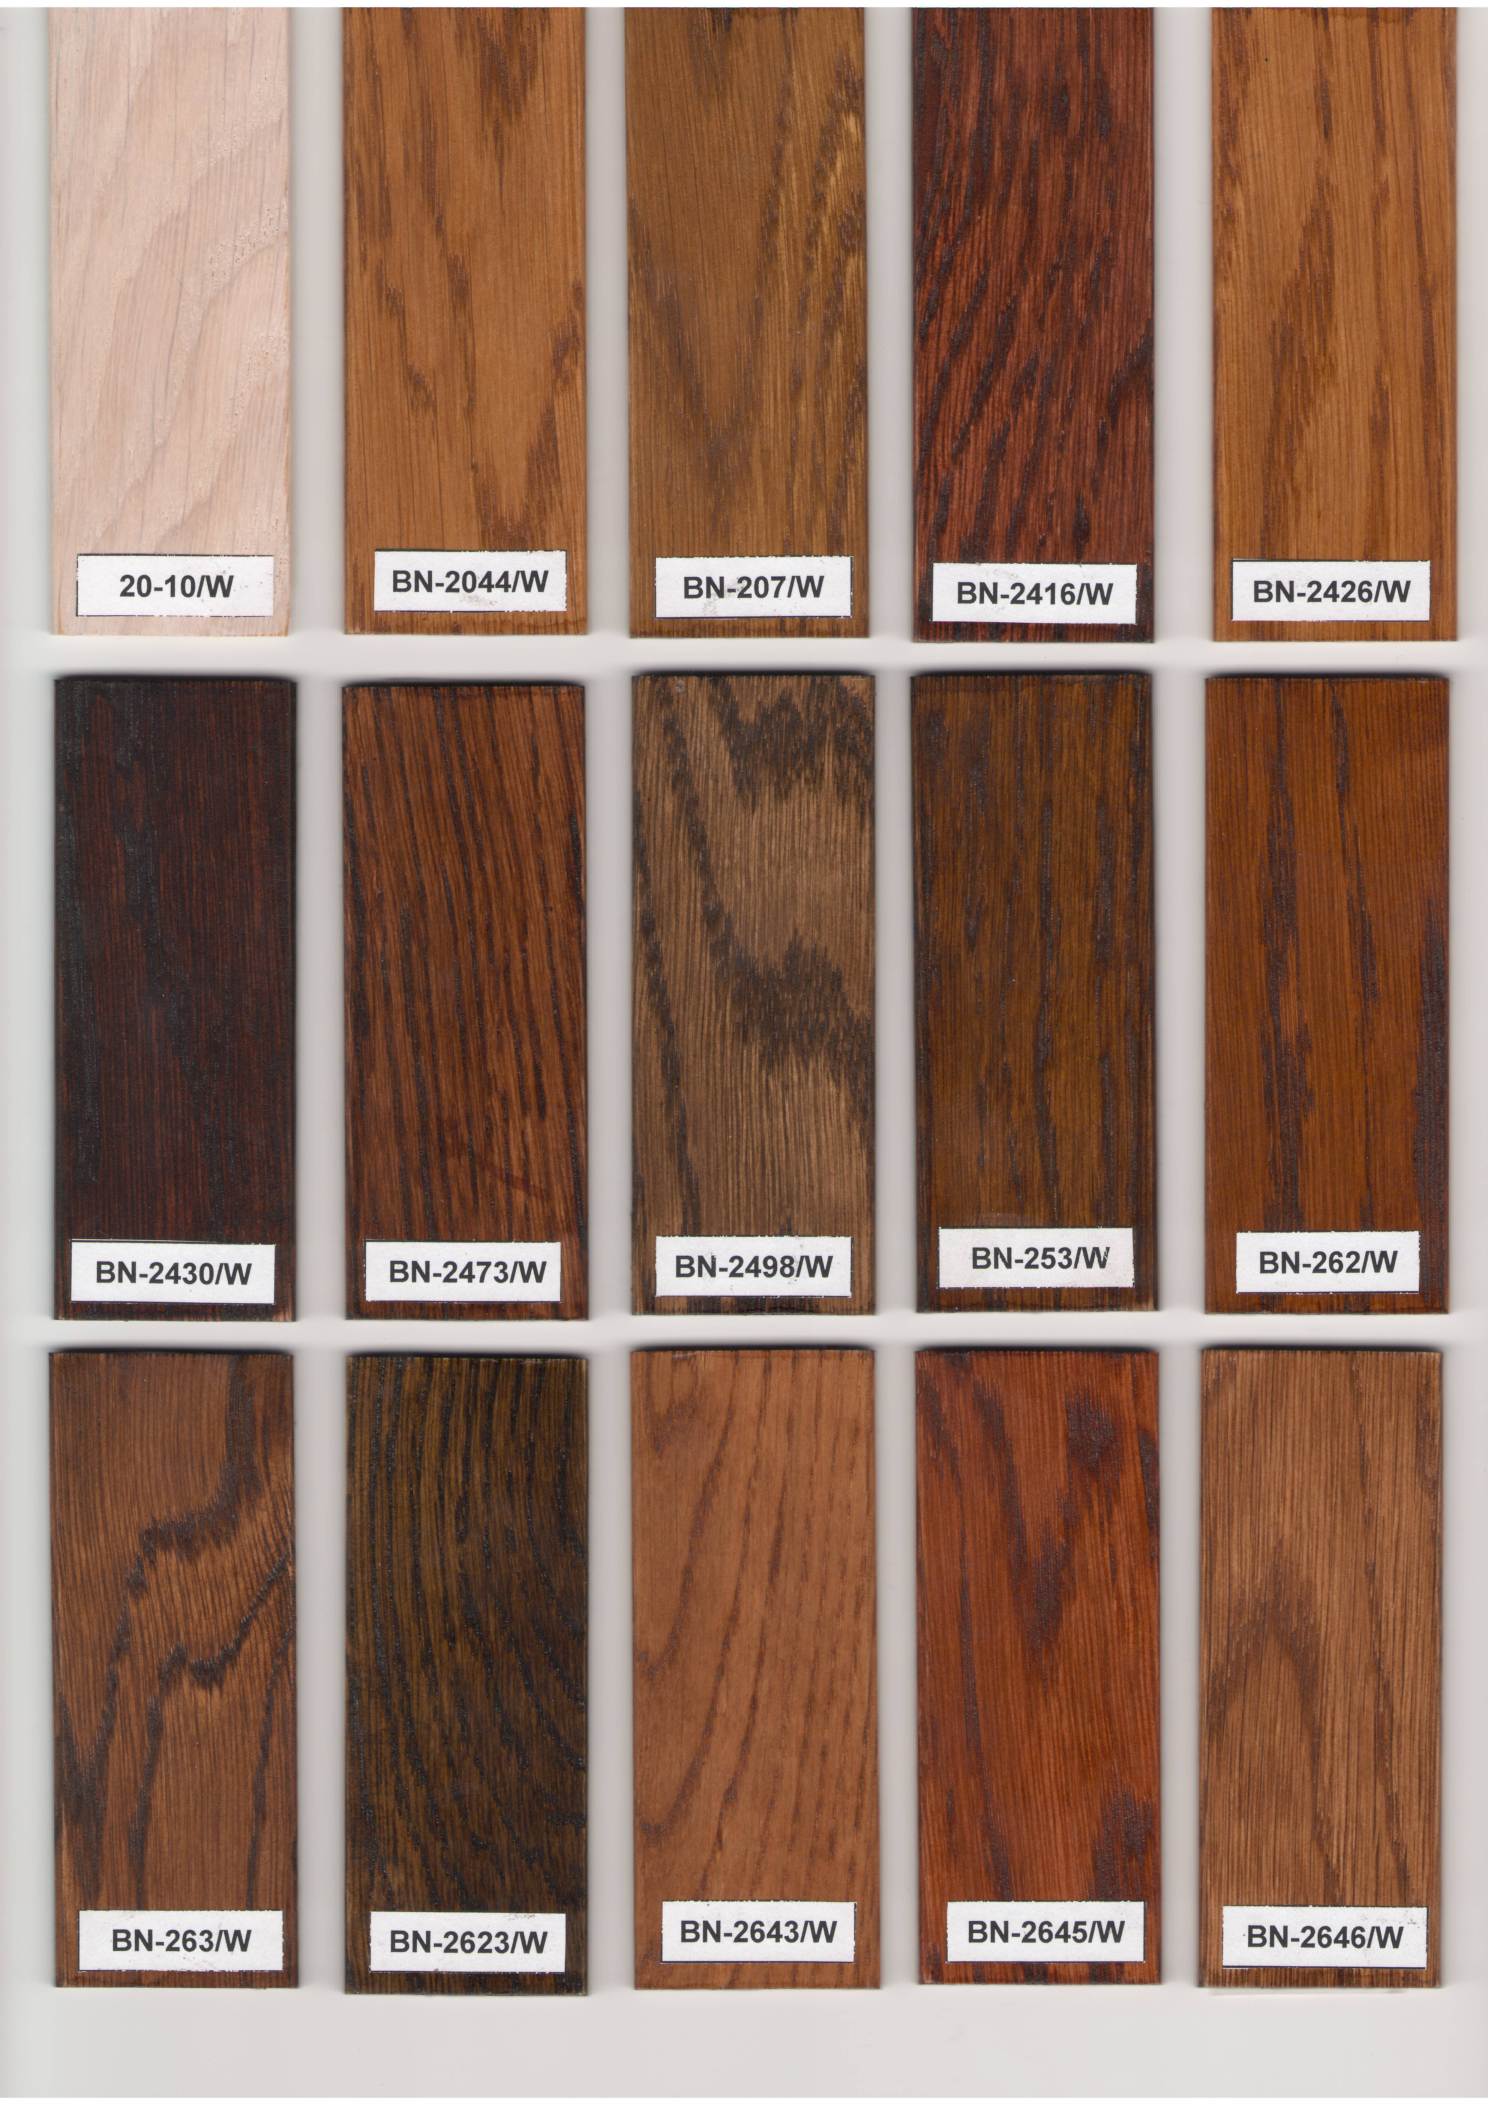
-
- Decorative staining of wood cladding
-
- Wood gamut painting
-
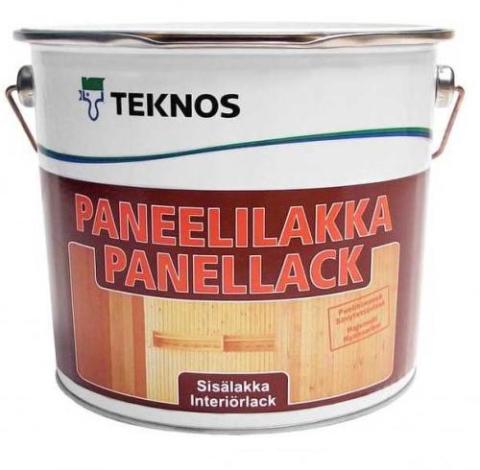
- How to cover the lining indoors: oil paints

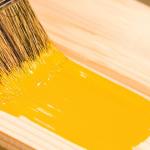
- The most common and long-used material on the market is Oil paint. Why is she good:
- The variety of colors allows you to precisely select the desired shade;
- The resulting glossy coating penetrates deep into the surface of the tree, and reliably protects it from UV and moisture;
- The coating does not fade or fade in time in the sun;
- Long service life - re-staining will need to be done only after 5 - 7 years.
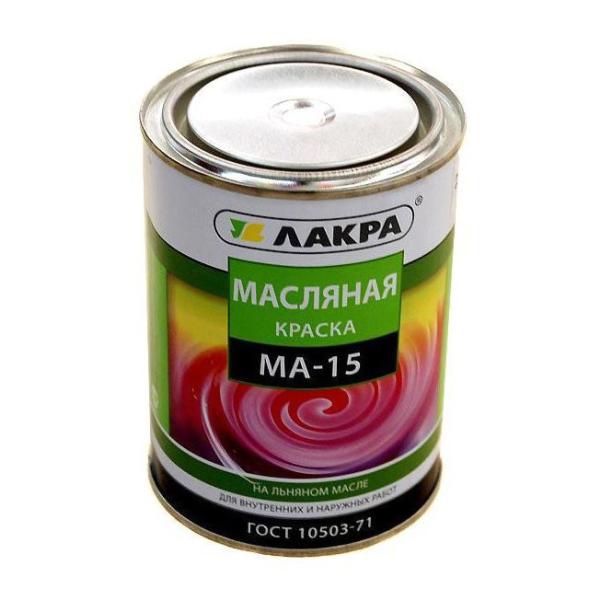
 Oil paint "Lacra"
Not without oil compositions and cons.
- Oil paints have a stable chemical odor and a long drying time. Because of this, painting work indoors is only necessary in the warm season to ensure a sufficient flow of fresh air.
- This coating has low vapor permeability, which adversely affects the ventilation of the room.
 Acrylic paint on wood
 - Like other building materials, oil paint has received a new evolutionary round of development. Not so long ago, appeared on the market acrylate paints. They have all the advantages of oil precursors, and at the same time they dry quickly, let steam through, they are resistant to frost and do not have a strong smell, which makes them ideal for use indoors and outdoors. We add that the price of such paints is much higher than that of oil paints, which makes them less affordable for consumers with low and middle incomes.
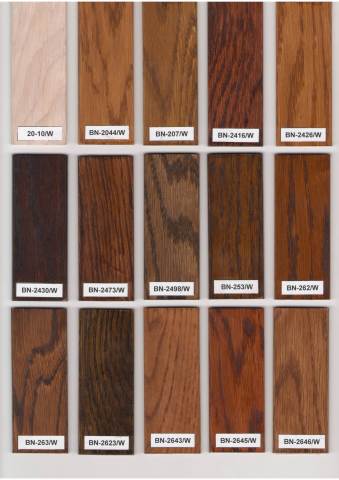 How to cover the lining indoors: stains
 - Stain - These are tinting agents for changing the shade of wood. They have a reasonable price, and will be affordable for everyone. When stained, the natural texture of the massif is completely preserved, which allows you to simulate almost any kind of wood. The lining treated with stain can be left without further painting, or coated with glossy varnish.
- Wax based products Is an alternative to varnish. This coating protects the lining from pests and has a semi-matte shade. It serves for a long time and has a pleasant appearance. The disadvantage is the application process - it is complex and time consuming. Wax can be of three types:
- water
- liquid
- solid
The first two are wax blue, and are ready for use already from the can. Solid wax must be melted to a liquid state before application to the surface.
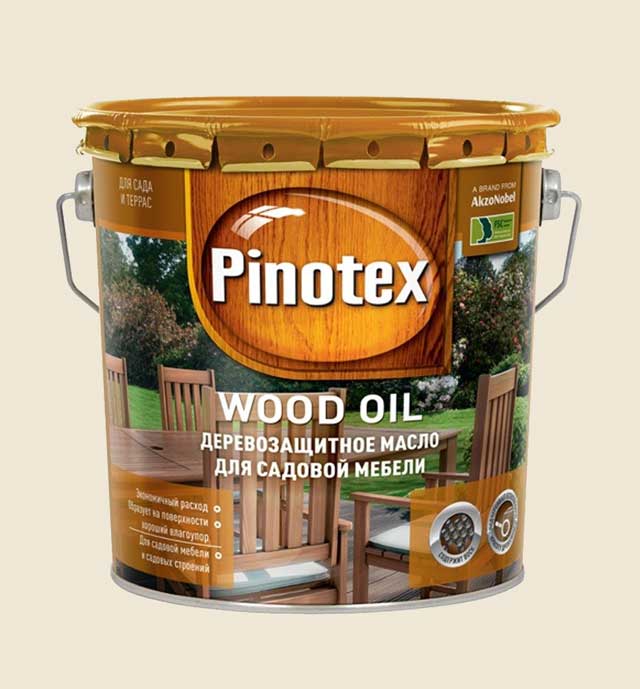
 Oil for wood
 - If you do not know how to paint the lining inside the bath, or in any other room with high humidity, then pay your attention to oil impregnation for wood. They are used to cover open terraces, moorings, pools and cladding of buildings. A tree soaked in oil acquires a beautiful, saturated color, and becomes immune to moisture and microorganisms.
 Oil-treated wood
Quality compounds do not form a thick film and are absorbed into the wood, protecting it from dirt and abrasion. The coating has a matte shade, which allows you to preserve the natural texture of the material. If necessary, a varnish coat can be applied over the oil coating to create a glossy surface.
 Varnish coating
 - Synthetic based varnishes - This is a great solution for outdoor decoration (seeHow to paint the lining outside the house: choose a paint)Also, they are well suited for technical and low-visited premises (balcony, loggia). The reason for this is the presence in the composition of substances harmful to health. These varnishes lie on the wood surface as smoothly as possible, and have a beautiful glossy finish.

In addition to the listed products, modern industry offers many mixed formulations combining different properties of materials - for example, products consisting of oil and wax.
LKM application technology
After you have determined how to cover the lining inside the house, proceed with the preparation of the surface. This stage is necessary to obtain better coverage that will last you for many years.
Preparing the lining for painting
To get started, let's list all the tools and supplies:
- Impregnation;
- Selected paintwork material;
- Medium and fine sandpaper;
- Metal brush;
- Primer composition;
- Brushes - one the size of the width of the lining, the other is small;
- Roller and tray;
- Airbrush (if available);
- Bucket;
- Ladder;
- Gloves;
- Clothing with closed sleeves;
Optionally, you may need: tools to remove the old coating, antiseptic impregnation and bleach for wood.
- Having prepared all of the above, you can proceed to pre-paint processing.
- If you repaint the old lining, then you need to start by removing the old coating. This is done in various ways, depending on the material. Therefore, look for information specific to your paintwork.
- When painting a new lining, the first thing you should pay attention to is whether the tree has factory antiseptic treatment. If not, then start with it. For these purposes, suitable soils containing the necessary substances in the composition. Such information is always indicated on the product label.
Advice! In order to be able to cover the lining from the ends and the reverse side, this treatment is carried out before installation.
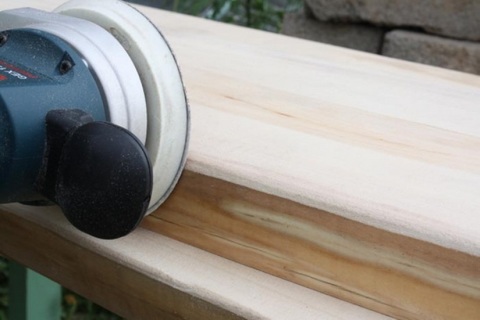 Grinding the surface of the lining
 - Before applying the primer, the front surface of the lining must be sanded. If you are the owner of a grinding machine, then consider that you are very lucky, if not, then get ready for a long tiring work with sandpaper.
- After grinding is completed, we clean the wood with a damp cloth from dirt and dust. Then evenly apply the soil, and leave the lining until it completely dries. After that, apply a layer of drying oil or any other oil impregnation and leave it to dry again (this procedure is performed if necessary).

Attention! Only such treatment will give full protection for the tree. Otherwise, destructive processes will begin on the back of the lining, and eventually get to the front surface.
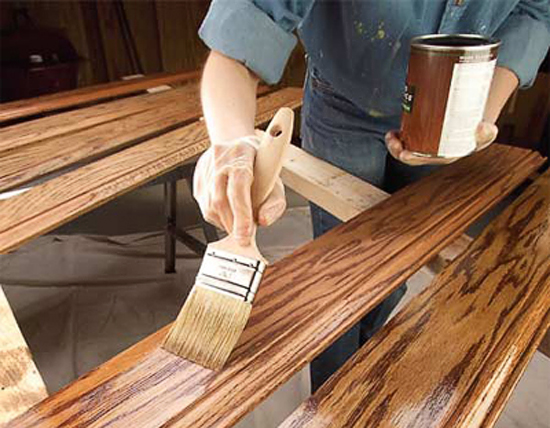
Paint the lining
The lining is painted on the installed lining, otherwise you risk getting surface damage that may occur during installation.
All coatings have their own characteristics when applied - manufacturer's recommendations are usually on the bank. But basically, the rule is this - the paint is applied with a brush along the surface with short strokes, and rubbed to the desired color. This technique is called feathering.
You can apply paint with a roller, so you protect yourself from getting on the drying surface of the pile. The best coverage is provided when working with a spray gun, but since not everyone has it, and we want to do all the work ourselves, we will leave the subtleties of working with this wonderful device for other articles.

After you have achieved the desired shade, leave the lining to dry. Next, re-grinding is required. Many skip this step, but keep in mind that drying paints and varnishes tend to lift wood fibers, making the surface rough.
Then the second, and if necessary subsequent layers of paintwork materials, which can be many, are applied. It all depends on the degree of opacity of the material you use, and on the desired end result. Do not try to save time and apply a thick layer at once - as a result, you only spoil the appearance of the finish, and do not get a uniform color.
Why did we apply the primer at the beginning of the treatment? Due to the fact that the wood has a heterogeneous structure, in some places it absorbs paint worse, which leads to the formation of bald spots, even with proper shading. Soil regulates absorbency and helps paint to lie in a more even layer.
Techniques for applying paint
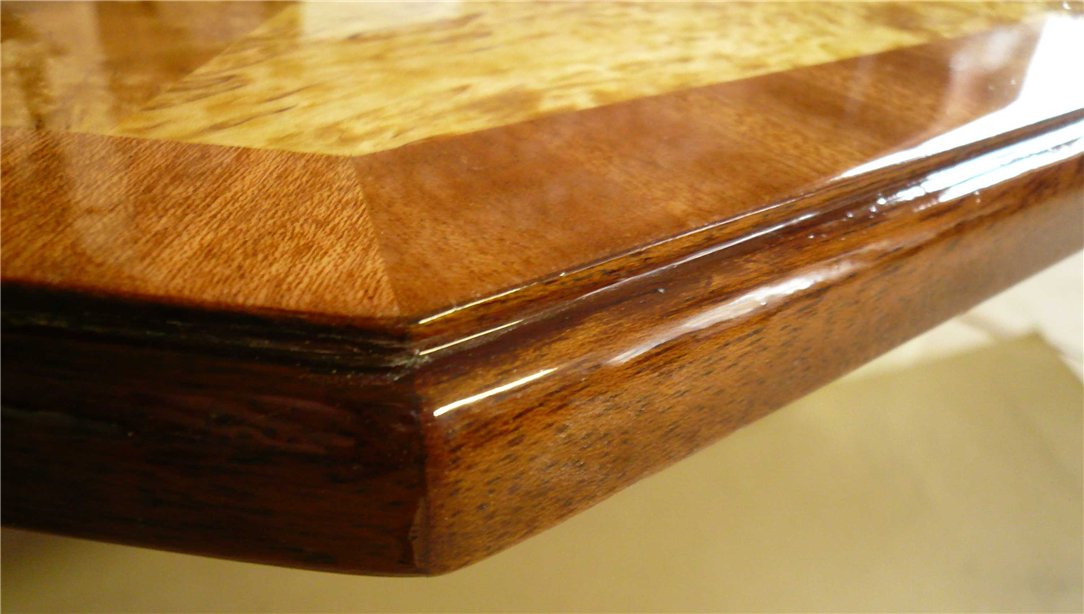
If you want to achieve furniture quality painting, then get ready for a long, but exciting process. The first layer on the tree is a stain (to achieve the desired shade, you can repeat the treatment). Then, in two layers, the primer is applied, which can be used as a colorless matte varnish.
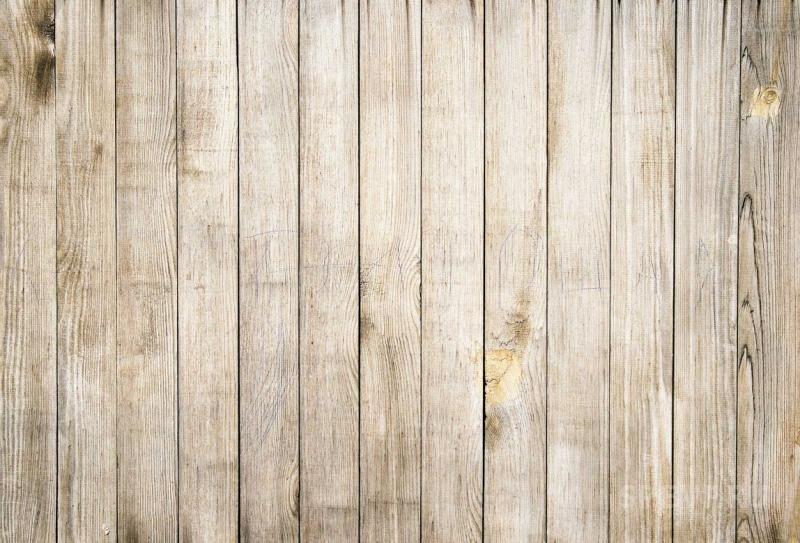
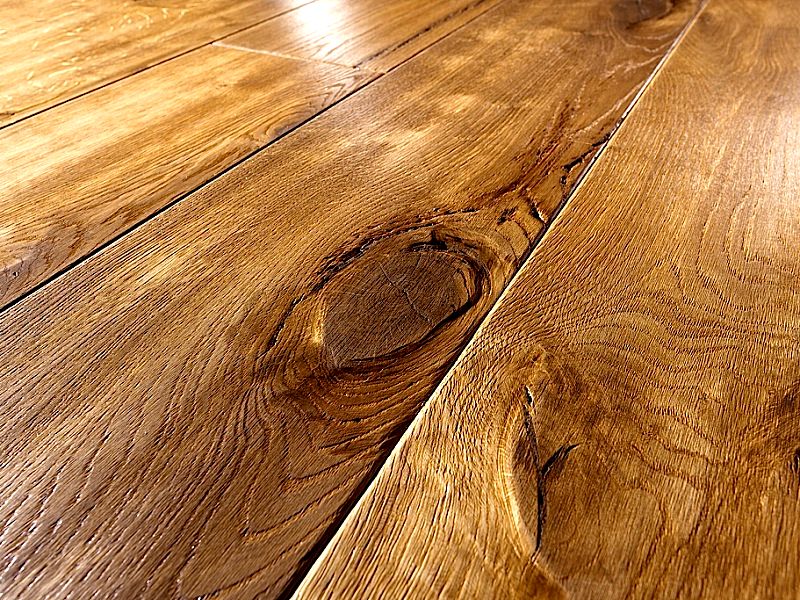
After complete drying, the surface is sanded with sandpaper until it is completely dull: first with a fraction of 280, then 320. Then we remove the dust and apply the top coat of varnish. As a result, the surface will become similar to the one shown in the photo above.
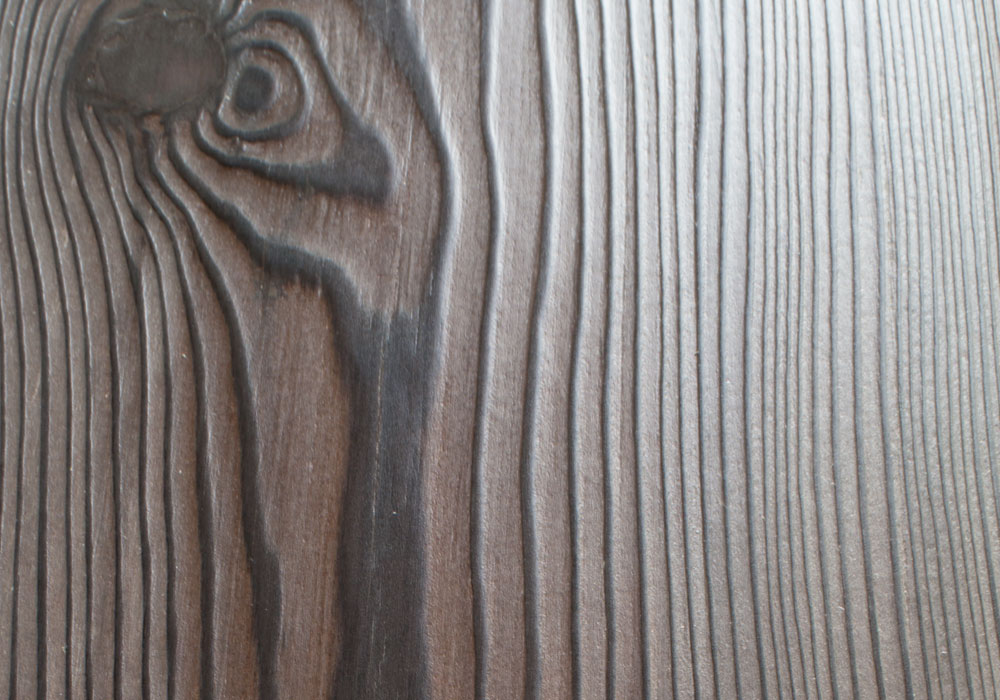
If you want to achieve pronounced wood texture, then use pigmented oils and azure for these purposes, which must be applied using a special technology called brushing or texturing.
Take a little paintwork, and with small strokes apply it in fragments along the entire length of the lining. After that, with a roller or brush, blend the paint over the entire surface. Leave the lining for 10-15 minutes to soak, and then using a soft lint-free cloth, remove the main part of the coating. Due to the fact that pigmented particles are retained worse in the protruding parts, the woody pattern will become much brighter.
Also, a similar effect is achieved by removing soft wood fibers. To do this, the surface of the board is cleaned with a metal brush, and sanded with fine sandpaper. For sharper contrasts, you can lightly burn the surface with a gas burner.
To paint the lining white, but do not close, but emphasize the veins (in other words, create the effect of bleached oak) - there are several ways:
- Use a tinted stain of the brand “bleached oak” or “hoarfrost”. Be careful when processing - to avoid peeling, apply the composition in several thin layers with intermediate drying.
- Waxed oil with similar names is also suitable.. Apply it in one thick layer, and polish the surface with a soft rag. So you will achieve a pronounced texture.
- Polyurethane primer with bleaching pigments, gives a similar effect, but it has the unpleasant property of yellowing over time.
- More expensive acrylic primer called "white"will last much longer.
Useful Tips
So that the gloss and color of the coating are uniform, the paint is first thoroughly mixed and only then applied:
- Before applying the paint, it is worth making a test smear to understand how correctly the color was chosen;
- The best effect can be achieved if the paint is applied with a brush in a thin layer;
- Stock up on special gloves, they will come in handy if the lining is alternated with metal products. If necessary, the glove is turned out with the fur outside and the pipes are painted. This method makes it possible to paint more than five meters of pipes in a short time;
- The primer is tinted to the color of the paintwork;
- Painting should not be carried out at high temperatures, because it will begin to dry quickly, which is bad. Carry out work in cloudless, warm and calm weather;
- The ends of the lining should be carefully processed.To do this, they are covered several times with a primer and after - with a paint and varnish composition;
- If a film has appeared on the surface of the paint, then lower the capron there and dip the brush through it;
- If you do not want the paint to dry quickly, then we put thick paper on the surface and fill it with linseed oil;
- In order to remove excess paint from the walls of the can, bend the iron strip and use it as a scraper;
- If it became necessary to close the door or windows, and the paint has not yet dried, then we put foil between the tangent surfaces and, after drying, remove it. In this case, the integrity of the surface will not be violated.
Use our tips, then you can extend the life of the lining and will not lose aesthetic characteristics.
So we have come to the end of the article. We tried to fully cover the issue of how to paint the lining inside the house. Unfortunately, the allotted volume does not allow to contain information about all the subtleties of painting the lining. But you can additionally watch the video in this article to learn more about this creative process. Also look for articles on this topic on our website.