MDF paneling: do it right
When doing home repairs, I always want to kill two birds with one stone and combine high quality materials with low cost. At first glance, such an idea seems utopian, but what if we tell you that this is quite real?
In this article, we will not only talk about how to sheathe a wall with mdf panels, but also show a short video on how to sheathe a mdf wall.
The content of the article
What you must not forget

Before proceeding to a detailed answer to the question of how to sheathe walls with MDF panels, let's take some time for useful tips. In order for the repair to turn out to be of high quality and last for many years, it is necessary to do it, observing all the rules and norms.
Often, such rules are neglected, and then, when the finish begins to deteriorate, they complain about low-quality materials and everything else.
Most often in such situations, the problem is in the person who did the repair, so here are some practical tips:
- Before you sheathe walls with MDF panels, be sure to prepare the base. Walls need additional protection so that fungus does not form on their surface. This can be done using a special deep penetration primer or impregnation for concrete or stone surfaces.
- If the crate for the panel will be made of wooden blocks, treat them all with wood impregnations that protect the blocks from absorbing moisture and from bark beetles. There is no need to regret the impregnation, the better the wooden guides are protected, the longer the finish will last, and it will not have to be edited.

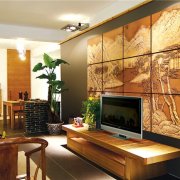
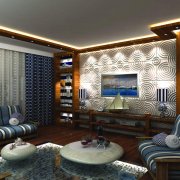
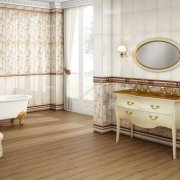
- In fact, the walls sheathed by mdf do not need additional protectionbut if you install them, for example, in the kitchen (seeWall decoration in the kitchen: the choice of material), where the environment is traditionally complex, you might consider coating the panels with varnish. This will not affect the appearance in any way, but it will provide additional protection against moisture and mechanical stress.
- Wall covering with MDF panels can be done in several ways. We’ll talk about this in more detail below, but for now we’ll just say that you need to decide on the method before you buy the material. The fact is that the panels can differ in the groove configuration, and for example, MDF for mounting with a stapler, is not suitable for fixing to the clamps.
- Modern manufacturers produce a wide variety of panels that differ in quality characteristics. There are laminated and moisture resistant. Of course, the price for them is different, but in some cases there is no point in overpaying, for example, if you sheathe the walls of the bedroom (seeBedroom decoration: looking for options), then spending on laminated MDF will be simply meaningless.
Advice! If you decide to do the repair yourself, before you start work, be sure to look at how to sheathe walls with panels of mdf video. This will help you understand the whole essence of the process and draw on some subtleties that we, due to the scope of the article, will not be able to mention.
So, we have decided on the intricacies of the process, which means you can go directly to the installation, and it does not begin with the panels themselves, but with a thorough preparation of the surface and the manufacture of the crate.
Preparatory work

In fact, it is not difficult to sheathe the walls of MDF, it is much more difficult to prepare the walls and assemble the crate. The subsequent quality of the finish and how long it will last without alteration and restoration will depend on this.
First of all, we are preparing all the necessary tools so as not to look for it later throughout the house. Everything should be at hand, and then the process will go much faster and easier.
So, for paneling, we need the following set of tools:
- Roulette.
- Pencil.
- Building level.
- Hammer.
- Wood hacksaw.
- Hammer and drill for it, with a diameter corresponding to the selected dowels.
- Brushes or paint roller.
- Construction stapler and staples to it.
Now that everything is at hand, we move on to the next step.
Wall marking

Before you sheathe a mdf wall and make a crate, you need to clearly determine how your panels go horizontally or vertically. It is necessary to determine even at this stage, since the installation takes place in a perpendicular order.
If you have decided on this issue, then you can proceed to marking. We will talk about the vertical installation of panels, as it is considered more common.
First of all, we need to fix the extreme bars, and for this we find the lowest point from the ceiling and from the floor. We retreat from these points about five centimeters, and with the help of the building level we draw a line around the entire perimeter of the room.
Now we have the extreme lines, and, starting from them, we break the entire wall into equal sections, about 40-60 centimeters. This distance is enough to prevent the panels from sagging and standing flat.
Now that all the lines are plotted, we mark them on each line after about 50 centimeters. At these points, the guiding crates will be fixed to the wall, so do not trifle, the more often the fasteners stand, the stronger the structure will turn out.
Lathing construction

Instructions on how to properly assemble the crate are clearly shown in the video in this article. Be sure to watch it to the end in order to clearly understand the whole process, and in the meantime we will continue.
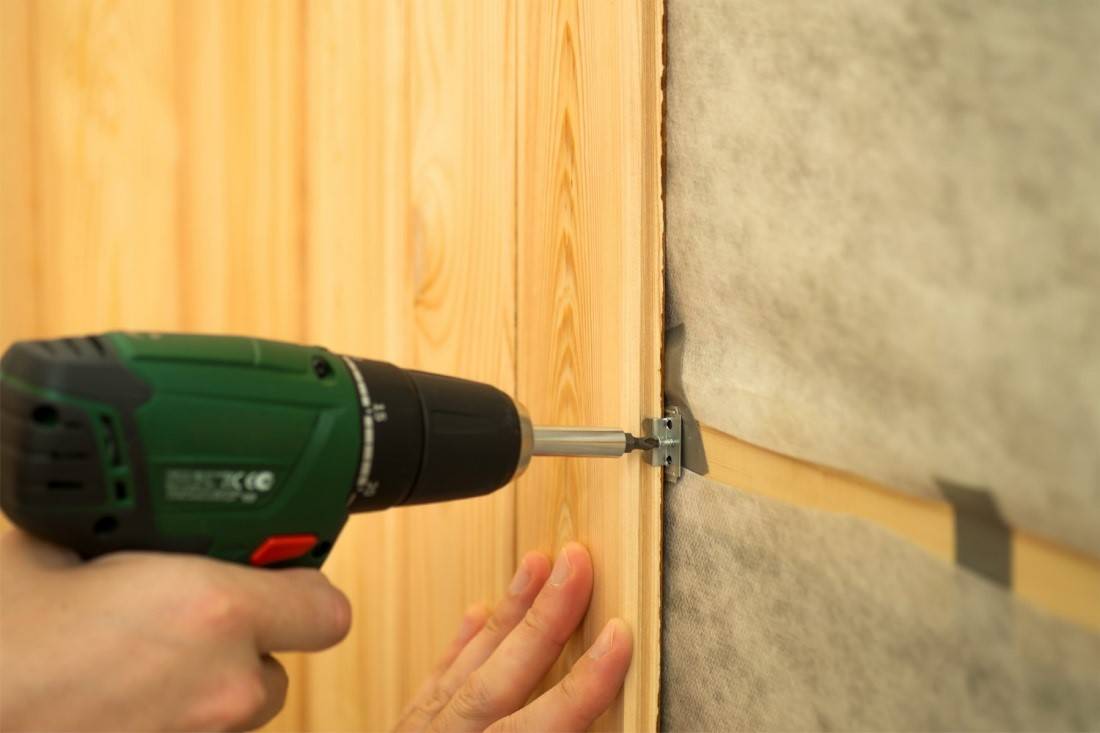
In those places where we put marks on horizontal lines, we use a puncher to drill holes of the required depth. Now, with dowels, we nail metal braces to the wall on which the guides will be held, and bend their ends perpendicular to the wall.

For the manufacture of crates, you can use three materials, each of which has its own pros and cons:
- Wooden beam. The cheapest, but at the same time weak material. As you know, a tree is subject to many negative influences, and subsequently certain difficulties may arise with it.
- Drywall Metal Profile. The metal is more resistant to various influences, but when it comes in contact with moisture, it begins to become rusty, which after a certain time may appear on the surface of the panels.
- Galvanized profile. The most expensive material of all listed, but at the same time the most stable. The galvanized profile is not afraid of contact with water, and easily tolerates temperature changes, so it can be used in rooms with an aggressive environment, such as a kitchen or bathroom.
Important! If you need to cut a galvanized profile, in no case do not use a grinder for this. From high revs, the entire protective coating will simply burn out and the profile will remain unprotected.
Panel Mounting

So, our crate is ready, which means we directly approached the question of how to sheathe walls with MDF panels. In fact, the worst is over and the process of installing panels is the easiest step. You can start installation from any side convenient for you, there are no specific rules here, just take the panel, put it to the corner and use the stapler through the comb to fasten it to the crate.
One of the photos shows how the installation begins, and the fact that the next bracket is driven into the comb. We remind you that we are talking about how to sheathe walls with mdf boards using a stapler, and if you choose kleimers, the technology will be slightly different, and you can read more about this in one of the articles on our website.
Next, insert the next panel into the groove, the one that we just fixed and repeat all the actions. Thus, all walls are sutured, and no difficulties should arise at this stage. The walls are ready, and it remains only to fix the decorative corners. They are mounted on PVA glue. Everything is simple and clear, so we will not even focus on this.
And in conclusion

Well, here we figured out the question of how to sheathe walls with mdf. Apparently, there is nothing complicated or impossible here. The main thing is not to be afraid of difficulties, and boldly get to work, and if you still have questions, you can read other articles on our website, where, we are sure, you will find answers to all your questions.