Plaster beacons
Plaster beacons - a building material that is used for applying plaster as a rule. Such products help reduce mortar consumption and level the building base. There are several types of profiles, each of which has advantages and disadvantages. It is recommended that you familiarize yourself with each product in order to make the right choice.
The content of the article
Why are guides needed?
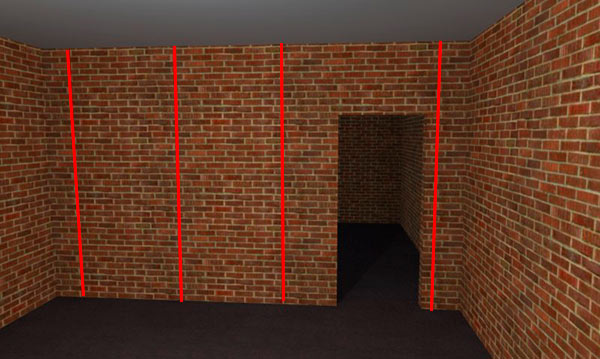
The lighthouse plaster profile helps level the building foundation. This is the main purpose of the product. Guides create a rigid foundation for sliding rules. This helps to create a smooth surface without any differences.
The plaster beacon profile also helps reduce material consumption. The master does not need to "by eye" determine the thickness of the composition. In most cases, even a professional is mistaken in the calculation and spends more money than is required. The guides accurately determine the application border of the product. For this reason, the consumption of funds is reduced.
Types of beacons
A stucco beacon profile can be purchased at the store, or you can do it yourself.
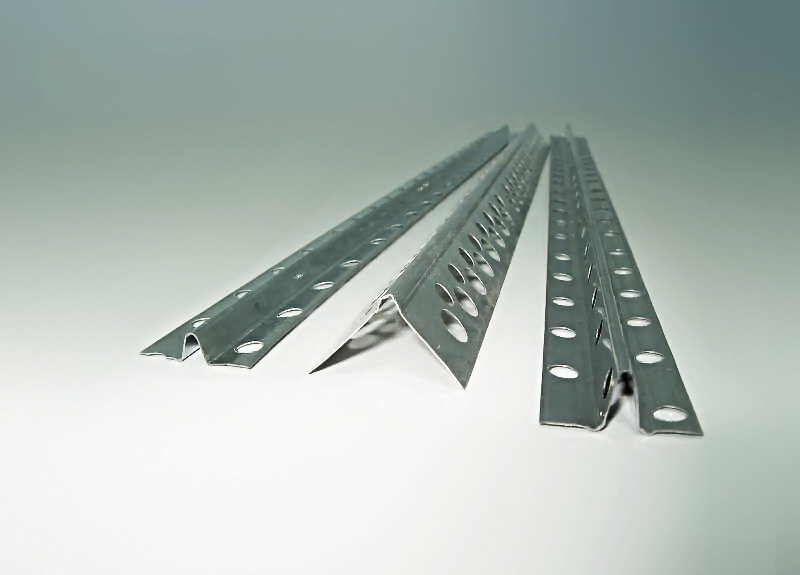
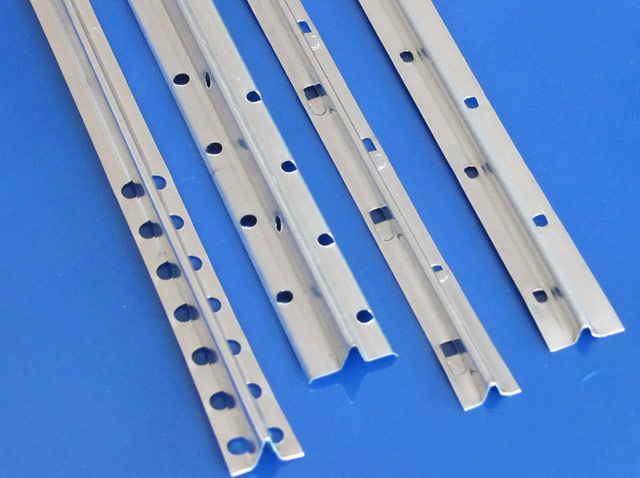
Factory Profiles
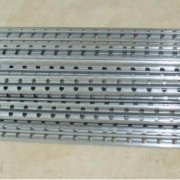
These are standard perforated guides, the length of which is 2.6 m or 7 m. Various materials are used for the manufacture of such materials:
- plastic;
- galvanized steel;
- aluminum.
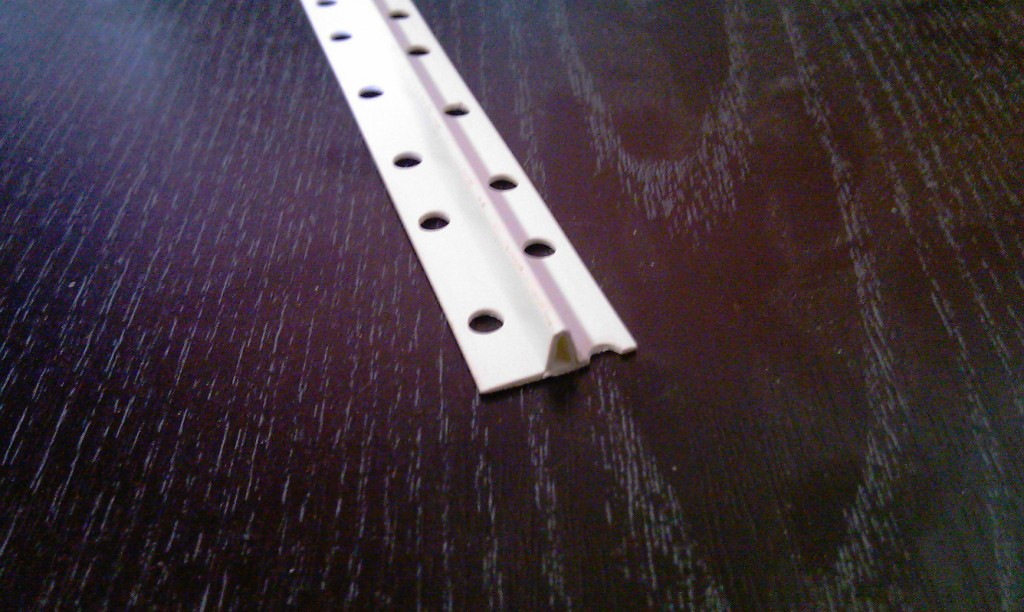
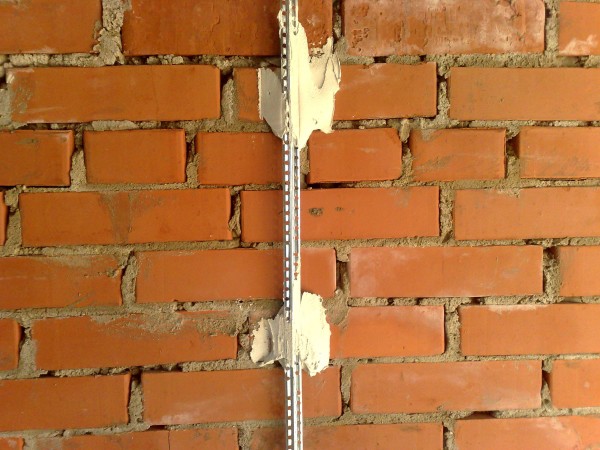
The beacon factory plaster profile is produced in several forms:
- Direct guides. These are flat profiles with a V-shaped protrusion. Product height is in the range - 3 - 30 mm. This parameter helps determine the thickness of the plaster layer. If large differences are present on the substrate, then a thick layer of material is required. In this situation, profiles with a height of 30 mm are suitable. For thin-layer plasters, 3 mm guides are suitable.
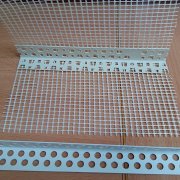
- Corner Profiles. They are beacons with a V-shaped protrusion and slats at an angle of 900. These products are used to decorate internal and external corners.
Another type of factory-made guides is reusable products. Such beacons are highly durable, which allows you to use the material several times. The main advantage of the products is increased rigidity. This allows you to not fix profiles as carefully as other types. Disadvantages - high price and the possibility of deformation, despite the strength, which makes it impossible to reuse the material.
Homemade guides
Instead of factory profiles, you can use homemade beacons:
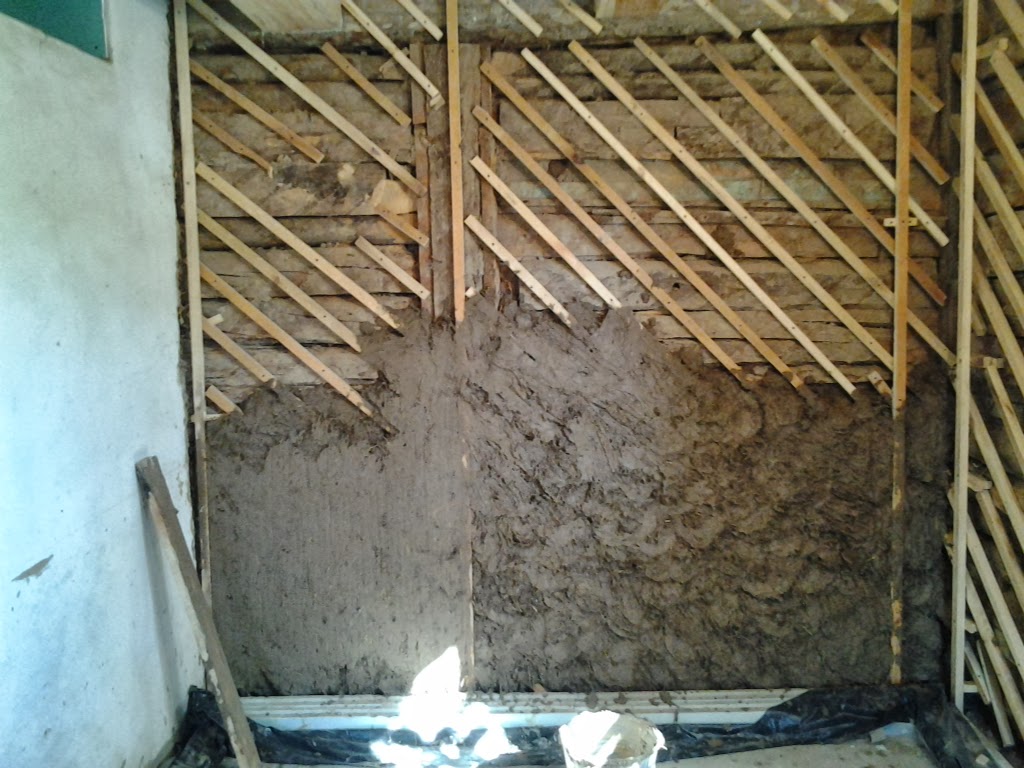
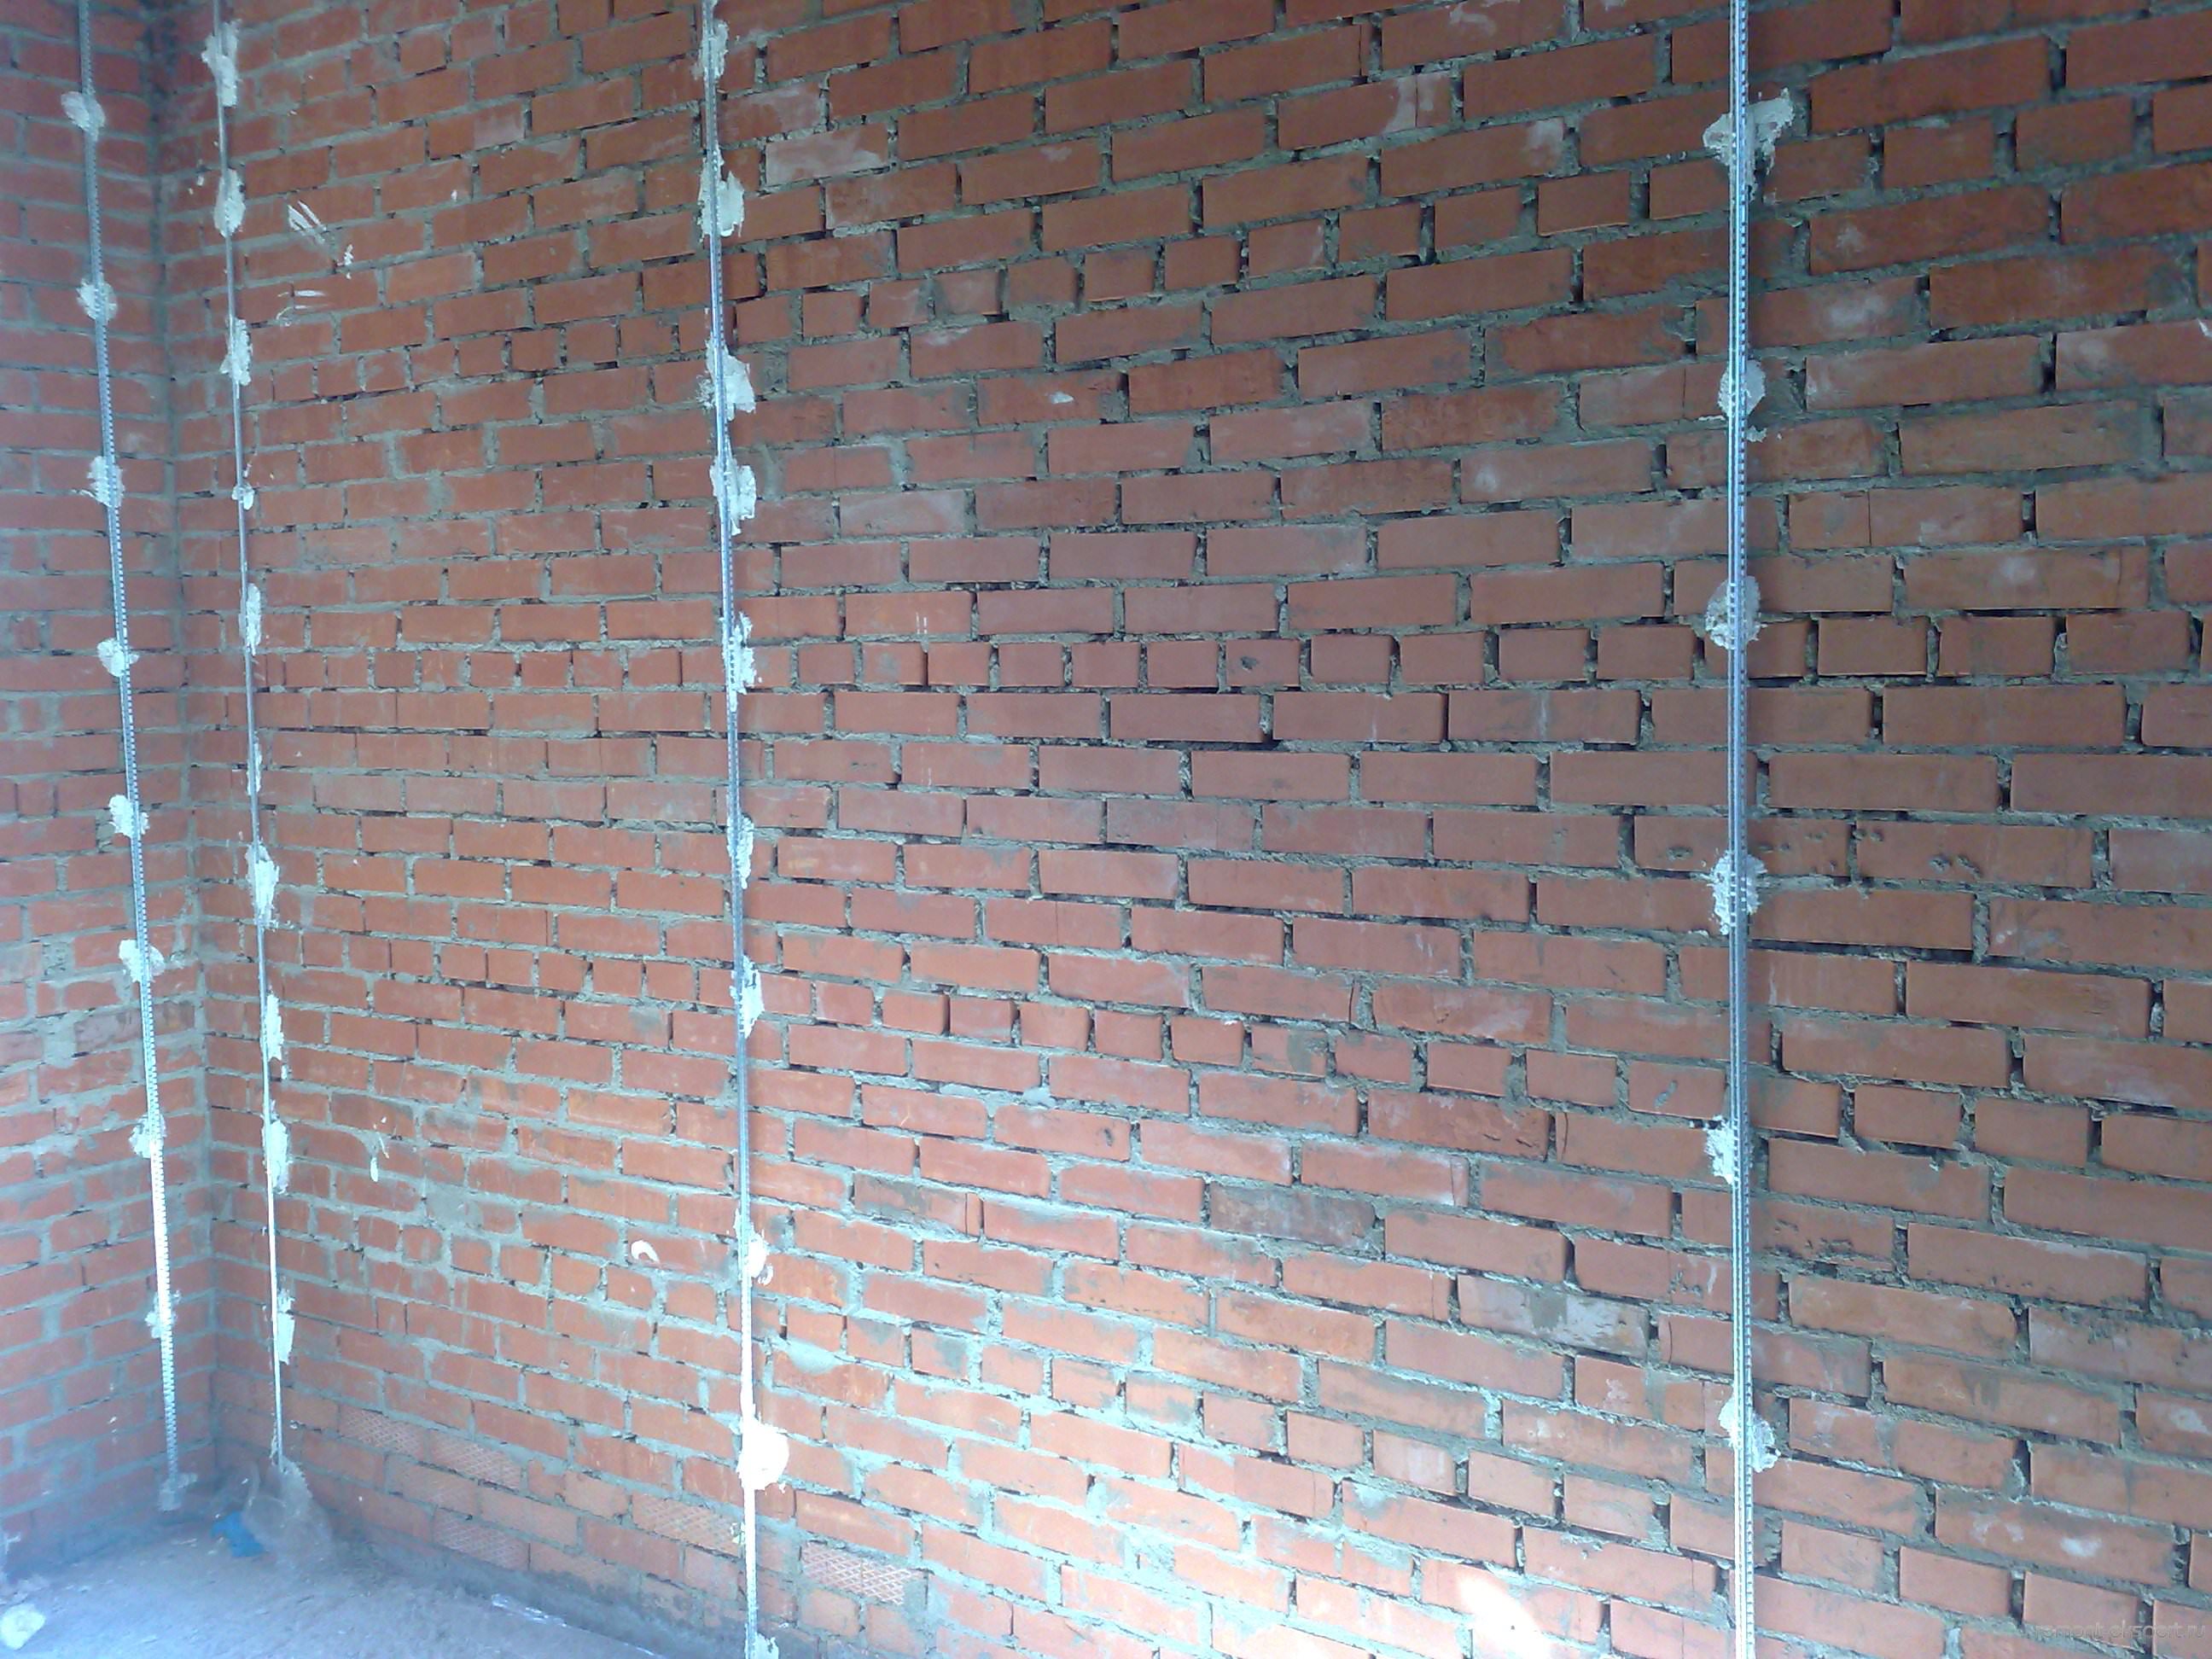
- The same wooden slats. Such products are most often used for wooden building foundations. The guides are fixed on the surface using self-tapping screws.
- The lighthouse plaster profile is also made of self-tapping screws. Fasteners at the same distance are installed in a flat horizontal line. Self-tapping screws are not screwed to the end. Between the hat and the surface leave a distance equal to the thickness of the plaster layer. When applying material, they are guided precisely by hats. Such guides do not remove, which reduces the finishing time.
- Guideline from fishing line. For such a lighthouse, at the bottom and top of the building base, two holes are made on the same horizontal line. Another hole is drilled between them.Next, dowels are inserted into the holes obtained and the screws are fixed. Between the hat and the surface also leave a distance equal to the thickness of the plaster layer. A fishing line or a thick thread is fixed on the hats. The distance under the guide is filled with solution. Then the fishing line or thread is removed, the fasteners are removed and the voids are filled with plaster.
Variety of profiles
There are other varieties of guides, each of which has its own advantages and disadvantages.
Metal strap
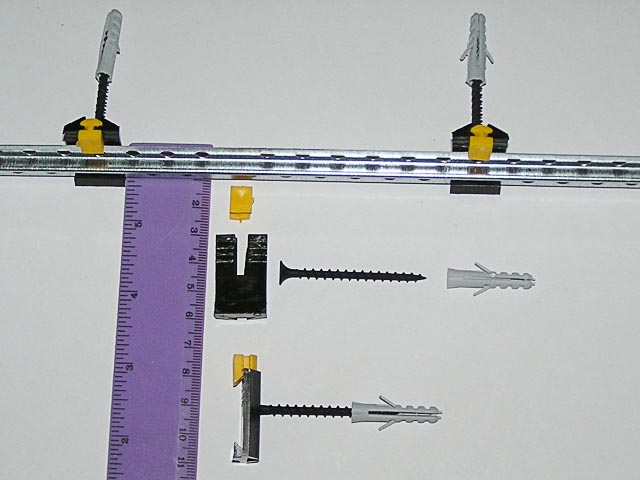
This is a factory beacon for plaster, which is also called a metal rail. Product Advantages:
- immediately ready for use;
- quickly mounted;
- if the product was installed on self-tapping screws, the plaster is performed immediately after fixing the guides;
- the size of the strips can be reduced by cutting the material.
Such plaster beacons also have disadvantages:
- during installation and use, the product is deformed due to the lack of rigidity;
- non-professionals may have problems installing products;
- after plastering is completed, the beacons are dismantled, and if you ignore this stage of work, then rust will appear on the decorative coating over time.
Metal pipe
Such plaster beacons are square guides made of metal. Product Advantages:
- increased strength, which prevents deformation of the profile during installation, use and dismantling;
- ease of alignment of the plaster with the rule;
- cut to the desired size.
Disadvantages:
- after applying the material, the profiles are dismantled;
- high price;
- during dismantling, the product may become deformed, which will render the material unsuitable for further use.
Guides from the solution
Such guides are small sections from the solution, as in the photo below, fixed in a horizontal line at the same distance from each other. Advantages of this type of profiles:
- do not require additional costs;
- used in areas of different sizes;
- after applying the plaster, the material is not dismantled.
Disadvantages:
- the installation of beacons for plastering walls from mortar requires some experience in finishing;
- It takes a lot of time to install the guides and dry the composition.
Markup methods for profiles
Before fixing the guides, markings are made to determine the areas for fixing the products. For this, different methods are used.
Easy way
Profiles are fixed on the plaster mortar. Rail Installation Instructions:
- Move 15 cm from the floor and ceiling and 30 cm from the corners and draw a straight line, then repeat the manipulation on the other side of the wall.
- Draw parallel lines along the perimeter of the building base at a distance of less than 1.5 m.
- At the top and bottom of each line, make a hole with a drill and fix the dowels.
- Install the screws in the dowels so that the distance from the base to the cap is equal to the thickness of the plaster layer.
- Pull the fishing line on the screws - this is the marking for the guides.
Using a laser level
Usually, the laser level is used by professionals to perform marking. However, even a beginner can mark places for guides in this way:
- Put the device against the opposite wall and turn on the cross-level, which will not only indicate the markings, but also help to calculate the thickness of the plaster layer.
- On the laser marking, draw vertical lines, retreating 30 cm from the corners and 15 cm from the floor and ceiling.
- Move the device into a corner, install it at a distance of 40 cm from the wall and turn on the vertical marking.
- Select the minimum distance from the wall to the line.
- Take the profile and draw a point on the guide at a distance equal to the length from the laser line to the wall + 1 cm.
- Glue along the lines and press the lighthouse so that the drawn point is on the same level with the line.
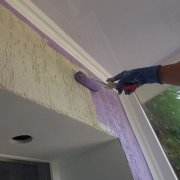
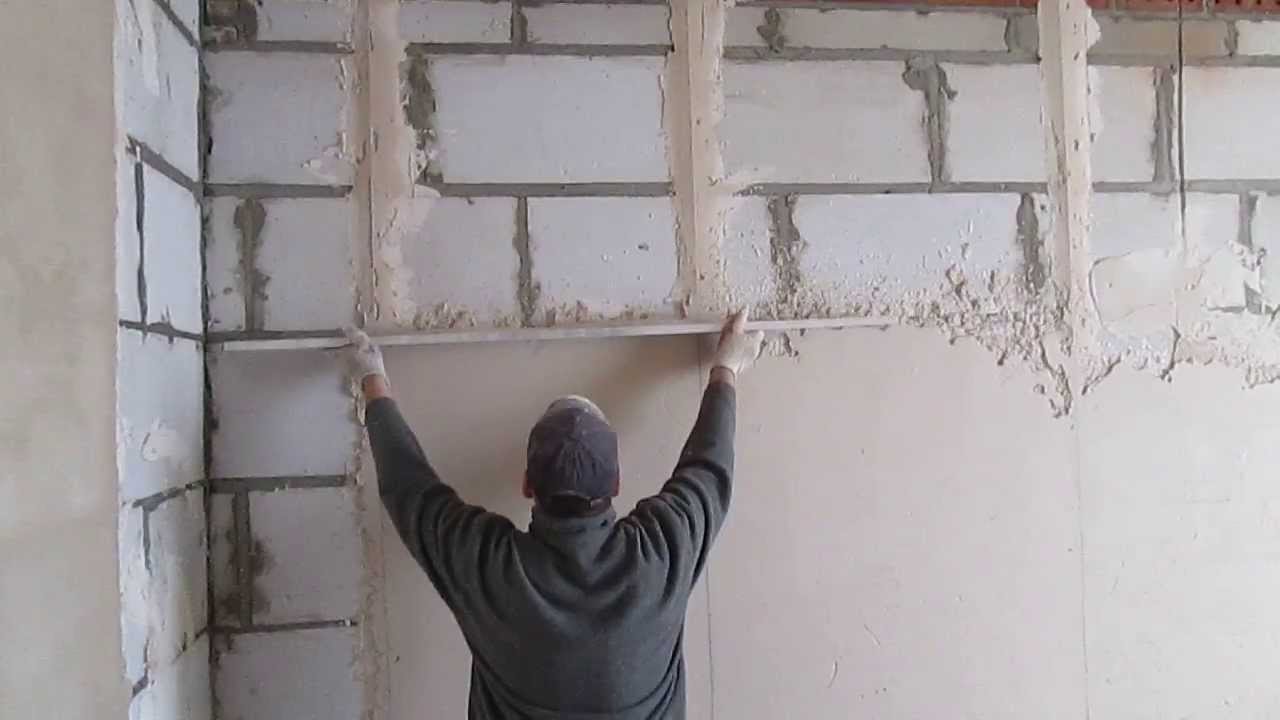
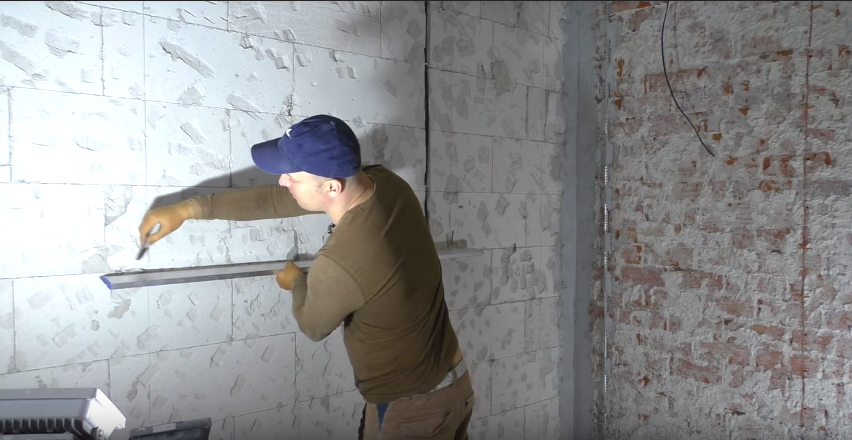
Rail Installation
Installation of beacons under the plaster is carried out in several ways. Let us consider each of them in more detail.
On glue or mortar
Technology for fixing profiles to glue or mortar:
- Knead the product according to the instructions on the packaging of the material.
- Apply the solution strictly according to the marking. To do this, form small tubercles at a distance of 15-20 cm from each other.
- Attach the guides to the wall and press the profiles so that the products are immersed in the solution.
- Remove excess with a spatula.
On fasteners
The easiest way to fix the beacons is not the fasteners that are sold with the rails. For the installation of profiles, one part of the fastener is removed and fixed on the head of the self-tapping screw, pre-installed along the marking line at a distance of 30 cm from each other. After that, the lighthouse is attached using the second part of the part. After installing the guides, plastering along the beacons is performed.
The advantage of this fixing method is the ease of installation of profiles. The disadvantage is that the size of the plaster layer is increased by 5 mm.
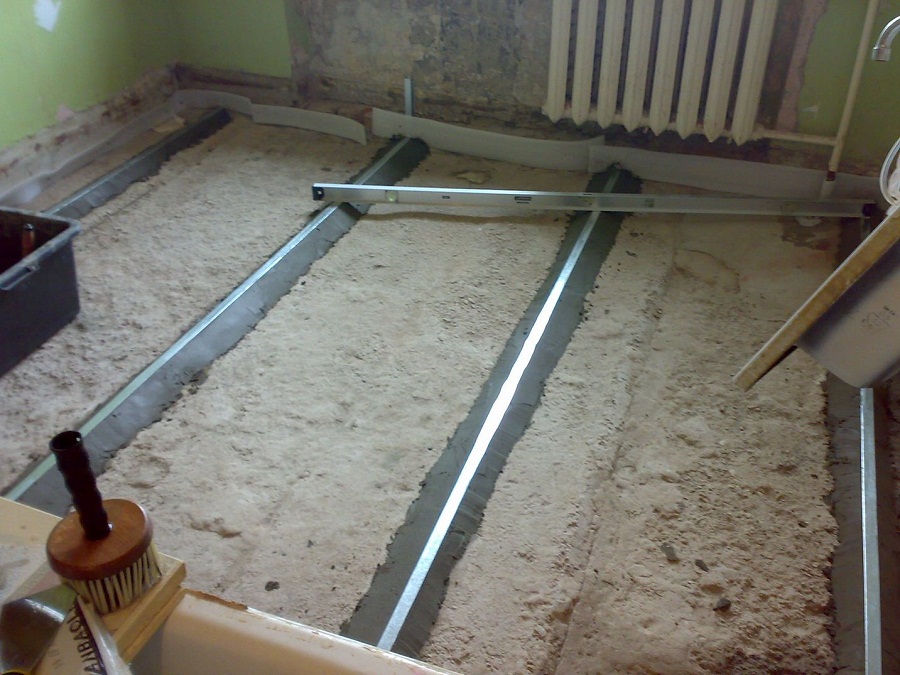
Installation of beacons from a solution
Profiles can be made from the mortar itself for plastering the surface. The lighthouse execution algorithm will be as follows:
- Fix the screws at the top and bottom of the wall at a distance of 15 cm from the floor and ceiling and 30 cm from the corner.
- Pull the thread between the fasteners to leave a gap for the plaster.
- Fix the screws along the length of the rope at a distance of 30 cm from each other.
- Lay a small stucco tubercle on each fastener.
- Set a rule between the upper and lower tubercles and fill the voids with a solution;
- Remove the thread and plaster.
Can plaster be applied without beacons?
Plaster can be applied to a building foundation without installing beacons, if:
- The surface is relatively flat, so it does not need to be applied with a thick layer of material.
- The construction base is old, with a lot of drops. In this case, the protruding sections of the base serve as guides for the rule.
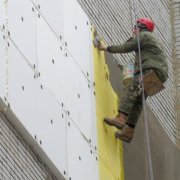
In the video in this article, professionals show how to put beacons for plaster.
Lighthouse plaster - a way to create a flat surface for professionals. If you carefully study the rules for using materials, even an amateur can perform plastering.