Screed on a wooden floor

How to make a screed on a wooden floor so that the leveling layer is reliable, and the installation process does not take much time - a difficult question. After all, screeding on a wooden floor is a troublesome and time-consuming task, especially if you make the concrete mixture yourself. Both concrete and cement screed on a wooden floor are not popular for a number of reasons.
- A heavy monolithic slab exerts tangible pressure on the base.
- Moving wood and static concrete do not fit together like neighbors - expanding and contracting, the wooden base will create vibrations of such a screed, which will lead to the formation of cracks.
Therefore, it is recommended to avoid this option if possible and make the screed with a dry mixture.
But, for example, if you need to install an underfloor heating system or equip a screed under a wooden floor, in which the logs are supported by tall pillars of brick, cement and concrete are indispensable.
Just note, even though the wooden screed will make your floors warm, the design is so unreliable. The tree is sensitive to temperature changes, over time it will lose its functional properties.
The content of the article
The nuances of working with wooden floors
As already said, wood is moody material. Its main property is mobility, a tendency to expand and narrow, stretch, contract, and shrink. In this regard, builders do not finish the wooden houses for two years after construction.
Finishing work is carried out when the activity of the processes occurring in the material decreases and the deformation of the tree does not threaten the external decor.
- Concrete screed on a wooden floor requires an even longer waiting period - 3-4 years. Filling on a fresh base of wood is fraught with damage to the screed.
A tangible reaction to temperature and humidity fluctuations enhances the dynamics of lumber movement. Therefore, the heating elements mounted in the floor structure with a wooden base, when starting and turning off, activate the movement of even the material that has settled for a specified period.
- Since a cement or concrete slab is static after solidification, such a screed should not be made in contact with wood. The technology of isolation from the walls and the base of the leveling, or unbound screed was invented just in order to provide each of the layers with autonomy and to protect the structure from an unsuitable neighborhood of materials.
- Another nuance of the wooden floor - laying boards on the logs. The weight of the coating increased by the concrete layer exerts more pressure, which the floor may not be able to withstand with a large step between the lags, since there are voids between the lags. Such cases are common in rooms with a large footage. Reducing the load on the wooden base will help reduce the distance between the lags, or replace it with metal support posts. For this reason, screed in a wooden house often begins with the dismantling of the coating.
If you still decide to disassemble the floor, check the integrity of the wooden elements, it is better to replace the rotten ones.
Concrete leveling principle
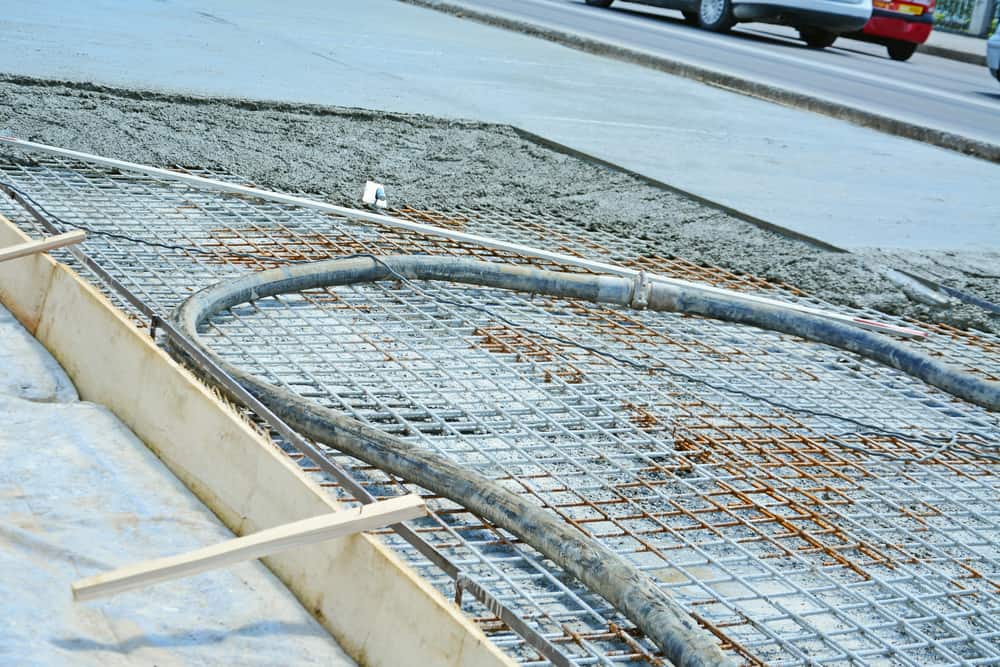
The technology for installing screeds on a wooden concrete floor differs from other types of leveling. Plates in it are delimited with the base of the floor and the walls. The first border is laid in the form of a polyethylene film, the second is indicated by a tape made of expanded polystyrene glued to the walls around the perimeter.Due to this, the screed monolith does not come into contact with neighboring surfaces, but is cut off from them. Such an unconnected flooring will not be affected by the movement of wood elements, while maintaining integrity and strength.
Why use plastic wrap
The tree creates the conditions for the propagation of microorganisms and the activation of putrefactive processes, so the proximity to polyethylene for wood is undesirable. Inexpensive waterproofing of wooden elements is carried out with the help of roofing material, glassine or flooring with a bitumen component. The reason why polyethylene is laid with a layer under a concrete monolith is because they do not stick together. The autonomy of the layers is preserved, while the possibility of moisture exchange between concrete and wood in both directions is excluded. But since, as mentioned above, contact with plastic film for wooden boards is harmful, the task is to minimize harm.
When arranging the screed, a reliable way to protect the tree from destructive processes is to be treated with an antiseptic agent followed by a thorough primer. Examine the packaging for mention of water repellent properties, this is the main characteristic for choosing a primer in this case.
Floating Screed Technology
In the previous sections, we described the first step towards arranging screed on a wooden floor, namely:
- inspection of wooden elements for defects;
- elimination of unreliable and doubtful sites;
- replacement of damaged poles and floorboards.
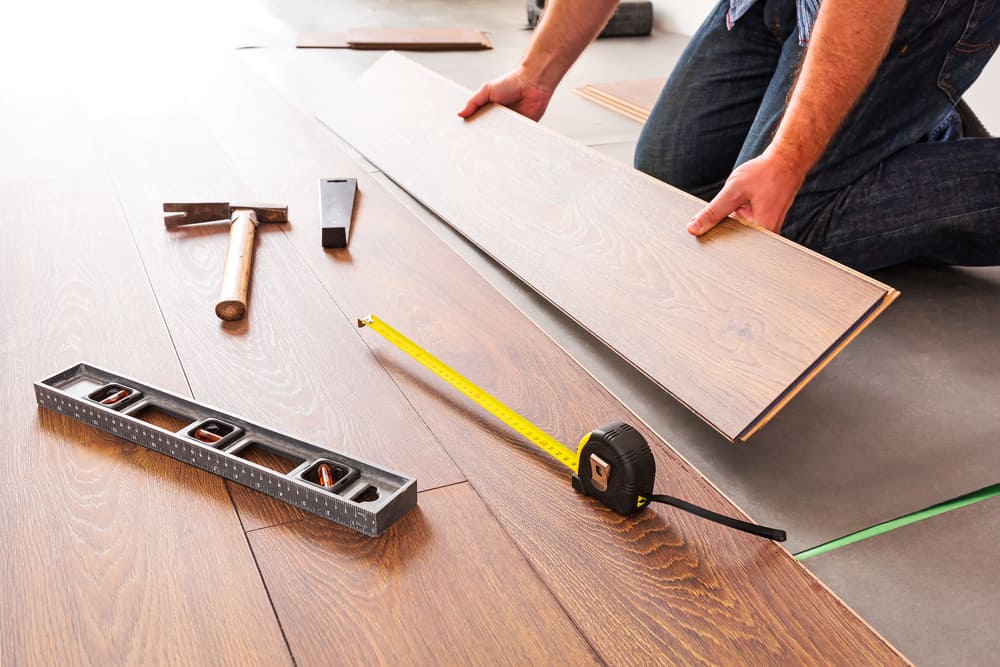
The next step is to add lags. This will be required if the distance between the lags is too large (up to 0.4 meters is allowed).
- Fill the gaps between the boards with sealant - this will be the preparation for the screed. You can proceed to the next step only when the sealing compound dries up, the term is indicated on the package.
- Now it’s time to prime the surface with a dense, uniform layer of water-repellent impregnation, while absorbed - we prepare the tools and materials directly for pouring.
- The staff level or laser counter is useful immediately to put a zero level mark on the walls. The height of the mark is unprincipled, place it so that it is convenient to compare. Roughly retreat from 0.3 to 0.7 m from the base. From the points laid out on the same horizontal line, it is necessary to measure down identical segments downward, taking into account the power of the planned floating flooring. The generally accepted average thickness of a concrete layer is 50 mm.
Insulation device for concrete leveling

Recall that the arrangement of insulation when screeding with concrete on a wooden floor includes the installation of borders (with a base and walls).
- A damping tape attached to the walls along the perimeter with construction tape makes a concrete layer between the walls. If there is no tape, you can attach using a stapler.
- When fixing polystyrene to the walls, calculate so that the resulting strip is wider than the concrete layer and is 10-20 mm. By the way, the damper tape will also save the walls from the effects of vibrations of the floating plate.
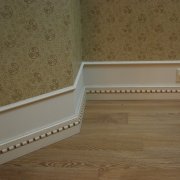
- The gap formed around the perimeter of the room is covered with a plinth.
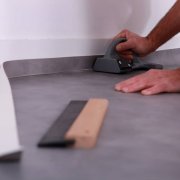
- Now check the integrity of the polyethylene. If there are gaps, patch them. We work with polyethylene carefully, trying not to tear or puncture, otherwise the waterproofing function will not be realized and the entire floor structure will be compromised.
- In the case when the screed does not manage to cover the room with a single piece of polyethylene, the strips of material are overlapped by less than 100 mm.
- At the joints of the strips we attach them to each other with tape, reliably fixing the relative position. The allowance for the wall is even wider - from 150 mm.
The waterproofing made according to this technology will be tight and motionless, which contributes to the successful implementation of screed on a wooden floor.
Construction of beacons for leveling
This time, the nails and screws used to erect lighthouses will have to be left aside this time, otherwise the insulation layer will inevitably suffer. It is more practical and safer to resort to the method of installing beacons for screed by laying beds from the solution itself, prepared for leveling. The procedure is as follows:
- Make sure that the beds do not differ from filling with either density or a set of components.
- When constructing screed beacons, try to keep within the minimum necessary period of time, because after an hour the solution will begin to solidify and lose plasticity. A laid bed of concrete will fix the plastic film on the base and the wizard’s movement around the room during pouring will no longer be shifted and the waterproofing will not be deformed.
- From the wall to the extreme lighthouse we leave a gap of 20 to 30 centimeters, and between the lighthouses the distance will be from a meter. However, retreating more than 1.2 meters is not practical, because it is inconvenient to level the layer without supporting the rule on the beds.
- The lighthouse is brought to the desired height with a metal profile laid on top.
- The profile should be heated in the mixture until the beds fall to the mark.
The use of microfiber instead of reinforcement
On reinforcing concrete and sand-cement screed on a wooden floor, there are two common tips:
- microfiber can be used instead of a reinforcing mesh;
- fiber is used together with the mesh.
As you can see, microfiber is indispensable. Now let's move on to reinforcement. Filling is carried out in two stages, so as not to damage the fragile polyethylene with metal parts and fix not only the bottom of the structure, but the entire screed.
- fill in a layer of solution;
- wait for it to dry;
- set a grid with cells with a face of 10 cm and beacons;
- fill in the second layer and wait for drying.
This method is long. For those who are in a hurry to finish the draft work or are sure that the floor load in the room is moderate, the second way is suitable - adding microfiber fibers to the solution when mixing. The polymer will bind and strengthen the screed, the weight of the plate will not practically change, and the filling will take place in one layer, which will reduce the installation time.
Pouring concrete
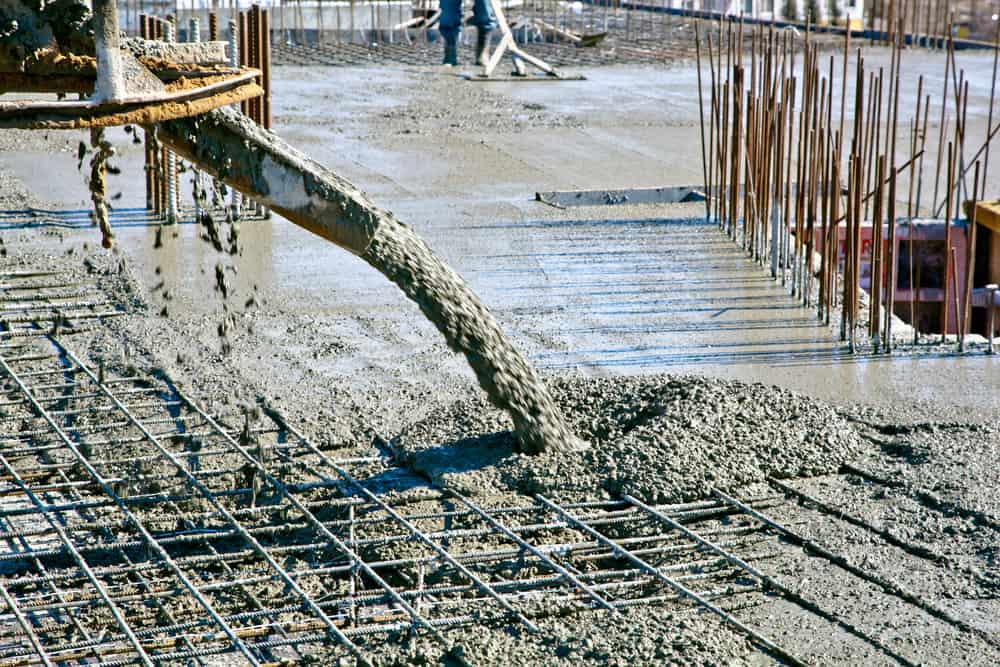
This process for screeding on a wooden floor is no different from others. Classic pouring technology:
- Start work from the wall opposite the door.
- If necessary, limit the fill area to a board or profile.
- After 24 hours, remove the stopper.
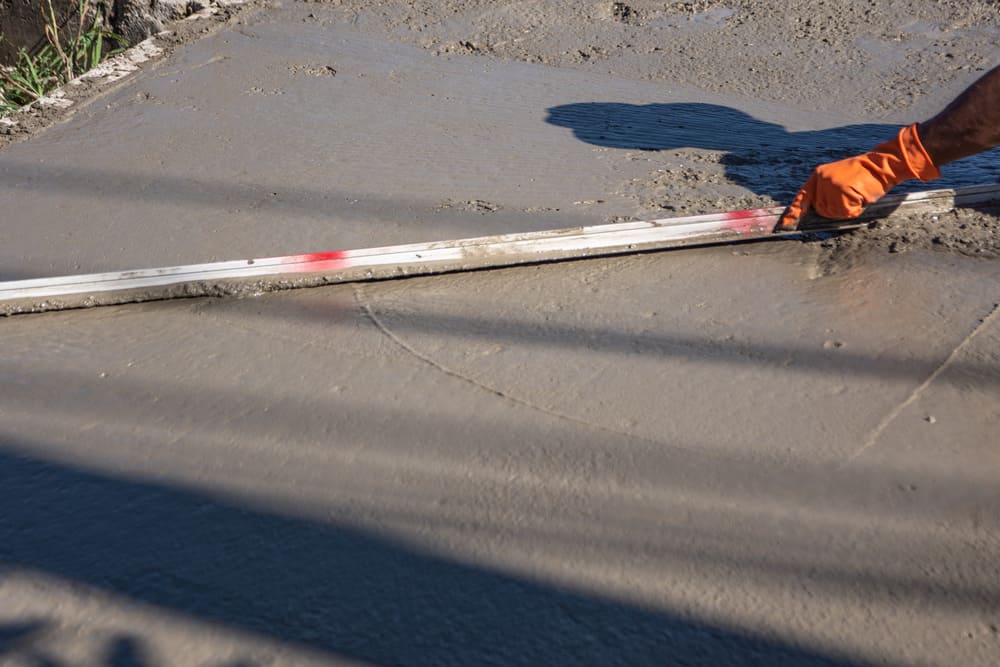
- Ground and level the surface.
- Moisten the screed with water and spray over the surface a little over the next week.
Maintaining a constant temperature and humidity, as well as a plastic film laid on top for the first few days, will adjust the uniformity of the drying layer.