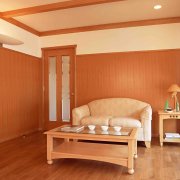
How to sheathe the ceiling and walls with plastic panels - an excursion into the world of decoration
The evolution of modern goods, including construction, has one key feature - each new generation becomes more massive, and their design is simplified as much as possible so that they become understandable and accessible to everyone. New materials combine the most important properties for the consumer, thereby attracting increased attention.
That is why, when answering the question of how to sheathe the ceiling and walls with plastic panels correctly, do not think that this will require specialized knowledge and skills. The installation technology is very simple and will be clear even to an inexperienced master.
The content of the article
Preparation for installation
Any decoration must begin with the preparation of the foundation on which further work will be carried out. In this chapter we will talk about all the factors that must be considered before installing the crate frame, which will allow you to avoid many problems after the start of operation of the room.
The first thing to start with is to dismantle the old trim, if any. In our case, everything is subject to removal, which may interfere with the solid fastening of the frame rails to the wall, or damage plastic panels in some way.
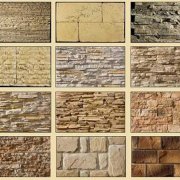
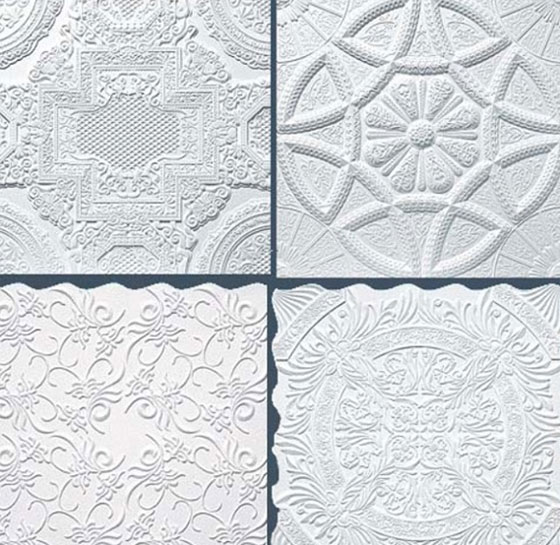
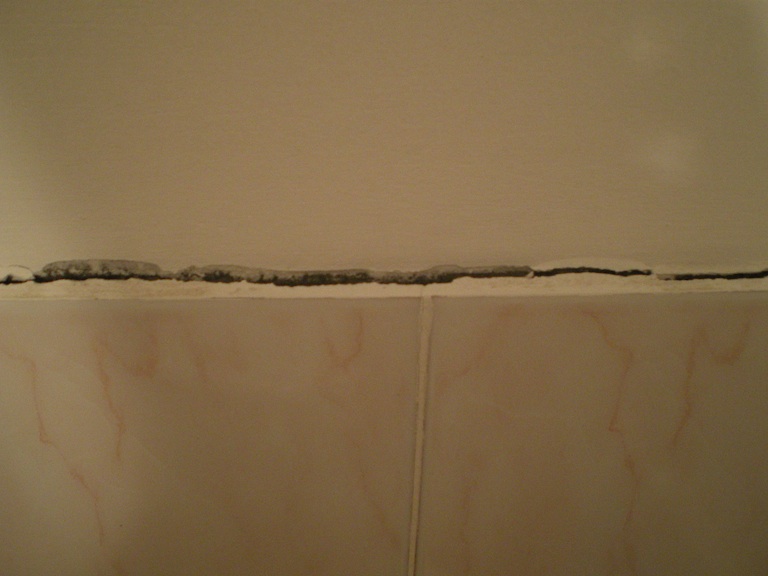
For example: PVC ceiling tile weakens the attachment point if you use short dowels; old plaster or poorly tiled tiles (seeHow to remove tiles from a wall without damaging the base) may damage plastic when dropped.
-
- The larger the texture, the more unreliable the mount
-
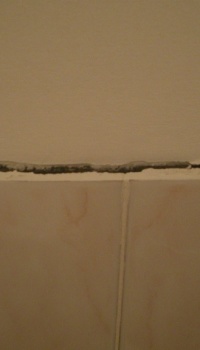
- When falling, such a tile will easily break through inexpensive plastic
Waterproofing and chemical treatment
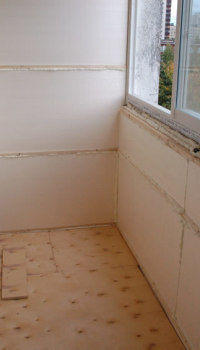
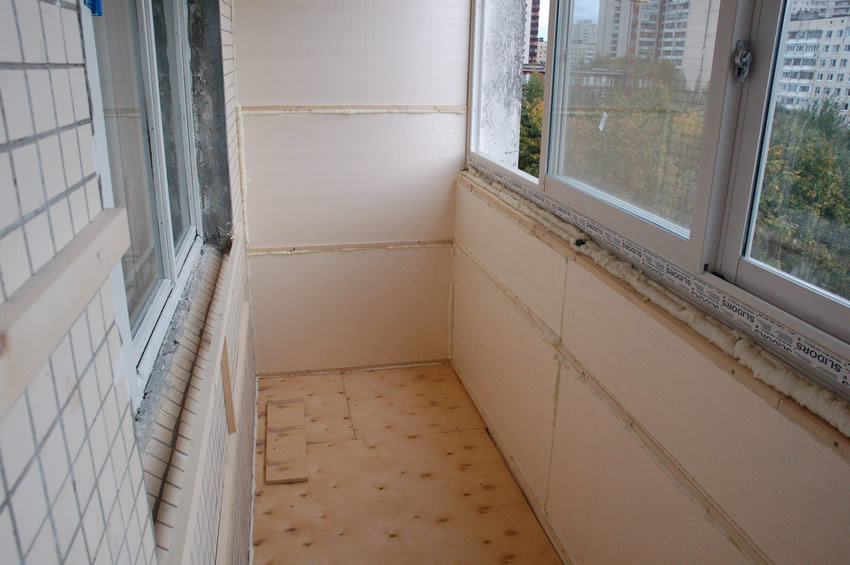
Due to moisture resistance, PVC panels are most often used for balconies and bathrooms. But if the material of the outer casing is not afraid of water, this does not mean that you can neglect such an important stage of the preparation of the room as waterproofing.
It is needed in order to prevent moisture from getting on the walls, frame rails and insulation. As a result, you will forget about mold, make the room warmer and protect the brickwork (in the bathroom).
On the balcony, as a waterproofing, use plastic wrap. This option is cheap, convenient and reliable. For concrete and brick walls, waterproofing impregnations are best suited, which are easily applied with a brush, which will allow to treat the most inaccessible places with the composition.

Warming
If you planned to sheathe a room with thin walls facing the street, or if the available heating simply cannot cope with the load (balcony, attic, etc.), then do not forget about insulation (seeHow to properly insulate the walls with your own hands) There are many materials intended for residential buildings, some of which are discussed below.
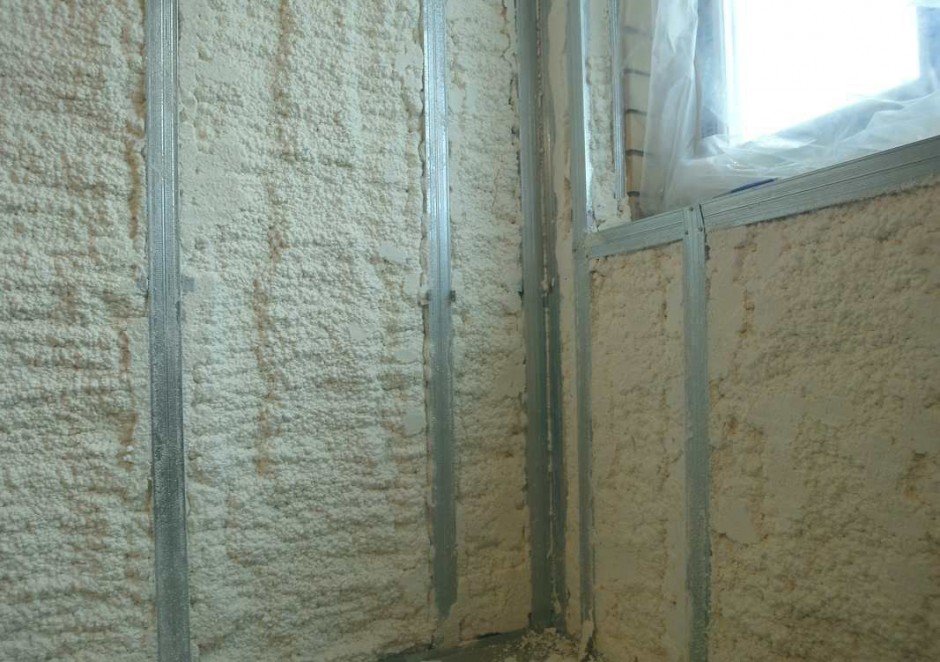
-
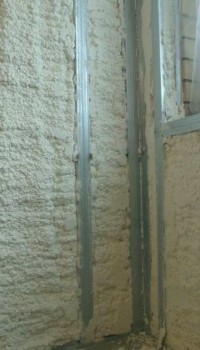
- Thermal insulation of houses with polyurethane foam
-
- Foamed insulation based on foamed polyethylene
-
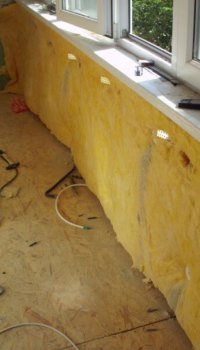
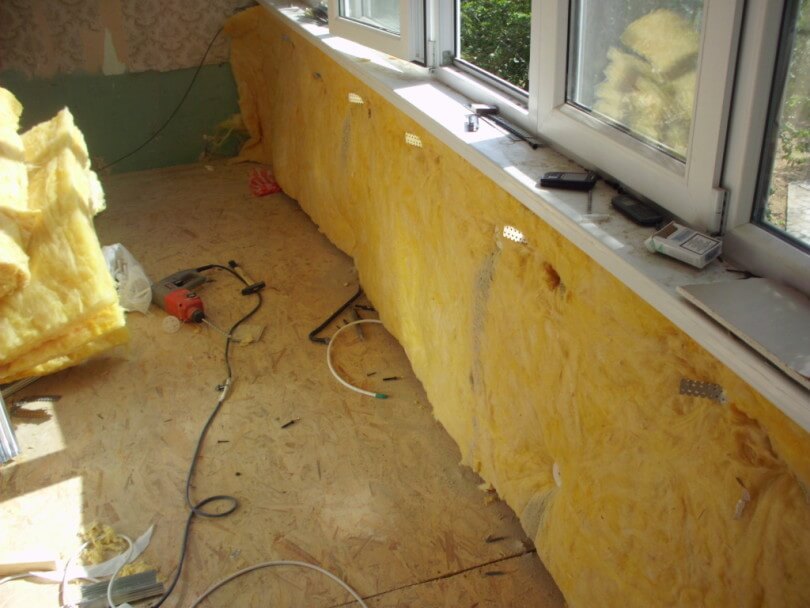
- Warming of the balcony with mineral wool
-
- Polyfoam is very effective
So:
- One of the most effective methods of warming is to cover the entire room with liquid polyurethane foam.. Of course, without the necessary equipment, you won’t be able to do such work with your own hands, but because of its popularity and high energy efficiency, we are simply obliged to mention the foam insulator,
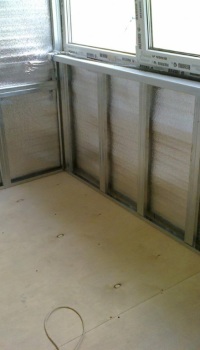
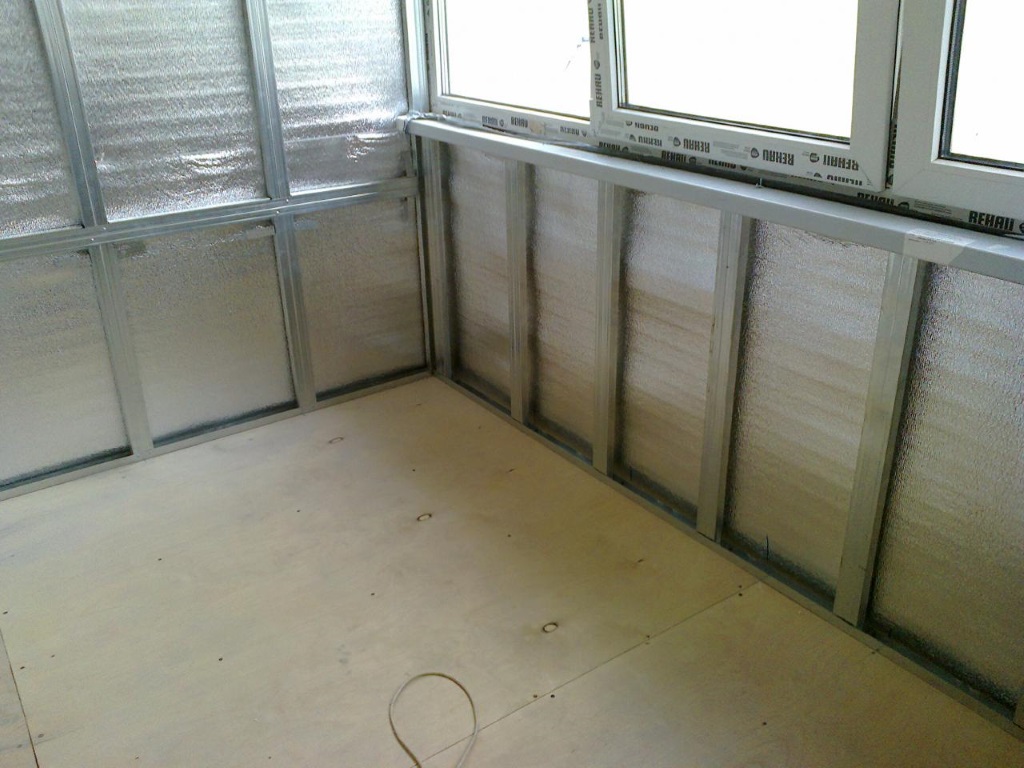
- The next type of insulation is foamed materials with a layer of metal foil, for example "Penofol". Perform two functions at once - heat and vapor barrier. Due to the fact that they are produced in rolls, they are very easy to mount. It is enough to roll the material along the wall and fix it with the help of slats or special anchors.
- Mineral wool There are many types that are made from natural and synthetic raw materials. This material has a number of restrictions for use in residential premises, so read the instructions carefully. Due to the fact that small nap can penetrate into the lungs, use mineral wool in combination with the aforementioned penofol, or completely cover with a cellophane film.
- Low price, ease of installation and low thermal conductivity make foam one of the market leaders. A five-centimeter panel of such material retains heat no worse than a brick wall 20 cm thick.

In addition, let's say a few words about penoplex, which can also be placed under the frame (seeTechnology for wall insulation with foam: do it right) This material has high strength and is equipped with grooves for joining, so that it can serve not only as a heater, but also serve as a base for plaster.
Installation of construction
After all the preparatory work, we proceed to the installation of the frame on which our panels will be mounted. This part of the work is the most responsible, as it will determine the further strength and evenness of the raised false wall. This design can be erected in several ways.
Crate

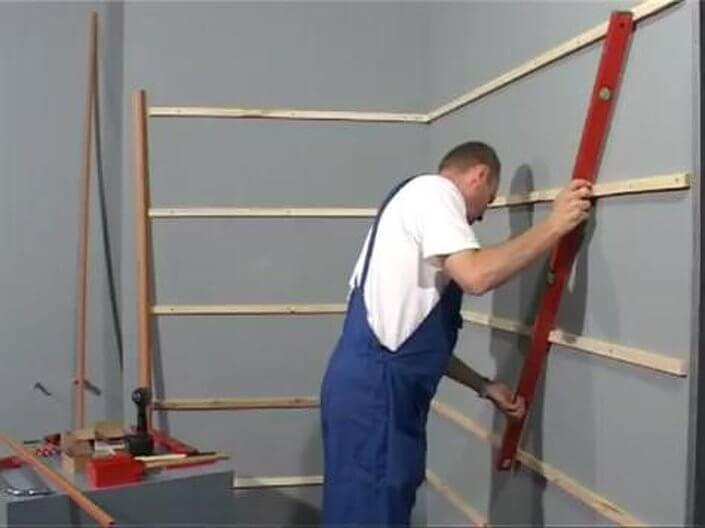
To begin with, we check with the help of a building level, the evenness of the sheathed wall. If your tool is small, then use the PVC panel itself as a basis, as a rule, drywall metal profile or even wooden plank.
We apply our level to the wall and look at the deviations. If the differences are insignificant, then our task is greatly facilitated, it is enough just to beat the wall with the elements of the lathing (wooden rail or PVC guides), just leveling the right places. If the difference varies from 4 cm and above, then the construction of a full-fledged frame will be required, as we will describe later.
-

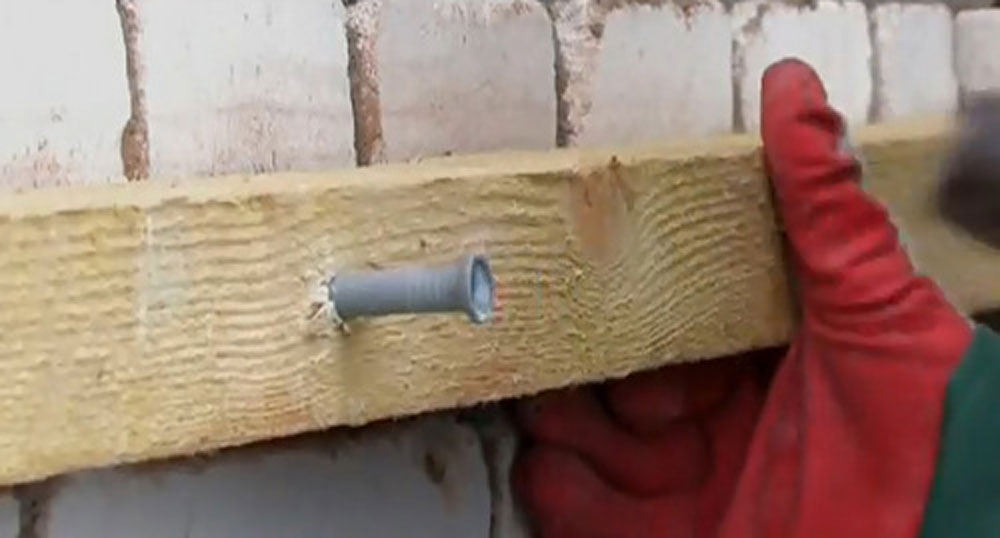
- We fix the wooden rail to the wall
-
- How to sheathe walls with plastic panels using PVC battens
The lathing consists of several belts, the number of which depends on the height of the room to be trimmed. The average distance between them is 40 - 50 cm.
The first belt is installed on the most protruding part of the wall. To do this, apply the rail of the desired length to the marked place, and drill it simultaneously with the wall. In the hole obtained, hammer the plastic part of the dowel-screw with a hammer and install the spacer element inside, it is the dowel.
Advice! Do not screw the screw all the way. For temporary fixation, it is enough to screw it in half, which will make alignment more convenient. Also, you will avoid a loose point of attachment, which may occur during further drilling.
The installation of PVC battens is no different, so we will not consider them separately, but will return to them only when the time comes to sheathe the walls with plastic lining.
-
- Remote pads
-

- Checking the evenness of the crate
Next, we fasten the second belt, which is best placed at the point with the largest deviation from the “zero” (the location of the fastening of the first belt). We repeat the entire installation procedure described above and set the rails to level. To compensate for wall irregularities, use supports that can be cut from the same rail.
As a replacement, the distance pads that are used when installing windows are excellent. If the compensated distance exceeds the thickness of the rail, then we attach to the wall not the belt itself, but the lining, to which we will attach using ordinary screws.
Aligning the remaining zones is not difficult, since we have already established the basis as guidelines.Simply attach a long, level object, and clearly observe the previously obtained plane. An example of this technique is presented in the photo above.

Now, we consider in detail the basic rules for the location of the remaining belts:
- If there is a window or doorway on the sheathed wall, then two belts are mounted along the upper and lower edges, thereby forming the horizontal basis of the future slope.
- The vertical part of the slope should be set strictly according to the level, for which it is necessary to monitor the length of all the belts to which it will be attached. To visualize this, see the diagram below.
- Place the belts along all the walls, guided by the level. As a result, they should form a single looped line, fitting tightly to each other in the corners, which will provide the necessary rigidity during deformation.
In addition, we note that all locations of window sills, sockets and switches should be supplemented with 10 - 20 cm insets of rails, which will facilitate further installation and increase the strength of the lining.
Frame

The construction of the frame will require more costs and effort from you than installing a conventional crate, but the advantage obtained in return justifies this approach. Namely, you have the opportunity to align the wall of any curvature.
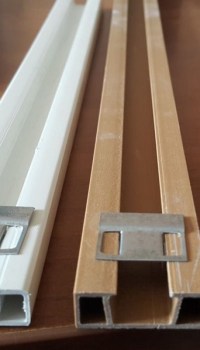
The material for such a frame can serve as a wooden beam (minimum cross section 35x35), or metal profiles designed for drywall. The schemes for their installation do not have fundamental differences, therefore, we consider the process using the example of the second material.

In order to save a small space of the balcony or bathroom, we recommend using ceiling profiles. They are of two types: a guide profile measuring 27 by 28 mm and the main - 27 by 60 mm. The strength of this design will be quite enough.
Advice! When purchasing a profile, twist the sample in your hand and evaluate its hardness. If it bends like foil, then set it aside. Losing the strength of the frame will not be worth the money saved.

We start by marking the future plane, for which we will need: a plumb line, a water or laser level, a dyeing thread, a pencil and a tape measure.
- Next, along the lines received, we fill in the guide profile, passing the doorway at the same time (the gap begins from the place of the future slope).
- After using the 27x60 profile, we set the main verticals of window and door openings. These parts of the structure must be strictly level. Now it is necessary to align and strengthen them, for which we stretch the nylon thread and use the suspensions to fix.
- We attach belts to vertical profiles. In places of abutment, use a single-level connector, it is also a “crab”.
Advice! Remember to lengthen the electrical wires coming out of sockets and switches. Otherwise, it may be necessary to dismantle the already-walled wall.
Panel Installation

Here our crate is ready and the time has come to sew up the wall with plastic. The most difficult stage was left behind. Now, if you did everything right, no difficulties should arise.
Installation of panels is simple and intuitive, as the video in this article will tell you about, so it makes no sense to describe every step in detail. In this chapter, we will try to highlight all the basic subtleties, as well as unpleasant moments that may arise when you start to sheathe walls with plastic.

So:
- PVC moldings are the main headache of all beginning masters, who think that engineers, creating these schemes, have forgotten about the laws of physics and geometry.The main difficulty is caused by the arrangement of these elements, as well as the subsequent installation of panels in them, especially the finish ones. If this is the case in your case, then do not rack your brains - keep the number of moldings to a minimum, replacing them with ordinary skirting boards and ceiling moldings.
- Pay attention to number 5 - the outer corner. It has an analog without internal ribs, which sits on glue, which will greatly facilitate the task. From the rest of the assortment, all you need is moldings numbered 7, 4 and optionally 1.
- If you still decide to use your native skirting board, then the last finishing piece is best glued, having previously cut off the trailing edge from it.
- When installing the last PVC sheet (the joint with the place where the sheathing started from), use the start profile 7 instead of the inner corner, which you need to put on the plastic. After that, wedge the finish panel at the installation site, which will make it easy to dismantle if necessary.
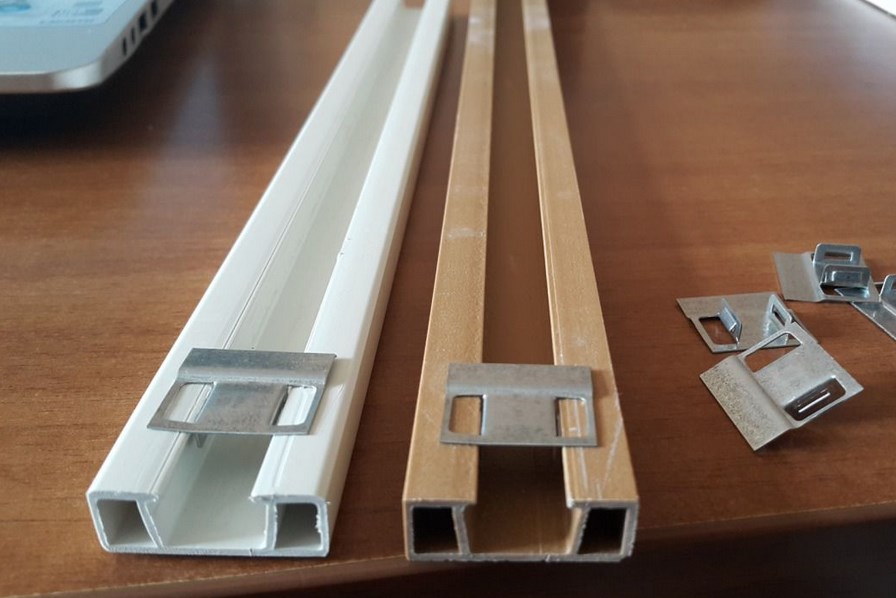
- Fasteners for panels, may vary depending on the material of the frame. For PVC battens, special clips are used that snap into the central channel. For metal, self-tapping screws with a wood washer are best suited - they have a thin flat hat that tightly fixes the plastic. If your frame is wooden, then use any method convenient for you: nails, glue, self-tapping screws or a construction stapler.

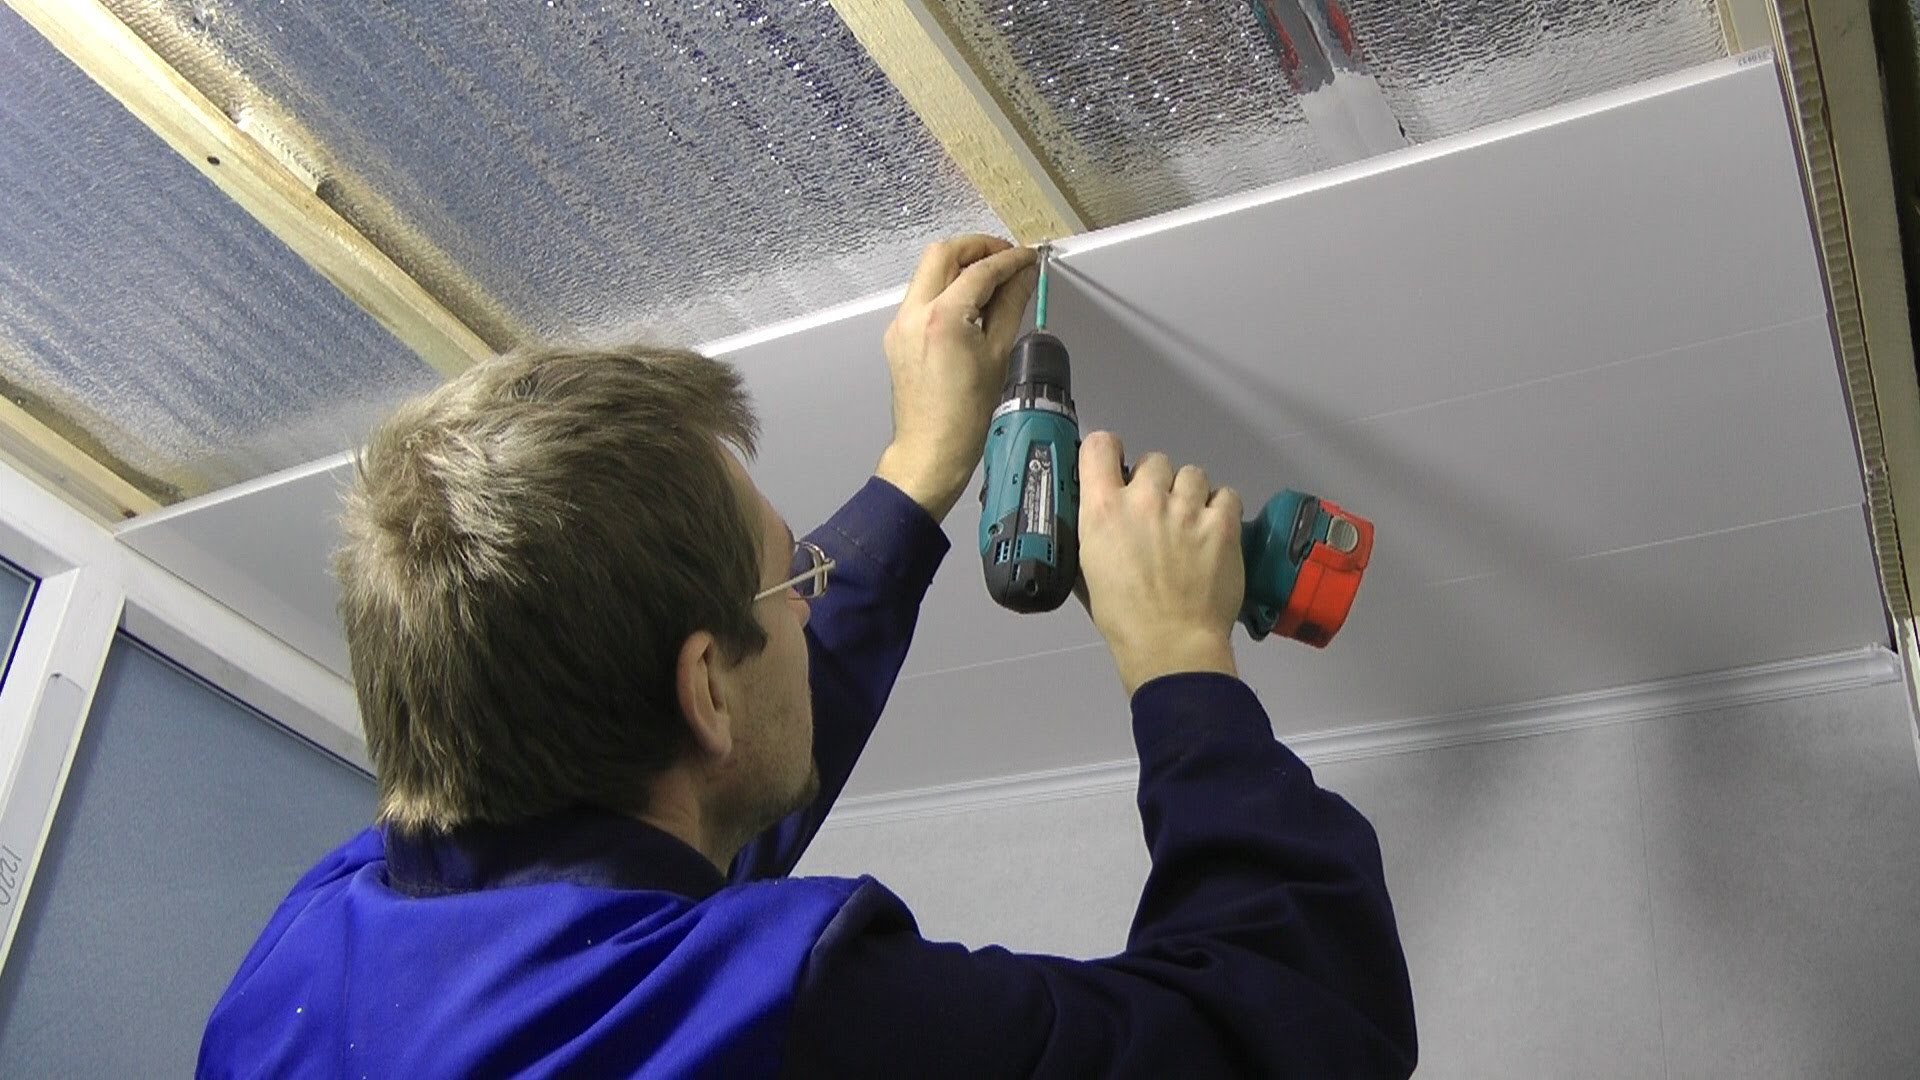
- Be careful when fastening plastic with a screwdriver. This is especially true for metal profile frames. One careless movement and the cue ball punches the panel through and through.
- Starting to sheathe each wall, do not forget to expose the first panel strictly in level. Subsequent sheets must be pressed tightly, avoiding cracks in the seams.
- Now, a little instruction on cutting plastic. Forget about jigsaws, hacksaws and other files. They can be useful only when drilling holes for sockets, boxes and switches. The said tools leave nicks in the cut points, which interfere with the installation of the panel in the profiles.
- Use an ordinary assembly knife, it is also a clerical knife. To do this, place the panel on a stool so that the place of the proposed cut protrudes slightly beyond its edges. Attach a square and draw a line with a regular pencil on the back of the plastic. Make an incision, then break the protruding edge. Now it remains to hold the blade at the bend from the back (front) side.
The information given in this article is enough to correctly approach the issue of decorating the premises with plastic panels. We tried to consider all the most important aspects. But if you have any incomprehensible moments, you can easily find all the data in our video collection. Good luck with the repair)