How to remove tiles from a wall without damaging the base
You can completely remove tiles from the wall, remove several parts, or replace one. How to remove a tile from a wall without preserving it whole is quite simple: a punch is picked up and the coating collapses, regardless of everything that is done around. And what to do when a tile or part of it needs to be kept intact? This article will discuss how to properly remove tiles from the walls.
The content of the article
The need to remove tiles
There may be several reasons why you will need to dismantle the tiles from the walls.
It:
- Restoring the cladding by replacing one or more elements damaged during operation.
- Complete coverage replacement.
- Laying on a part of the wall a new tile pattern, instead of a boring image.
The way how to knock tiles off the wall depends on the need to preserve the facing material. Tile of good quality, used, can have a pretty decent look. It can be used for facing the balcony (seeHow to finish a balcony with a tile: original and durable facing) or premises in a country house. The repair price will be significantly lower.
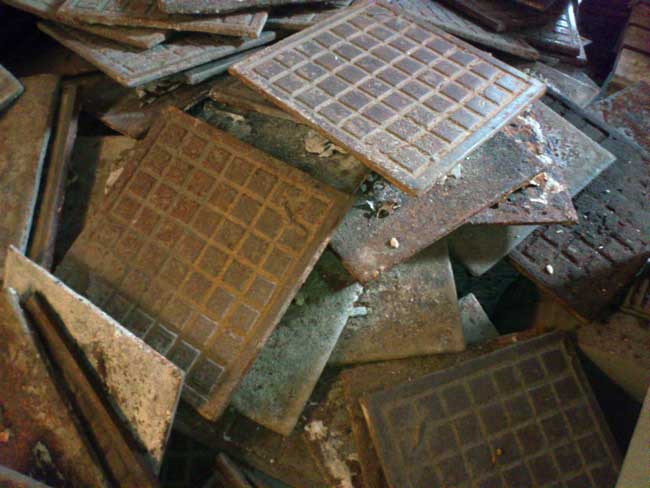
If reuse of the coating is not included in the plans, knocking down tiles from the wall can be done in a simpler way - completely breaking the old coating, keeping the wall as little as possible under it.
Tile Removal Methods
Before knocking the tiles off the wall, a method of dismantling the old coating is selected, which depends on:
- The mortar that was used to stick the tiles.
- The need to reuse the material.
- If the tile was glued to the cement, and he also grouted the tile joints, the chances of saving the parts whole are very small.
The difficulty of removing tiles from the wall is affected by:
- The adhesive material is easier to remove.
- The old tile is taken off heavily without splits, its material is "tired" and it can burst and crumble.
- If the lining in some places “bays”, then it will not be possible to obtain parts without splitting them.
Do-it-yourself methods for removing tiles are presented in the table:
| Removal method | Process technology |
| Neat tile removal | |
If you want to leave the tile intact, for further use, the dismantling of floor or wall tiles starts the same way - the grout is removed from the tile joints.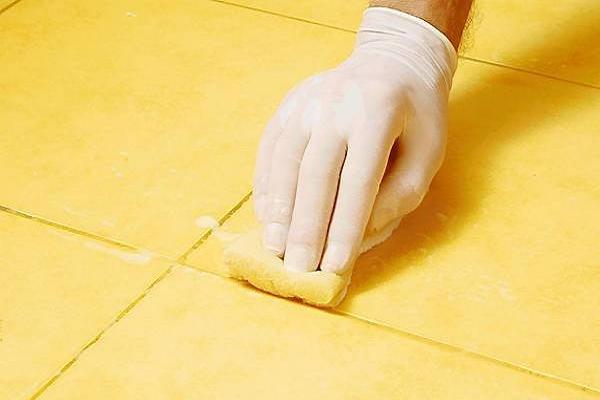 Grouting between tiles | During the process, the joints are well soaked with water, and then the grout is removed with a knife or spatula. Sometimes this has to be done in several stages, each time, abundantly wetting, butt joints. In this way only soft grout is removed. |
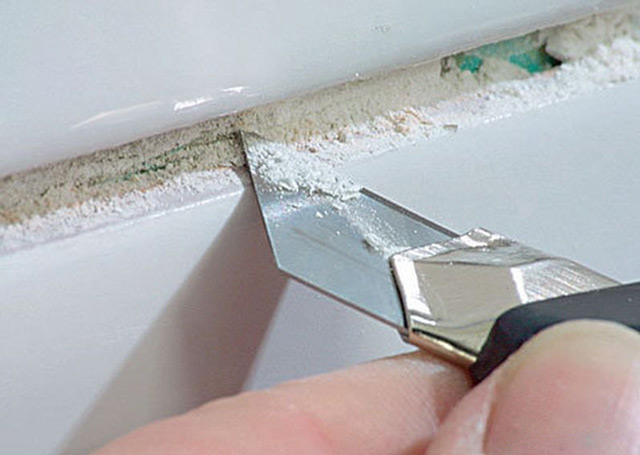 Suture removal | The metal spatula removes residual mortar. |
One of the tiles is broken with a hammer and a chisel, preferably the upper one.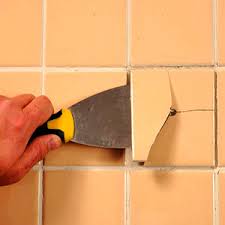 Removing the first tile | After breaking one of the tiles, you can proceed to the next step. |
 Grouting with a stone disc | All seams between tiles are completely cleaned, being careful not to damage the tiles. The depth of cut should be slightly greater than the height of the tile, which will help reduce the likelihood of chipping corners. To save the tile laid on the cement mortar is almost impossible. |
With an iron spatula or thin chisel, all elements are dismantled.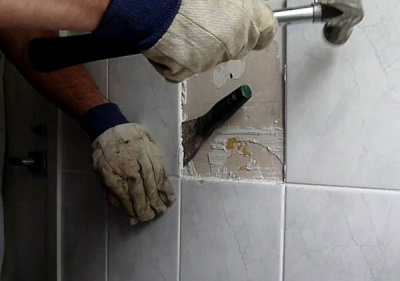 Removing tiles from the wall |
|
Dismantling steel wire tiles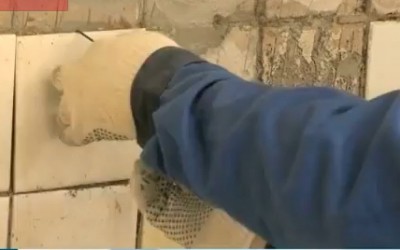 Crochet tile | If the tile on the wall does not hold firmly enough, it can be removed with a special hook made of rigid steel wire. For this:
|
Drywall tile is removed only when replacing one or more parts.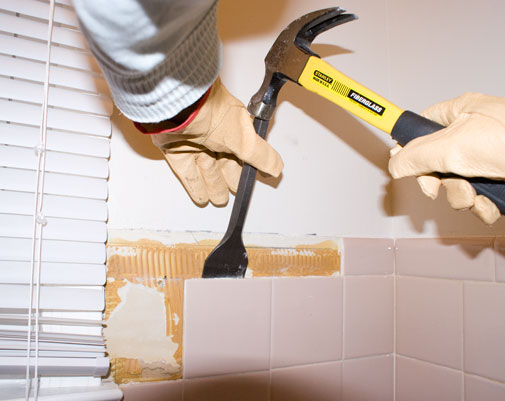 Removing Drywall Tiles | When applying glue for tiles on drywall, it is very firmly held on its surface. After removing one or more boards, the drywall section of the drywall must be cut out and replaced with a new one. In any case, the methods are the same as those described previously:
|
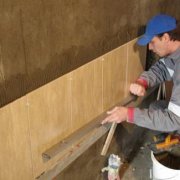
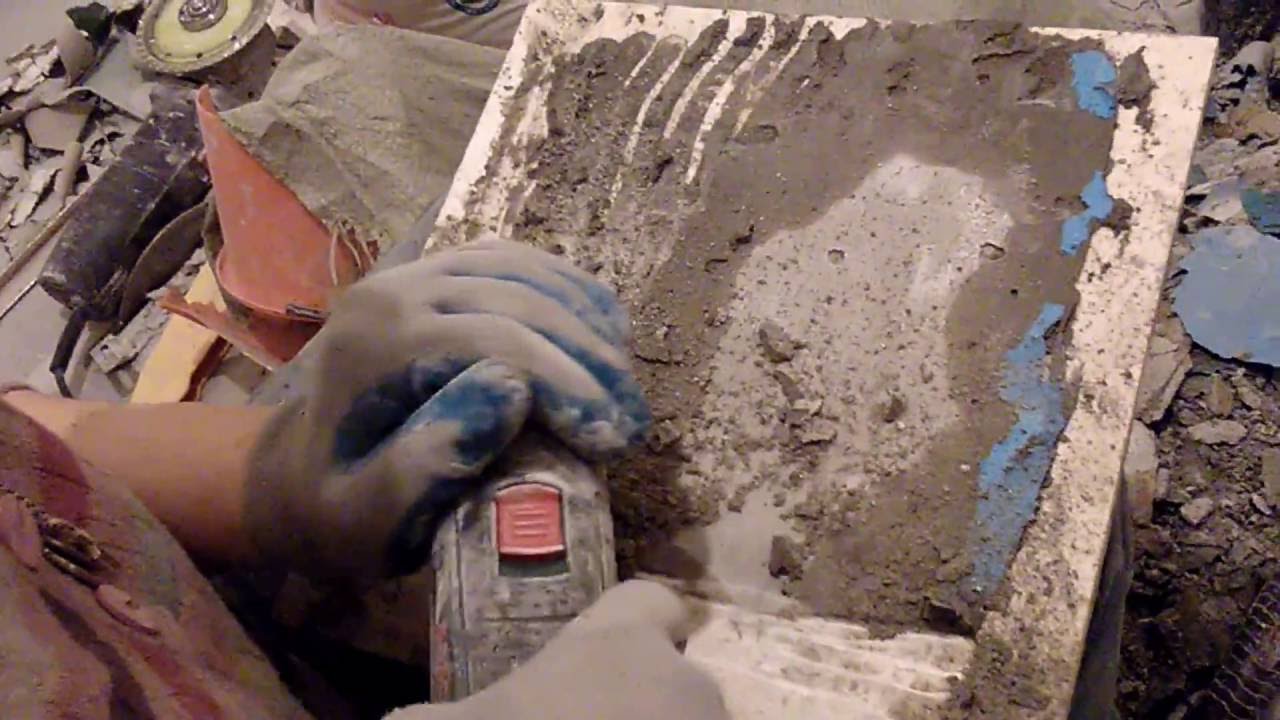 Tile cleaned from old mortar | After dismantling, the whole tile is cleaned of residual glue or cement. In this case, the choice of tool depends on the solution used for laying. The sequence of work is as follows:
|
| |
| Complete tile disassembly | |
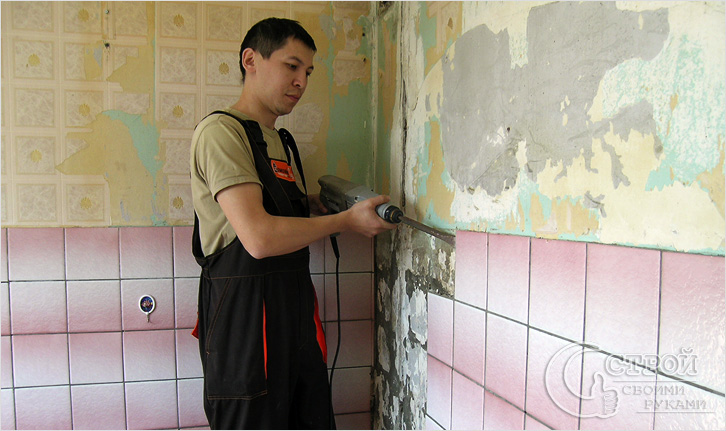
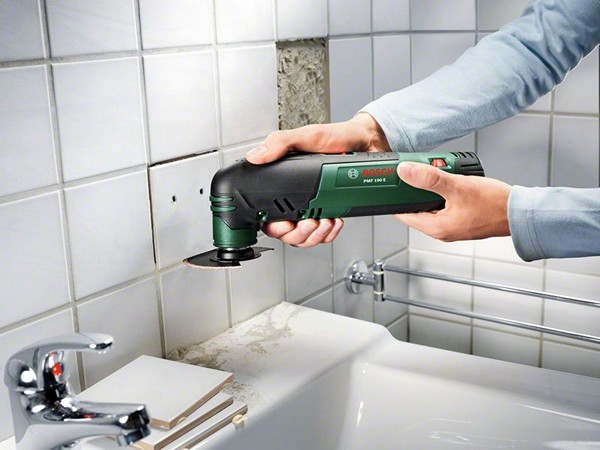
 Tile removal with a puncher | The process is accompanied by noise and the formation of large amounts of dust. After connecting, the device is attached to the gap between the tiles and breaks them. The elements are removed quickly, and the wall remains high quality. |
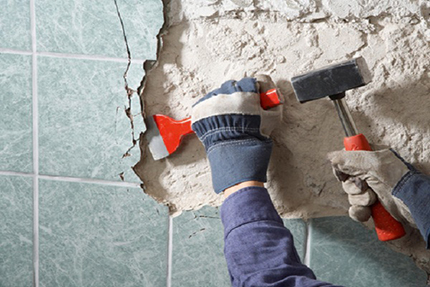 Removing tiles with a chisel and hammer | The chisel is driven under the edge of the tile and strikes it with a hammer with force. Pressing on the chisel as a lever, pieces of tile are separated from the wall. At the same time, the tile is separated in pieces, cracked and torn off in parts. |
Old mastic is removed from the wall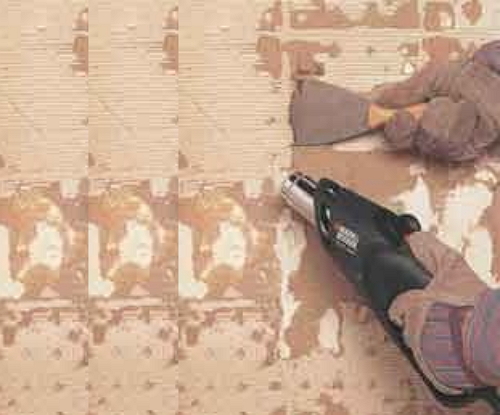 Surface cleaning | After releasing the wall, the solution on which the tile was laid is softened with a fan heater and then scraped off with a scraper. The fan heater should be kept at a distance of five centimeters from the wall surface. |
Dismantling damaged tiles
When operating a tiled room, damage to individual cladding parts is possible.
It is possible:
- From mechanical stress, resulting in cracks or chips.
- When individual tiles fall out, partially capturing adjacent breakaway fragments. This situation is possible from the violations in the preparation of the surface for laying tiles.
- The corrugation of the wall, after its painting, was not performed for better adhesion of tile adhesive and the main surface.
Removing a single damaged tile must be done with precision in jewelery to prevent damage to the entire cladding adjacent.
Tip: When carrying out work, strong impact on the wall should be avoided so as not to provoke the lag of the remaining tiles.
Part removal instruction:
- Seams located around the defective tile are cleaned from grouting.
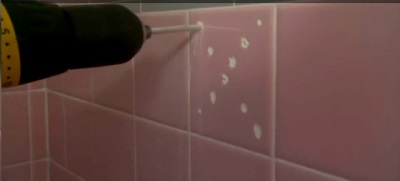
- A cutter on the ruler on the tile draws diagonals by connecting opposite angles to the part.
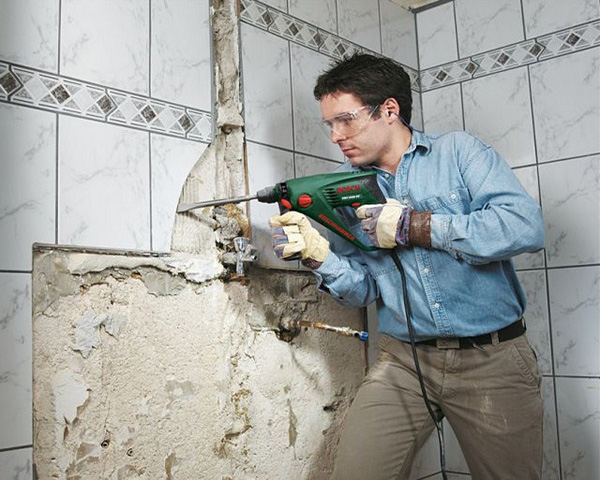
- Several holes are drilled with a thin drill, starting the process from the center, at the intersection of the diagonals. This loosens the ceramic mount as shown in the photo.
- Chisel and hammer, carefully beat off individual pieces.
- The wall is cleaned of glue residue.
- The surface is primed.
- A new tile is being installed (seeHow to tile on a wall).
Tip: It is always necessary to purchase ceramic tiles with a small margin, in case of repair of the facing surface, during the operation of the room.
A more complete understanding of how to remove tiles is presented in the video in this article.
Wall Tile Removal Technology
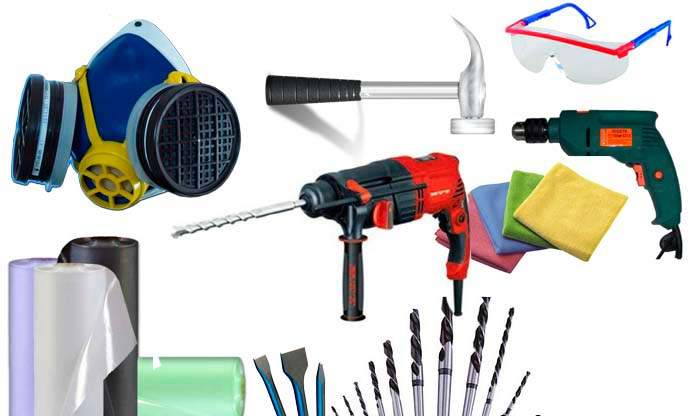
Dismantling of any coating begins with the acquisition of the necessary tool, the set of which depends on the chosen method of removing tiles.
Further:
- A workplace is being prepared for the convenience and effectiveness of work.
- The floor is covered with plastic wrap, which will facilitate the cleaning of garbage, which will scatter in all directions during operation.
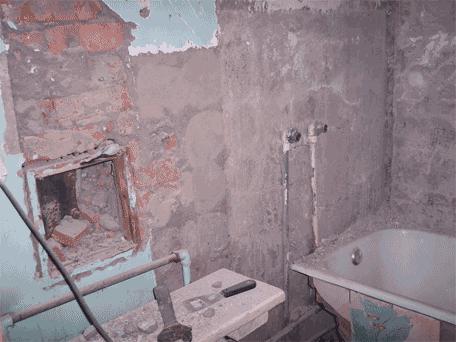
- If it is in the bathroom or toilet, an old blanket is placed on the plumbing, protecting them from splinters from old tiles.
- At the end of the work, you only need to carefully roll up the film, and then throw it away.
- Necessarily used means to protect the eyes, respiratory organs and hands.

- In the selected way, the tile is removed from the wall.
- The wall is cleaned of the old mortar, so that the surface is smooth, without pieces of mortar.
- Garbage is removed from the room.
There are many ways to remove tile from the wall without damaging it. The main thing when carrying out work is to choose the best option, do all the work carefully and slowly. Then the tile can be used not only for facing utility rooms, but also in the bathroom and in the kitchen.