How to glue vinyl wallpapers - tips for living

Since ancient times, people decorate their home using wallpaper. But if in the recent past, they were only of two types - expensive fabric and cheap paper, today the assortment of materials is much wider. In this article we will talk about vinyl wallpaper.
Why about them? Everything is very simple - this is a material that simultaneously combines accessibility, quality and a wide variety of textures and colors. After reviewing the article to the end, you will learn how to glue vinyl wallpapers correctly, saving your energy and nerves as much as possible.
The content of the article
The first stage - work with the surface
The guarantee of quality when gluing wallpaper is 90% the foundation on which the roll coating will hold. If you do everything correctly, you will forever forget about the peeling off edges and swollen seams.
So let's get started.
We remove the old finish
The first thing you need to remove from the walls is everything that interferes with further work.

If the room under repair has old wallpaper, then they must be removed to the very bottom (seeHow to remove old vinyl wallpapers from the walls yourself) Of course, if you do not want to breed dirt and do not chase the ideal appearance of the room, then please, you can leave them. But in this case, quality is out of the question.
- To make your task easier, use a special wallpaper remover. It perfectly penetrates the surface structure and softens the old dried glue.
- The instruction of this structure says that it should be enough for 200 square meters, but do not rush to trust the marketers. In fact, this figure is designed to match all favorable conditions (smooth walls, a surface with high adhesion, etc.), and on walls where, for example, there are two layers of wallpaper, consumption increases significantly.
- In secret, we’ll tell you that you can use a composition instead of it, the average price of which is 30 rubles per cubic meter — this is water. It impregnates the surface a little worse, but it is better to spend the saved money on better glue, for example, Quelyd (a great French-made glue that leaves far behind even such well-known competitors as Metylan).
-
- Wet the surface with water

-
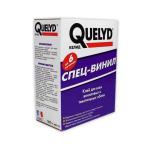
- Best glue for the money

Before the repair, buy yourself a plastic bath and a roller - we will use them to apply all the compounds that we encounter along the way. The advantage of the bathtub in front of the bucket is undeniable, since the ability to remove excess moisture from the tool allows you to do all the work more accurately.
Moisten the old wallpaper well (preferably twice), and let it soak for five minutes, then start to take it off. To do this, use a wide (20 cm - enough) sharp spatula. If the lower layers are poorly saturated, then repeat the treatment with water - and so on until complete cleansing.

The photo above shows the wall after removing the wallpaper. This picture is easy to find in almost every apartment that stores traces of the Soviet decoration. Here is the bottom layer of glued wallpaper glued to PVA, which is very difficult to remove.
Next, we see large craters on the surface of concrete - a frequent occurrence in houses with thin partitions. It arises as a result of drilling a wall (installation of doors, a canopy of furniture and accessories), and if you look closely, you will see the shiny tips of the anchors that are clogged from the back.
Well, you can’t get away from the exfoliating putty, which also needs to be cleaned to a solid foundation - whether it be concrete, or plaster. If the surface painted with enamel is exposed under the wallpaper, then do not rush to get upset; there is no need to remove it. Enamel is an ideal surface for wallpapers with absolute adhesion, which saves you from the need to apply soil.
Level the surface
The thinner and more expensive the wallpaper, the more even and smooth the surface for them is required. Remember that each bulge on the wall leads to deformation of the canvas, which complicates the smoothing and joining of joints, therefore, it is best to start with the alignment of the walls. But if you are not going to arrange a major overhaul, then you can limit yourself to patching potholes and puttying (seeHow to putty walls in different versions).

So:
- First, use a dry brush and clean out all the dust from the chipped places. After that, it is necessary to thoroughly moisten the surface of the pothole with a primer - this will bind the remaining dust and improve adhesion. Let the soil soak and dry.
- Crack repair is most convenient using gypsum-based plaster. It, unlike pure gypsum, has a long production time, and, thus, allows you to do the job more thoroughly. This is a big plus for inexperienced people who decide to do everything with their own hands.
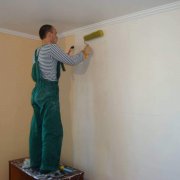
- The next step is to apply the soil to the walls. The corners of the room, as well as places under the ceiling and the floor, brush separately, as here the wallpaper is most often peeled off.
-
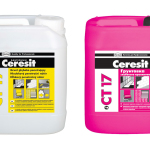
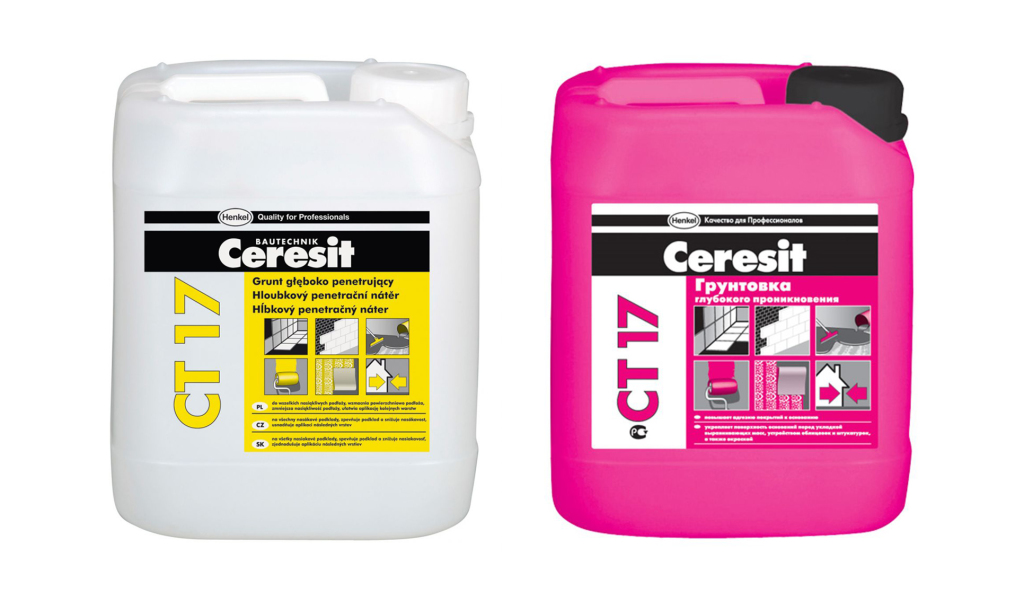
- Deep penetration soil is important for the result.
-
- Universal putty perfectly suits the wallpaper
Now we take the putty knife in our hands, and to create a smooth surface, we begin to coat the wall with putty. The more layers you apply, the better the final result. But if the walls were not previously plastered, then the appropriateness of applying more than two layers is extremely doubtful.
After the wall dries, it needs to be sanded. Use a medium or fine abrasive mesh for this.
Next comes the most crucial moment, the correct implementation of which will greatly facilitate your work in the future - this is the priming of the walls under the wallpaper. It would seem that nothing special, but in reality everything is different.

- Unlike a brush, when applying glue to the wall with a roller, a thin layer forms, which facilitates the process of smoothing and removing air from under the canvas. But due to the fact that the wall draws moisture into itself, this layer is not enough for a long time, and the wall dries quickly. Because of this, you may not have time to smooth out the strip of wallpaper normally, and it will begin to peel off. The most annoying thing that you notice is only the next morning.
- Therefore, priming is carried out in several stages. First apply a deep penetration primer to all walls (seePrimer for wallpaper: which one to choose and how to use) Do not artificially reduce the flow - the soil should literally drain. Give it half an hour to absorb and repeat the whole procedure again. Now you need to give 2-3 hours of drying time.
- For the third layer, we will prepare the solution ourselves from wallpaper glue. To do this, mix it with cold water in the proportions indicated on the pack. We process the walls with the resulting mixture and let it dry well.
Advice! Be careful, as two recipes are indicated on the package: one for priming, the other for gluing.
As for the ceiling, we add the following. All work on the alignment, painting and installation of ceiling moldings must be completed before gluing. It is also advisable to lay the finishing flooring (except for the carpet) in advance so as not to damage the walls in the future. The exception is the floor skirting boards, which are installed last.

Glue wallpaper on the wall
The main feature of vinyl wallpaper is the presence of a layer consisting of polyvinyl chloride, applied on a paper or non-woven backing. In fact, this is ordinary plastic, which has some elasticity.
Soften the structure
There are wallpapers in which either poor-quality vinyl, or too much of it, because of which they are poorly saturated and extremely reluctant to change the shape that they took as a roll.
That is why all vinyl wallpapers, even on a non-woven basis, must first be impregnated with glue. In the language of wallpaper masters, this procedure is called “brewing”. Let's figure out how to execute it correctly.

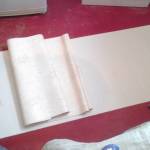
Measure a piece of wallpaper to the height of your room. Fold them in half at the place of the resulting mark, making sure that the edges do not scatter when bent.
Cut the canvas at the fold using an assembly knife or tailor's scissors. Buy several packs of blades for a stationery knife at once, because when cutting paper, they get dull very quickly.
Advice! If the wallpaper you use does not have a picture that needs to be joined together, then to accelerate, cut the entire roll at once.

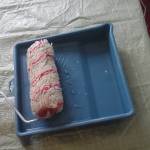
Spread the resulting piece on the floor, and spread a thin layer of glue on it with a roller. Make sure that the edges of the canvas do not remain dry. In order to prevent trash from sticking to the roller, which will then fall onto the wallpaper, do not forget to wash the floor with a damp sponge every time before applying glue to a new batch of wallpaper.

-
- Folding wallpaper

To better soak the wallpaper, they must be folded. To do this, bend alternately both edges to the center, making sure that they do not overlap each other. After we fold them two more times and set them aside, allowing them to stand in this form for at least five minutes.
We also act with all the other cut pieces. In order to have time to produce such blanks, do not simultaneously brew more than five pieces.

Wall layout
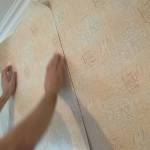
Next, apply glue to the wall. We coat the lower and upper edges separately with a brush. Is it worth reminding that the floor should be clean.
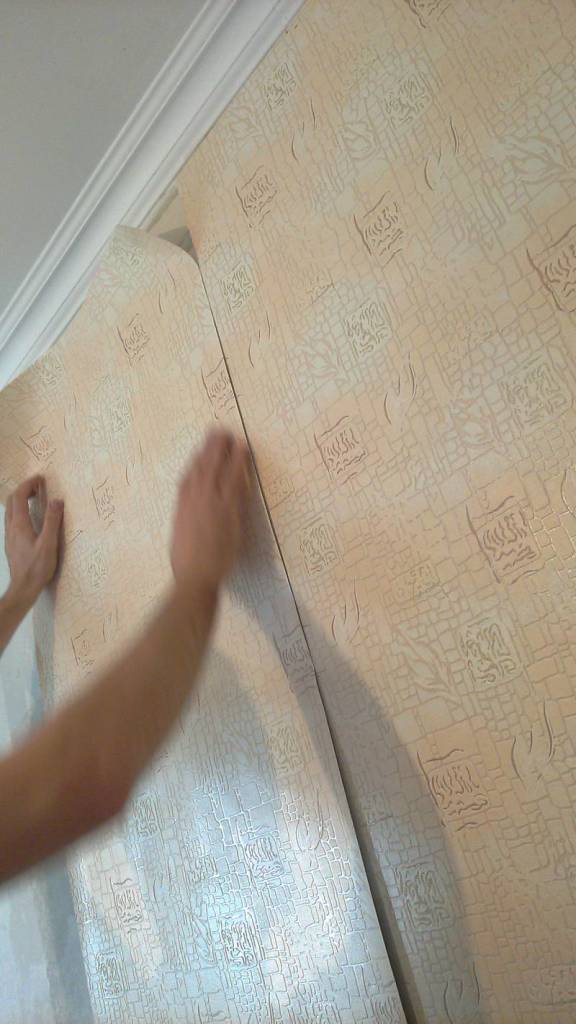
After we unfold on the weight the already soaked blank of wallpaper, and apply it to the intended place. We join the seams with the parts already pasted, and begin to smooth the canvas from the bottom up. For this procedure, you will need a special trowel and rubber roller that effectively expel air and excess glue from under the wallpaper.
-
- How to glue wallpaper - vinyl and paper
-

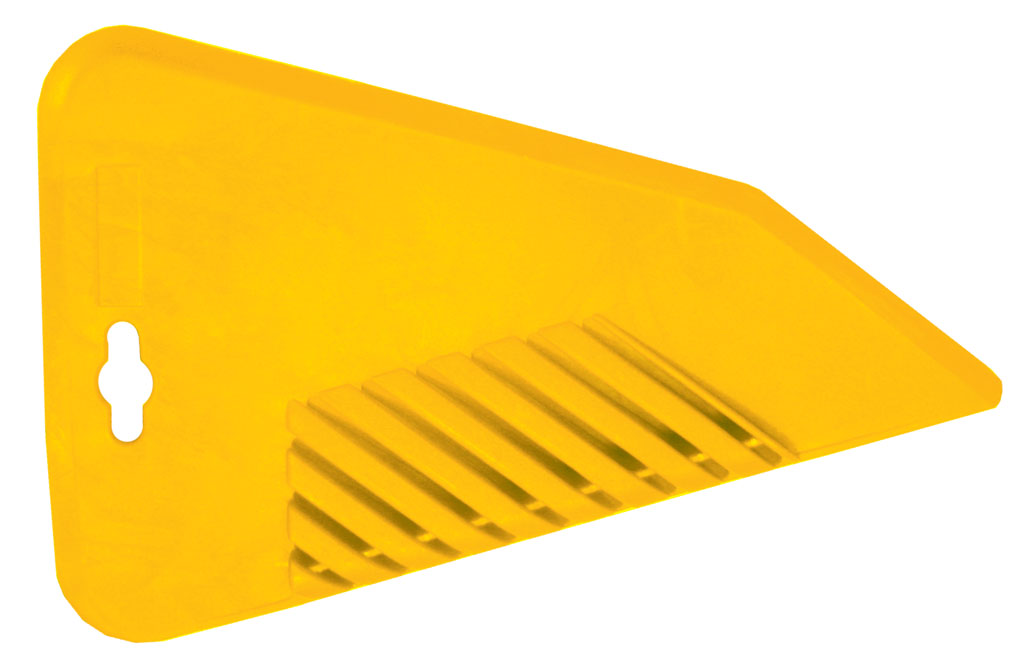
- Wallpaper spatula
-

- Wallpaper roller

When gluing the first piece to the wall, it must be aligned vertically, for which use the building level, which must be applied to the edge of the canvas. To simplify your task, first draw a vertical line on the wall.
Advice! If you see that the seams between the wallpapers do not adhere well, then grease them with glue.

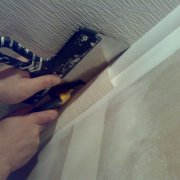
Now you need to cut off the excess wallpaper at the edges of the canvas. If the lower part may not be even (the edges are covered with a plinth), then on top - every millimeter counts.
For an accurate cut, perform the following steps:
- We bend the wallpaper under a baguette, squeezing a corner with a plastic spatula for wallpaper.
- Next, apply a long metal spatula to the corner from the side of the wall, thereby fixing the canvas.
- Using the edge of the spatula as a guide, cut the paper with a clerical knife. This method is difficult to apply if the wall is curved and does not allow to put the spatula evenly. In this case, it is better to rely on your eye, as the master did in the photo below.

Do not forget that wet wallpapers are very easy to tear. Therefore, use only sharp blades, changing or breaking off their sections every time you feel that they have become worse cut.When cutting, keep the knife at the sharpest angle to the wall.
So:
- In a similar way, wallpaper is also cut when joining edges on which there are no factory seams. Most often, this technique is performed over the door and window openings, in the corners of the room and inconspicuous places. It allows you to avoid such a harmful effect on the aesthetics as gluing.
- Let's see how it is done in practice. When the wall is glued on both sides at the same time, in the middle there will certainly remain a section whose width will not coincide with the width of the roll. We cut a piece of the desired length and glue it, joining along the seam on one side, and overlapping with the other.
- Smooth the canvas, and feel for the border of the lower canvas. We retreat from him 1-2 centimeters, put a spatula and cut both layers. Then bend the edges, and take out the resulting trim. Lubricate the wall again with glue, and overwrite the resulting seam with a trowel, which is often more inconspicuous than the factory one.
The entire subsequent procedure is monotonous and monotonous, so having mastered all of the above, you can easily tell anyone how to glue vinyl wallpapers. To strengthen your theoretical knowledge, also pay attention to the video that we picked up for this article. Well, by itself try, create and consolidate the training material in practice.