After putty, do you need to prime the walls, and why do it in front of it
The technology of many construction and finishing operations includes such an obligatory stage as surface priming. It is recommended to perform it before plastering walls, pouring floors, painting various designs, etc.
In this article we will talk about at what stages of leveling and decorative decoration of the walls a primer is required, what functions it performs and how to make it with your own hands.
The content of the article
Primer Properties and Purpose
To understand why a primer is needed at all wall decoration or ceilings, you need to learn about its properties and purpose, the ability to influence both the base and the applied coating.
You don’t have to understand all the features of the material if you entrust the work to a trusted master. This will save energy, time and guarantees that the work will be performed efficiently.
Basic properties
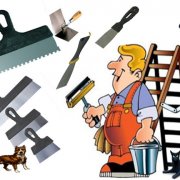
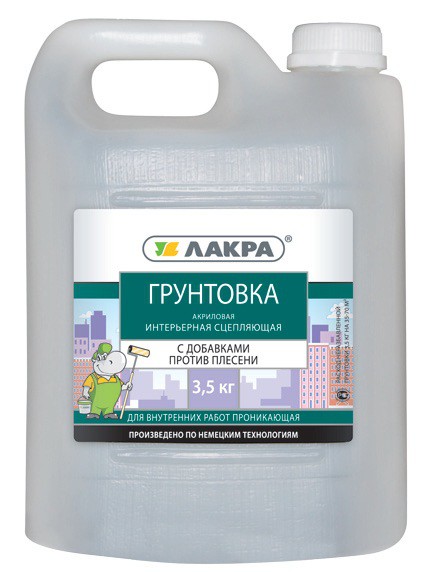
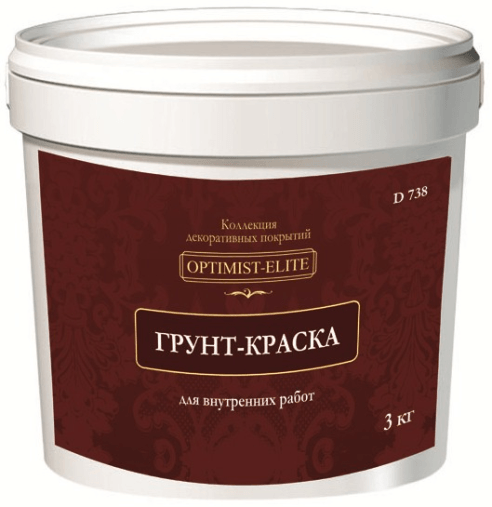
The primer can be different both in composition and on the principle of exposure to materials and scope of application (see Types of construction primers and their scope) To understand how and for what this or that composition is used, the instruction on the package helps.
And yet there is a list of properties inherent in all primers:
- The ability to increase the adhesion of materials to each other. This property is called adhesion. The higher it is, the better it will stay on the base treated with a primer, any finishing layer. In other words, with this tool we can significantly improve the quality and reliability of the finish.
- The ability to fill pores and small cracks on the surface. When they get into them, the components of the primer polymerize upon drying, preventing moisture from entering the structure of the material and protecting it from destruction;
- The ability to create the thinnest film on the surface. Thanks to it, the absorption properties of the base are reduced, and the subsequent finishing layer lays evenly, and its consumption of materials for its creation is reduced. In addition, this film dedusts and strengthens the surface, linking its particles together, preventing them from shedding.
Additional and auxiliary properties
The choice of primer is affected not only by its price. First of all, the base material on which it will be applied, as well as the conditions in which the repaired structure will be located, are taken into account. In accordance with these factors, a primer with certain properties is selected.
For instance:
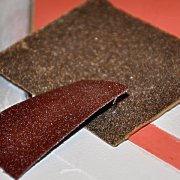
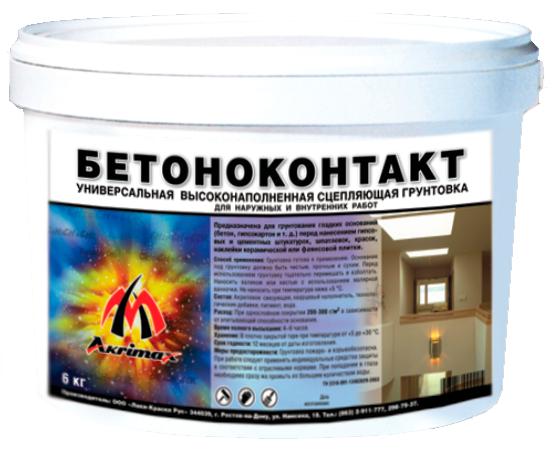
- Walls made of concrete, as well as coated with oil paint or tiled wallshave a very smooth surface on which plaster or putty does not fit well. They are treated with a special primer with the addition of particles of quartz sand or other abrasive, which makes the walls roughened.
- Prior to painting, metal surfaces are coated with a soil with anti-corrosion properties that prevent rust.
- For wooden structures, it is recommended to use a primer with additives that make them resistant to fire and harmful insects (see Primer for wood and the rules for its selection).
- If the room is poorly heated, exposed to water vapor and other negative influences, it is reasonable to use a primer with antibacterial properties to prevent the occurrence and growth of mold.
The type of finishing materials also matters. For painting with acrylic and water-based compositions it makes sense to cover the walls with acrylic primer.
For wallpaper, you can use liquid diluted wallpaper glue. A wooden base for oil paint is preferably treated with linseed oil.
In a word, the presence of certain additives in the primer gives it certain properties, which should be taken into account when choosing.
Tip. Excipients and additives increase the cost of the product. In order not to overpay, buy a primer only with the properties you need.
At what stages is the primer necessary
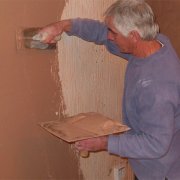
We will fully consider the entire process of wall decoration to understand at what stages they need to be primed. Plaster-primer-putty - the sequence of these actions is standard.
But is a single layer of soil between two leveling layers enough? Or will others be required?
So:
- If you have a new concrete or brick wall in front of you that needs to be plastered, its priming will strengthen the surface, enhance its adhesion to the stucco, and, if necessary, protect it from mold.

- If you have to repair the “secondary” with preliminary cleaning of the walls of the old falling plaster, after this procedure, you also need to prime the surface to strengthen and even absorb properties.
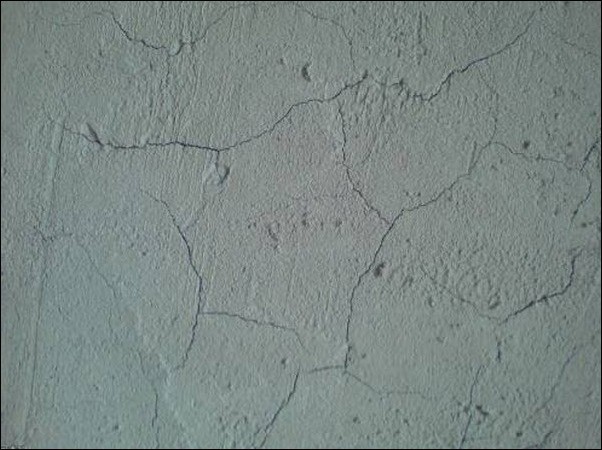
- Frozen plaster mortar due to the high content of sand in it forms a rather loose surface with particles crumbling upon mechanical impact and a low level of moisture resistance. Impregnation with a primer, in addition to improving adhesion, eliminates these disadvantages: turn the plaster into a solid, monolithic, moisture-resistant slab.
It is important! Primed surfaces can only be primed after the mortar dries to its full thickness. This may take from several days to several weeks.
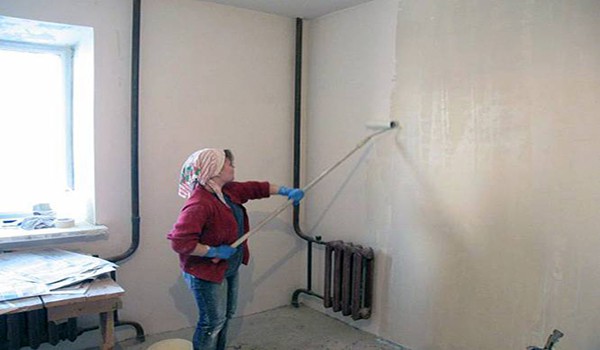
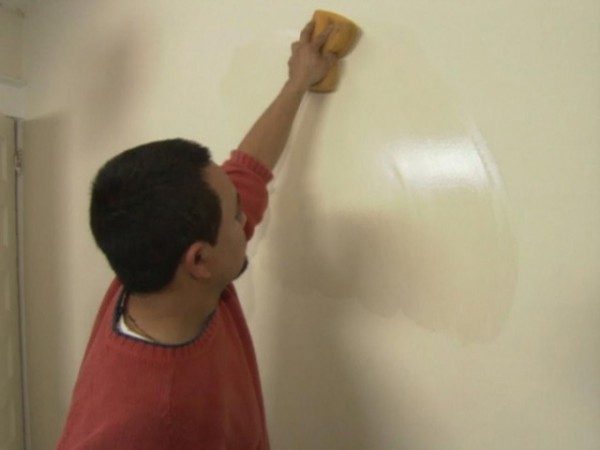
- An important question: how long after the primer can I putty the walls? By technology, this is done after the surface absorbs the composition and dries. But you should not allow dust to settle on it, ingress of oily and oily substances. Therefore, the primer, which requires an average of 2-4 hours to dry, is applied after cleaning the premises and shortly before puttying.
- If you putty the walls after removing wallpaper or other coatings from them, without beating off the old plaster, the primer is again obligatory even if it was used during the previous repair. It will make the surface more durable and cover with an impermeable film all possible household stains on it, which can appear through new wallpaper or paint. The rule, after how much can be puttied after the primer, remains the same.
Note. To achieve maximum reliability of the plaster and putty, it is recommended to use the primer after each applied layer, no matter how many there are. An exception can be made for materials of the same grade and composition, i.e. if plaster, primer, starting and finishing putties are products of the same line of a certain manufacturer. In this case, only the base, the last plaster and finish layers are primed.
- The last layer of soil is applied to the finally leveled walls before their decorative decoration.It will save on wallpaper glue and paint, which will not be absorbed into the putty, so their consumption will be lower. Rusty, oil and other stains under the leveling layer or on it will not appear through the decorative coating. And at the next repair, it will be easier for you to remove the damaged coat from the walls without violating the integrity of the base.
Conclusion
Based on the foregoing, we can conclude that with a full finishing cycle, including plaster, putty and decorative coating, the primer is applied at least three times: before starting work, after roughing with cement mortar and after finishing putty.
In the case of plasterboard or wooden surfaces that do not need plastering, one or two layers are sufficient, depending on the type of finish. Knowing why a primer is needed at all and how it affects the characteristics of the substrate, you can easily determine the need for its application at each stage.
To consolidate the knowledge gained, we suggest you watch the video in this article.