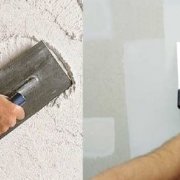
Putty walls in different ways
Before finishing, any surface needs preparation. Putty will help mask defects and level the building foundation. This composition can also be used for finishing walls. There are several ways to apply the composition and each of them has advantages and disadvantages and rules of use.
The content of the article
Mechanized work
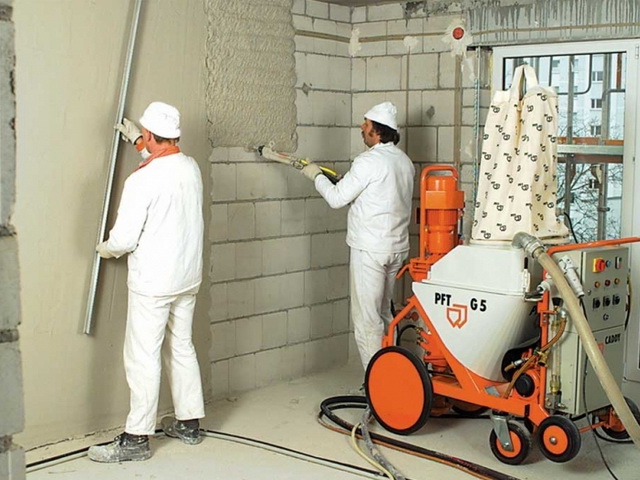
Mechanized puttying of walls is the application of a composition using special equipment. The putty method provides high labor productivity, and improves the quality of the leveling of the building base.
Advantages and disadvantages
Advantages of the mechanized method of puttying:
• Reduced uptime. By manual method, the composition is applied four times longer.
• Fast and high-quality solution preparation. Special equipment allows you to cook a tool of the desired consistency (thick sour cream) in a short time.
• The product is applied evenly. No stains and other defects, as with manual surface treatment.
• Saving putty. In the process of preparing the solution, the composition is enriched with oxygen, which contributes to an increase in the volume of the product. Due to this, product savings are achieved.
Puttying walls using mechanics has one, but a significant drawback is the high price of the equipment. If the repair is not done with your own hands, but ordered from professionals, then this will be expensive. Price - 360 rubles per 1 m2.
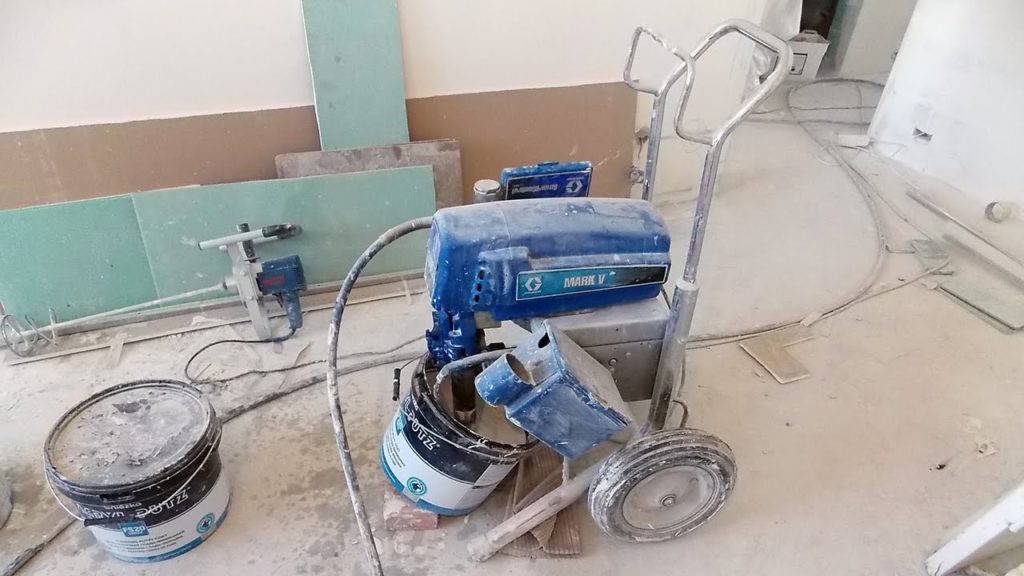
Necessary equipment
Mechanical processing of the walls with putty is carried out only if there is a special unit, the kit of which includes:
• receiver composition;
• mixer, kneading solution;
• device for supplying funds;
• compressor;
• Control block.
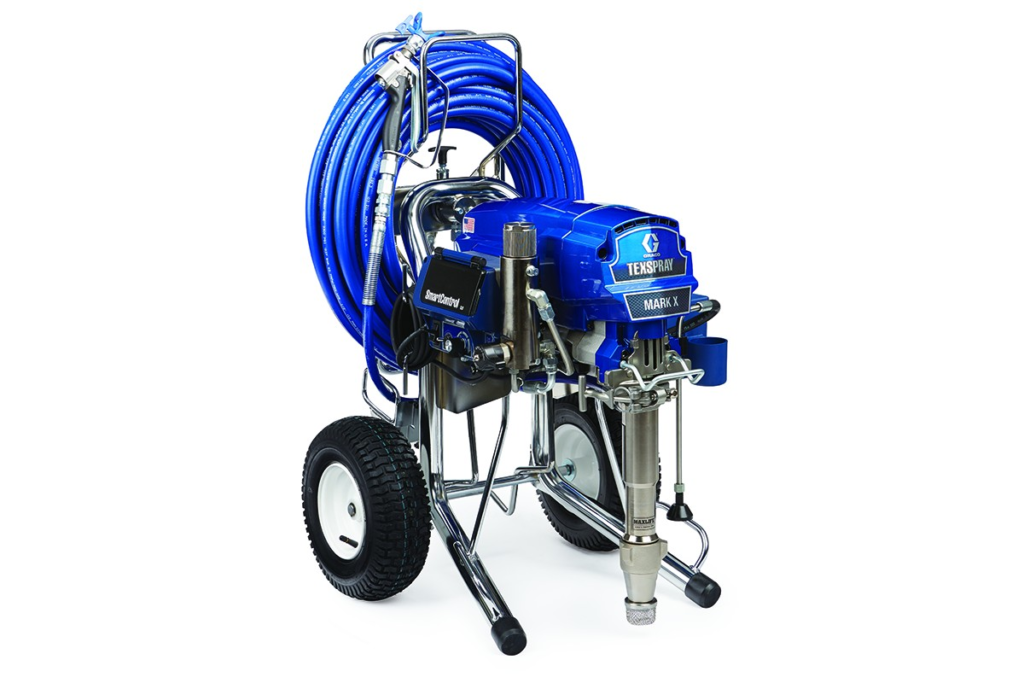
Instead of the unit, a pump for applying the agent is also used, which differs from the station in the absence of a mixer. The solution is prepared on its own. After that, the receiver is immersed in a container with the product and the medium is supplied under pressure through a hose.
Solution preparation
If a station is used for puttying, then you will not have to prepare the composition manually. The dry mixture is poured into the receiver, the device is connected to the water supply and driven. If the pump is used for work, then the dry putty is placed in a container and diluted with water in the ratio indicated on the package. Next, the solution is mixed with a construction mixer. After that, the composition is used for its intended purpose.
Application of the composition
Putty instruction using mechanics:
• Prepare the base. Clean the surface of old coatings, oil and grease stains, as well as dust, mold and mildew. Then apply primer to the wall.
• Aim the machine gun at a building base at a distance of 30 cm.
• Apply the product on the surface starting from the corners. After each layer, take a break to solidify the composition (drying time is indicated on the package);
• Clean the surface and apply the primer. When the primer is dry, you can proceed to the finish.

Manual puttying
Puttying the walls manually is the application of the composition to the walls without the use of special mechanical equipment.
Advantages and disadvantages
The advantage of manual puttying is that work is not expensive. For professionals, the cost of a service without materials is from 80 rubles per 1 m2. If you carry out repairs yourself, you only need the material and tools, the price of which is lower than the cost of the station for applying the composition.
Disadvantages:
• low labor productivity;
• uneven application of the product (even if the work is performed by a professional, traces of a spatula still remain).

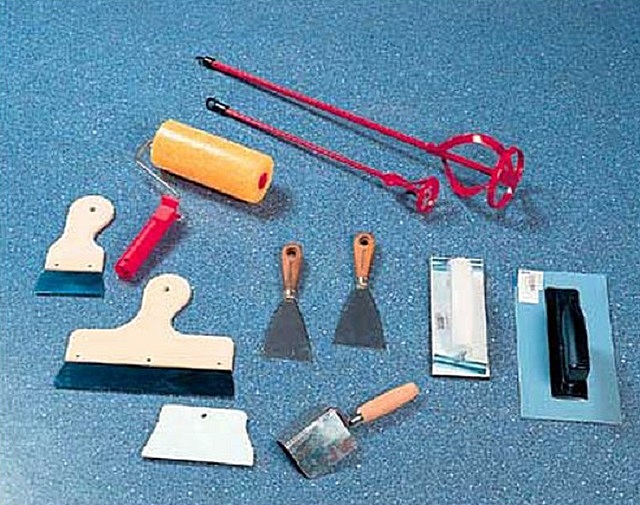
Materials and Tools
For puttying the following materials and tools will be required:
• putty;
• primer;
• brush, roller or spray gun;
• set of spatulas;
• sandpaper;
• glasses and a respirator;
• a container and a construction mixer for the preparation of mortar, provided that a dry mixture is used.
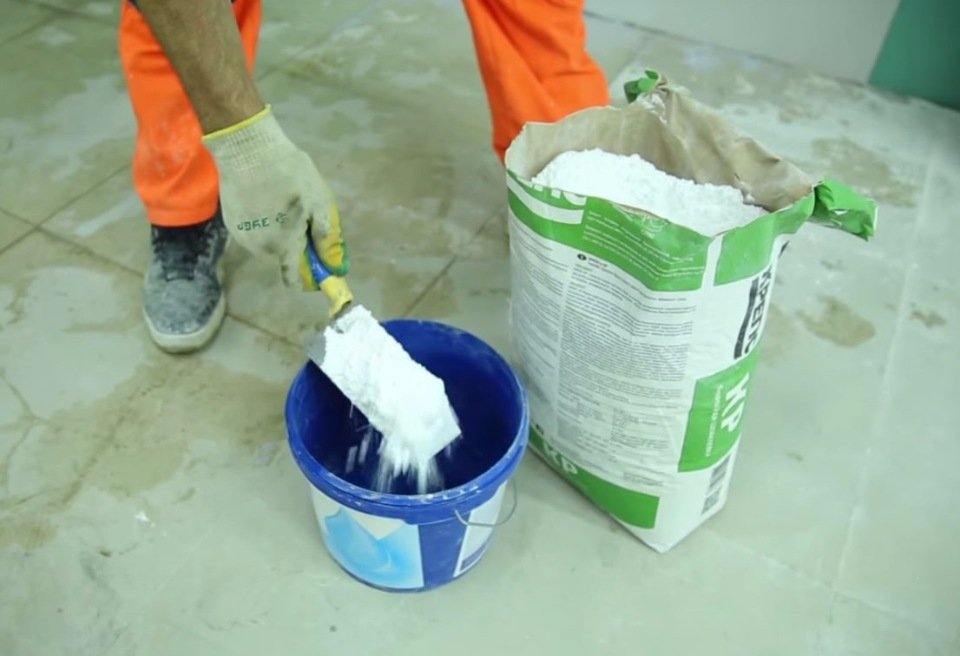
Cooking Tools
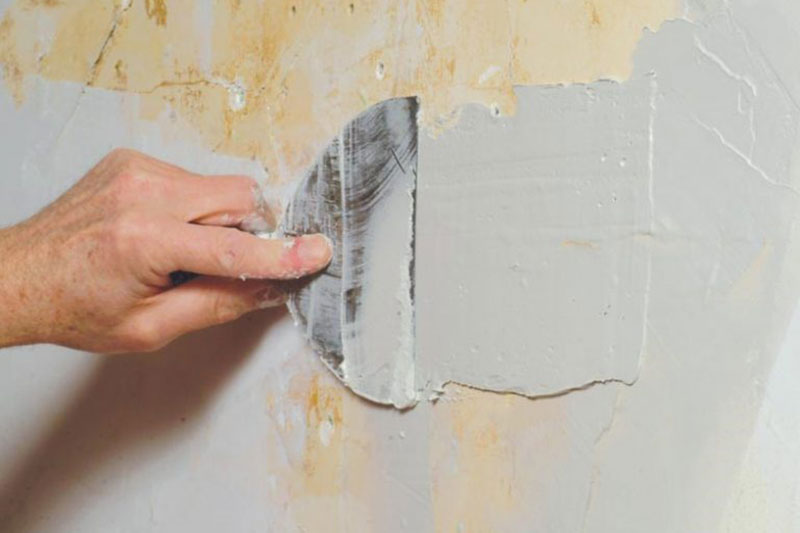
Put dry putty in a container (as in the photo below) and fill it with water (the proportions are indicated on the package). With a construction mixer, knead the solution to the consistency of thick sour cream. Leave the product for 15 minutes. The composition is ready to use.
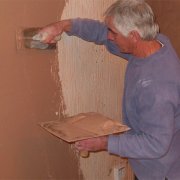
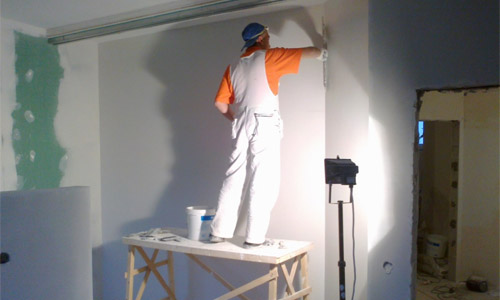
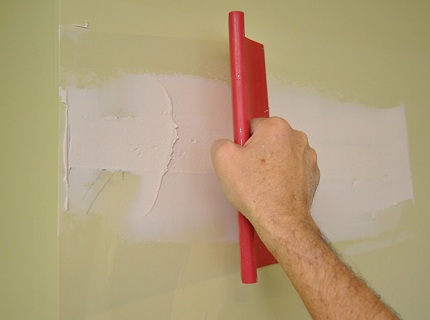
Putty application
Wall putty order:
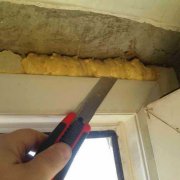
• Prepare the surface. Remove the old coating and clean the base from dust. Then degrease the surface and treat with an antiseptic solution in the presence of fungus and mold. When the base has dried, apply a primer.
• After the primer has hardened, apply the starting compound to the surface. Fix defects first, then spread the product over the surface. Layer thickness - 2-5 mm.
• After the starting agent has dried, apply the finishing composition. Layer thickness - 1 mm.
• When the product hardens, clean the surface with sandpaper P 120 or P 150. Then prime the base, after drying you can proceed to the finish.
Puttying painted walls
Putty painted walls has its own specifics. It consists in preparing the foundation. It was said above that before puttying the old coating is dismantled. However, if oil paint was used and the composition adheres well to the surface, then the finish can not be removed. A primer is applied to the wall and putty is carried out according to the traditional scheme. In other cases, the coating is dismantled.
Puttying clay walls
Putty clay walls also has nuances. In addition to the basic tools, a reinforcing mesh with a small cage is required. Work begins with the identification of defects. If cracks are found, expand and deepen. Then apply the primer and wait until it dries. Next, fill the crack with starting putty. On top, fix the sickle, pass with a spatula and put another layer of mortar. Take a break to freeze the product. After this, apply the primer in two layers. If the putty is made under the wallpaper, then after drying the primer, apply the composition to the surface. Then prime the base and after the mortar has hardened, put the finishing putty. When the solution dries, clean the surface and apply the primer.
In the event that the puttying is done for painting, then reinforcing the entire surface can not do. Apply the starting putty first. On top of the composition, fix the reinforcing mesh. Swipe the spatula with a spatula and apply another layer of starting solution. After the composition has dried, treat the surface with a primer. When it dries, apply a finishing putty. Then clean and prime the surface.
Putty wall decoration
Recently, putty patterns on the wall are very popular.With this composition, you can create magnificent bas-reliefs on the surface. Beginners are encouraged to start with simple compositions and only after acquiring certain skills can you move on to complex drawings.
Tools and materials
To work, you will need:
• set of spatulas;
• a simple pencil;
• brush;
• putty;
• primer.
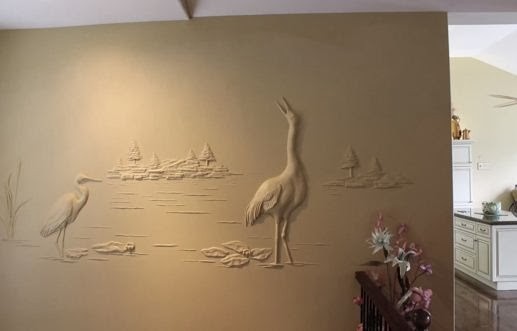
Pattern Technique
Puttying on the wall is done after surface preparation. Level the building foundation. Putty the surface and primer, as before finishing. Then apply putty with a layer of 10-15 mm. When the composition hardens, make a sketch of a future painting with a simple pencil. After that, take two narrow spatulas and putty in several layers at the office of the painting. With one spatula, the product is put, and with the other, excess solution is removed, which went beyond the edges of the picture. So a relief picture is obtained. The drawing can be any - flowers, animals, butterflies, birds, etc. When the figured stucco hardens, the picture can be painted in any shade. If you originally used colored putty, then this is not necessary.
The video in this article will demonstrate how to create wall patterns using putty.
The choice of putty method depends on the material capabilities and the ultimate goal of the work.