Ceiling decoration
The content of the article
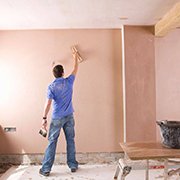
Mounting a stretch ceiling
Installation stretch ceiling - a service for which traditionally even specialists who have independently made the rest of the repair work at home turn to specialists. If there is no way to contact repairmen, you can watch a video with step-by-step installation of a stretch ceiling and make it yourself.
Before starting work, we advise you to think through the stages of finishing, draw up a plan. The first thing to do:
- Measure the room, given the unevenness of the walls, elevation differences, take into account where there will be holes for lighting, other electrics. Precise metering will provide laser roulette.
- From the polyvinyl chloride film cut the canvas.
- Install the frame from the profile around the perimeter of the room and secure the canvas. Functionality and appearance depend on this stage.
If in doubt, video tutorials will help you do the installation of a stretch ceiling with your own hands without errors.
Primer Ceiling
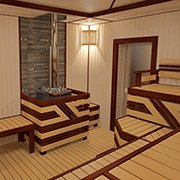
Cladding ceiling
Natural wood panels look respectable on all surfaces, including the ceiling. The service life of profiled boards is large, with proper care. The processing of panels with solutions will help increase the fire resistance of such a coating.
Note that only rooms with high ceilings can be finished with lining, since the frame understates the room. But inside the structure will fit layers of heat and sound insulation.
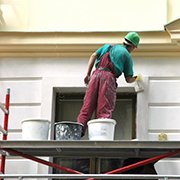
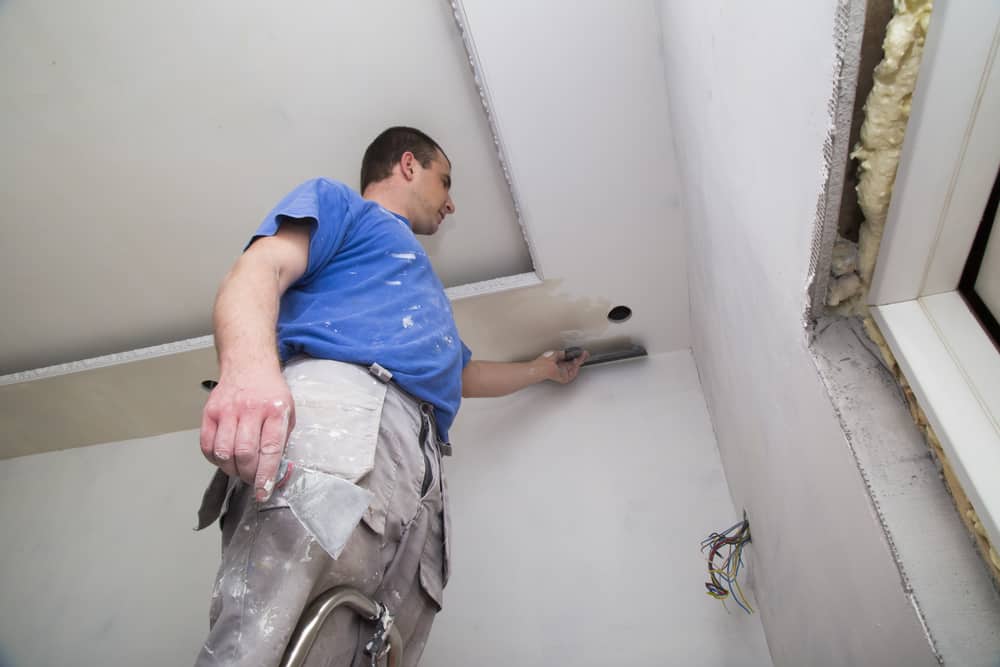
Plasterboard ceiling installation
Ceiling Video drywall do it yourself is a source of inspiration for owners who prefer to realize the finish on their own. If the ceiling provides for the embodiment of complex design - drywall will embody it. For example, from GKL sheets, it is easy to mount a ceiling consisting of several levels.
- For installation, in addition to the sheets themselves, basic and guide ceiling profiles, self-tapping screws and dowels are required.
- Before starting work, it is recommended to draw a plan for the future design and mark the ceiling according to it.
- Next, a crate is mounted, which is sheathed with drywall, previously cut according to measurements from the plan.
The stages of decorating the ceiling with gypsum do not require specialized skills, but it is difficult to work alone with sheet material, help will be required. But one person can apply the topcoat - water-based paint, wallpaper or decorative plaster.
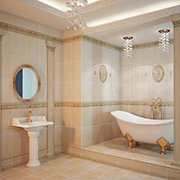
Ceiling Tile
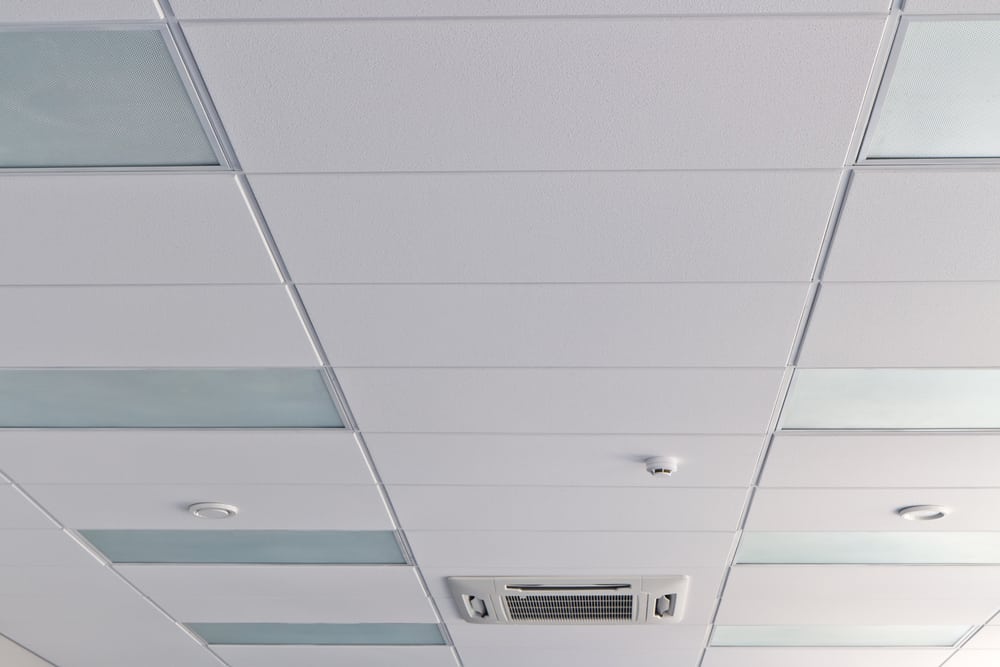
Plastic Ceiling Finish
Trimmed plastic panels the ceiling is also polyvinyl chloride, as well as stretch, only PVC here takes a different shape. Mounting panels is easier than film. Often there are videos on decorating the ceiling with plastic panels with your own hands in the bathroom and in the kitchen, where you need durability, ease of cleaning.
The choice of color is determined by the style of design of the room, the classic version of neutral light tones is considered. But for a kitchen or bathroom in high-tech or fusion style, bright contrasting plastic is suitable. Calculate in advance the number of profiles, suspensions, screws and "liquid nails." This is a consumable item, so take it with a margin. Do not forget about the corners of plastic. They will require a jigsaw, a hammer drill and a screwdriver.
Conclusion
Choose a material for decoration, based on the premises, the chosen design decision. Keep in mind that each material has its own characteristics. Use the videos collected in the article to avoid inaccuracies and get a good result.