Skirting Installation
Plinth installation on the floor and ceiling is a cherry on the cake of finishing finishing works. It is carried out in the last turn, therefore, in many freshly-repaired own-use skirting houses for a long time remain unassembled. The hosts postpone the completion of the finish for later, since installing them without special skills is a troublesome task. In vain. After all, the baseboards, in addition to giving the interior a complete look, also prevent the accumulation of moisture and dirt at the joints. If it is still permissible not to rush in the rooms, then in places of increased pollution it is harmful to delay. That is why the installation of a kitchen skirting board, for example, is the urgent task of the owner.
MDF, ceramic or metal as a baseboard material occupy a niche in the market, but are not in high demand. Plinths made of wood and plastic remain popular. Since a ceramic sample is not universal, a metal one is expensive, and installing an MDF skirting board will require regular minor repairs, the material does not differ in strength. The latter is addressed when a specific color is needed. For example, MDF white skirting is suitable for some coatings, the installation of which is generally similar to a plastic sample.
That is why in this article we will consider in detail what features involves installing plastic and wooden skirting boards on the floor and ceiling.
The content of the article
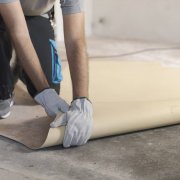
Installation of floor skirting
Given a standard rail length of 250 cm, calculate how many racks you need. Sum the length of the walls of the room, get the perimeter, divide by this number. It will not hurt to buy a few pieces more (we take into account the calculation error and prepare the stock for partial replacement due to damage). Plinth installation on the floor begins with marking and sawing products. Further operations depend on the selected material of the rails.
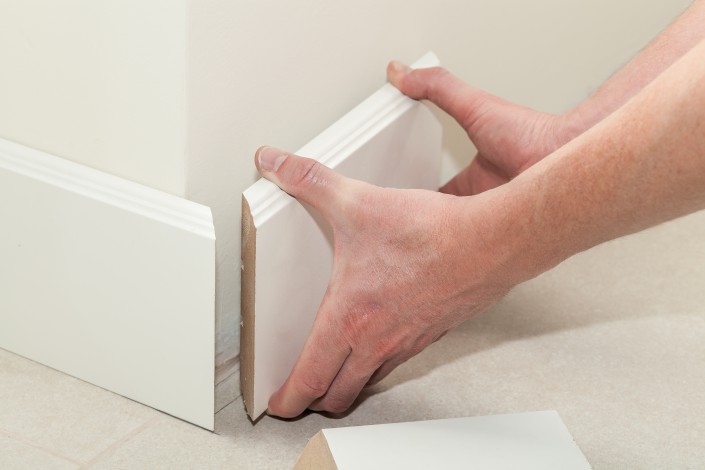
Installing a wooden skirting board
There is nothing difficult in installing a skirting board with your own hands, if you follow the instructions and be careful. Moving from simple to complex, it’s more logical to first put those structural elements that are ready for this, that is, put together. Then take up the sawing and filling in the remaining gaps. If the furniture arrangement project is already ready, we hide the joints of the skirting boards behind the supposed furnishings.
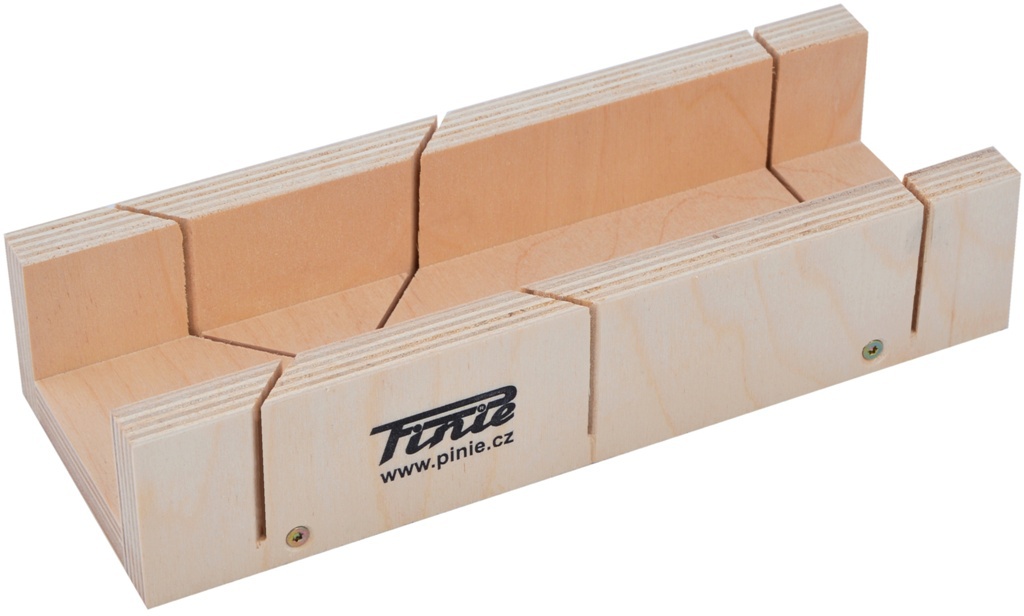
Having thus prepared the parts for installation, we proceed to fit. Installation of floor plinths made of wood does not involve the use of corners. Since the walls in apartment buildings are rarely found perfectly smooth, the perpendicular angles are actually not 90 degrees. This complicates the preparation of the components of the plinth, adding to the trim on the miter the step of manual adjustment. The miter box is a joiner's device for cutting at a given angle, which is bought in advance or made from improvised materials. Small gaps between the joined rails at the end of installation are masked with sealant and putty in the tone of the material.
We screw the screws into the machined and fitted rails until we see the point on the wrong side. In the choice of self-tapping screws we are guided by considerations of maximum length with a minimum diameter of the cap. Pressing the baseboard with the self-tapping screw screwed into the wall, leave a mark at the corresponding point. We check the distance between the marks for equality, to improve visibility, we point the places of future holes with a pencil and drill.When the holes are ready, put the dowels in there, apply a part of the baseboard, finally fix the screws on top.
A less visible outwardly alternative to fasteners is finishing nails, which are used in conjunction with wooden dowels. Such a replacement is not advisable for plasterboard or concrete walls with a loose structure, because they will not stay inside.
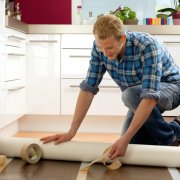
Installing a plastic baseboard
The installation of the PVC skirting board differs from the installation of wooden samples. For example, special masking accessories come to the aid of the master in fitting, which means that the final joining of the elements is not critical in the appearance of the product. A set of accessories for a plastic baseboard includes 2 plugs (right and left), an inner and an outer corner, a docking part for connecting the rails.
Start by installing suitable fittings in the corner or at the doorway (adjacent to each other). In the first we insert the end of the rail, at which we mark the distance to the second, taking into account the additional half a centimeter, since the rail goes inside the fastening element.
When the whole rails are installed and it remains to mount the parts, we change the tactics and instead of applying the element and putting a mark, we take up the ruler. To the measured distance, add a centimeter to the error, cut off part from the rail. Then we correct, gradually cutting and controlling the entry of this part into the gap between the hardware parts. As in the case of a wooden skirting board, we use a miter box to maintain the straightness of the corners when cutting.
For confident drilling holes, experts advise using a home-made conductor and a drill with the function of a hammer drill. If the walls in the room are not very curved, it is recommended to drill holes with a half-meter indent. From the bottom we retreat to a distance from the floor level to the middle of the cable channel of the future baseboard. Installation of plastic skirting boards, i.e. light ones, involves small 30-mm dowels (external diameter 0.6 cm) in combination with 3.5 × 25 self-tapping screws.
From a set of accessories, the most reliable and accurate fastening requires external corners. In reliable, because it is easy to hook on the protruding element, passing by and violating the integrity of the structure. In neat, because there is a risk of chipping the corner when drilling the holes for the dowel.
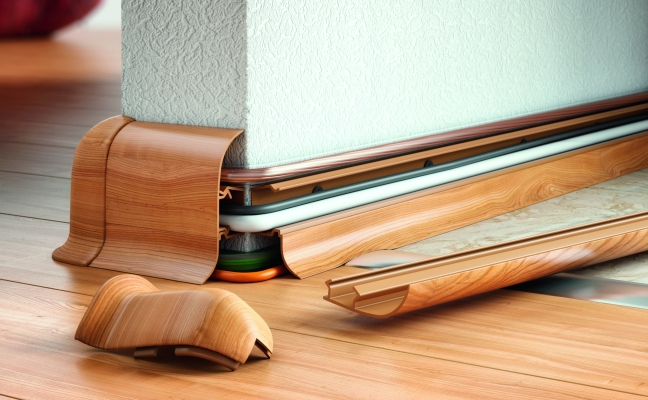
The final stage is the installation of decorative plugs for the skirting cable channel. The flexible plug is compressed, the edges are inserted behind the fittings, where after straightening, the plug is refilled in the cable channel.
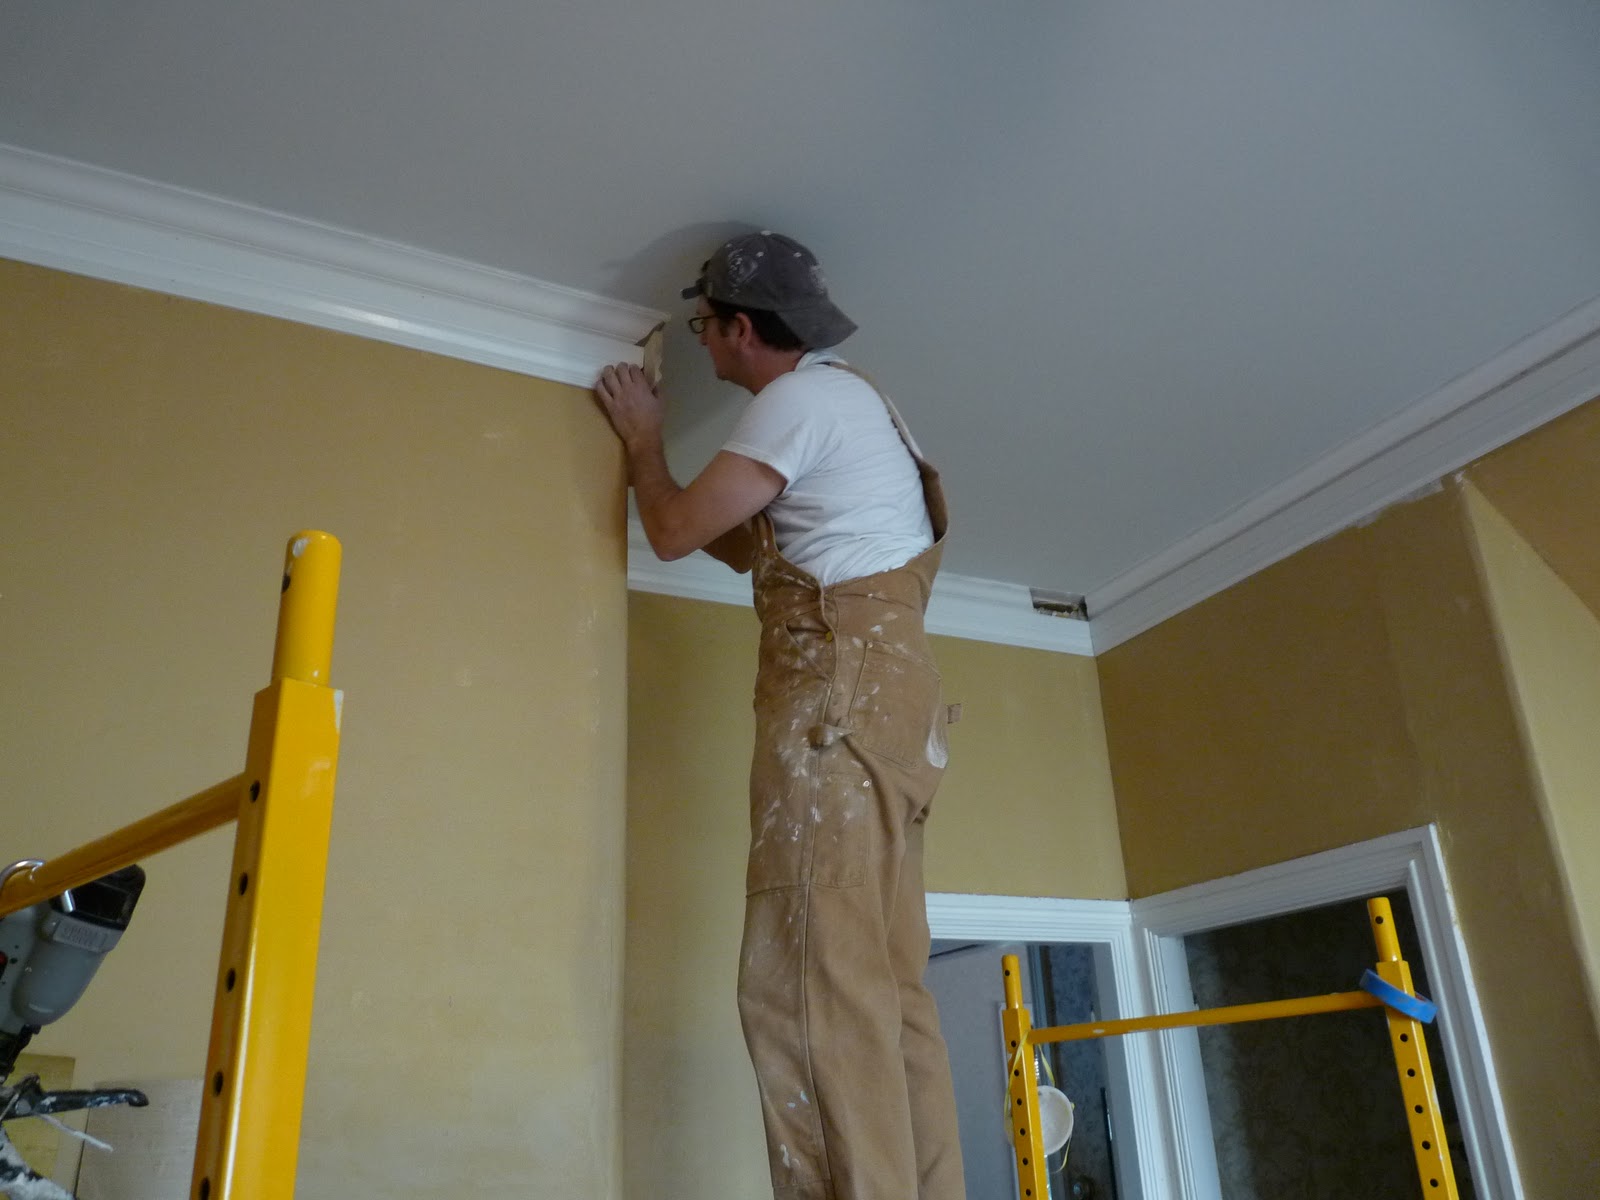
Installation of ceiling skirting
Even builders call closing the joints between walls and the ceiling the installation of ceiling skirting boards, but this name is incorrect. This element of the interior is called a fillet, a cornice and a border - common varieties. Nevertheless, due to the habit of the name, we will not give up the concept of a ceiling plinth, the main function of which is to hide uneven joints and mask technological joints that are inevitable when installing a suspended or suspended ceiling.
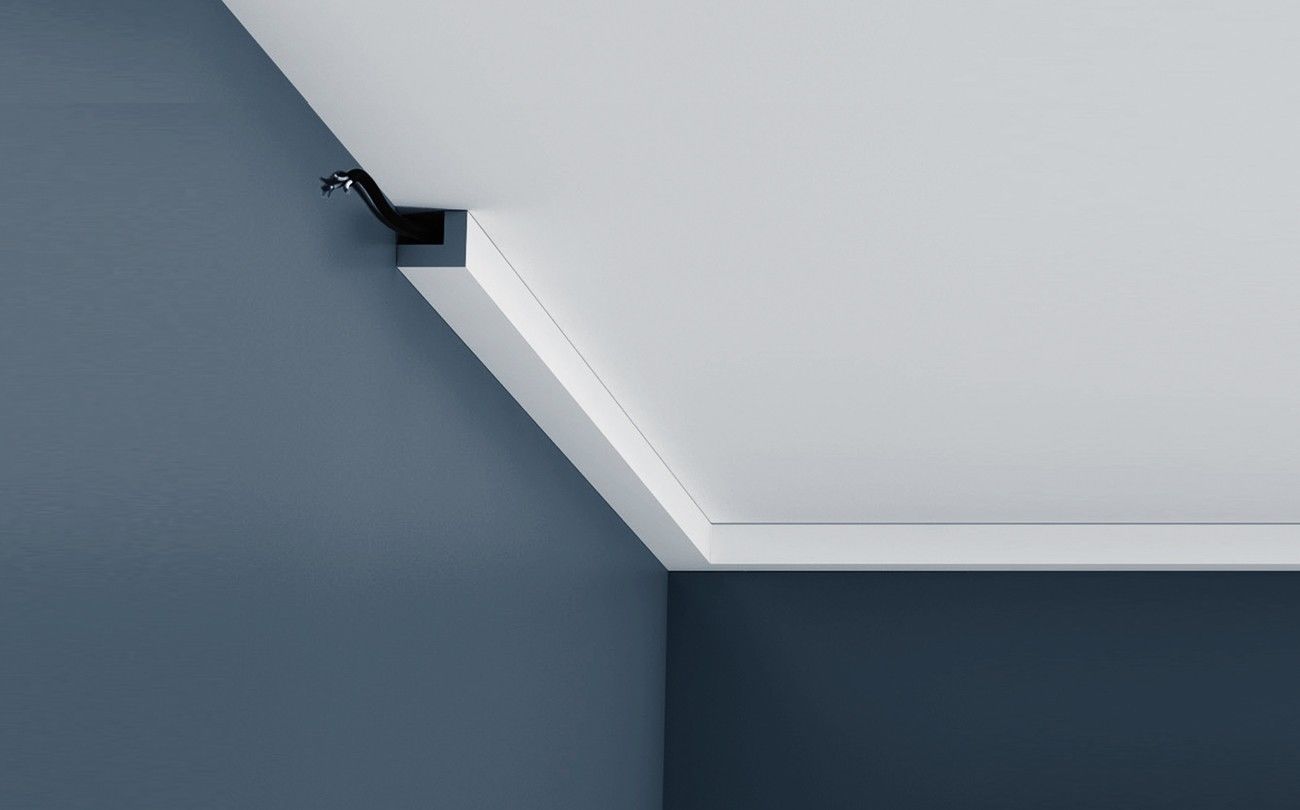
Like the floor skirting board, most of the ceiling samples are made of wood, or of synthetic polymer. Foamed polyvinyl chloride is strong, durable, not influenced by ultraviolet radiation, retains its original color and is inexpensive. This set of parameters provides the material with a leading position in the fillet market and stable customer demand. In addition, simplicity of installation testifies in favor of PVC, and this is an important indicator for an inexperienced master. Polyurethane will also be a good choice, but it is not recommended to take cheap polystyrene - loss of shape and color will not please the owners.
It is acceptable to install ceiling skirting boards both before and after applying a decorative coating to the walls.There are more arguments in favor of the first method: the ability to eliminate cracks with putty, which secured the slats and the ease of fitting the wallpaper under the fillet when sticker.
For skirting boards installed on the ceiling, accessories are also on sale, but for some reason not for all price categories. In the middle - skirting boards with suitable fittings are rarely represented, therefore, we will examine in more detail how to handle the corners when installing skirting boards with your own hands to minimize possible gaps and distortions.
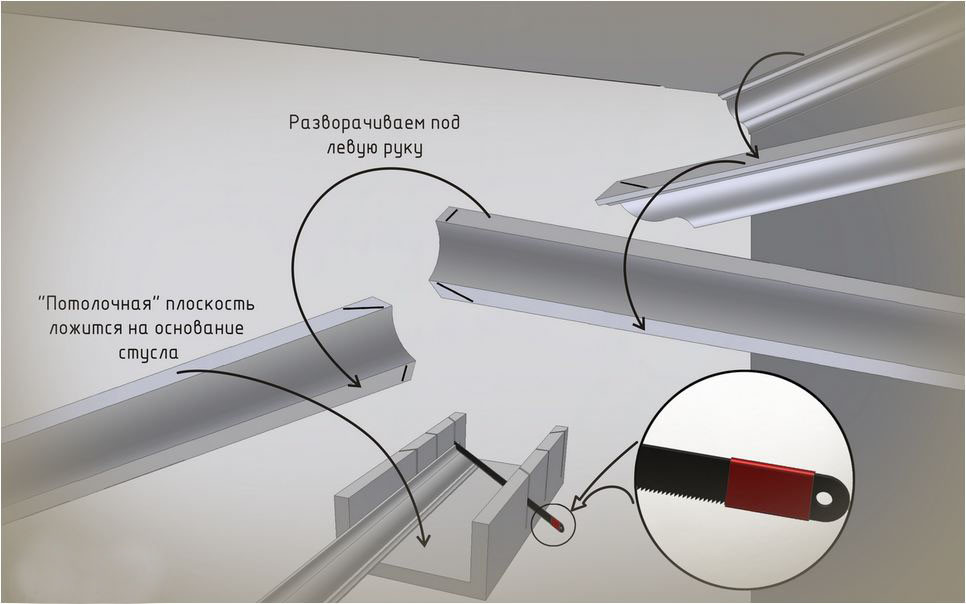
The miter box will help to measure the angle, as always, and we will trim the edges with a hacksaw blade for metal or a fine-toothed saw.
In open places, we place, as far as possible, whole rails or long cut parts so that the joints in sight are less. When cutting the slats of the ceiling plinth designed to decorate the corners inside and outside, we focus on the thickness of the edges of the rails in order to understand where the top is, where the bottom is.
The video instruction will help to correctly trim the ceiling skirting board, on the Internet there are many materials recorded by professionals and amateurs.
Let's note some basic nuances. When cutting, we place the fillet in the wort in the same way as then we attach it to the wall. Firmly press the lower edge to the miter box, and gently hold the upper edge without strong pressure so that the fillet does not crumble. Processing the trimmed edge eliminates minor defects.
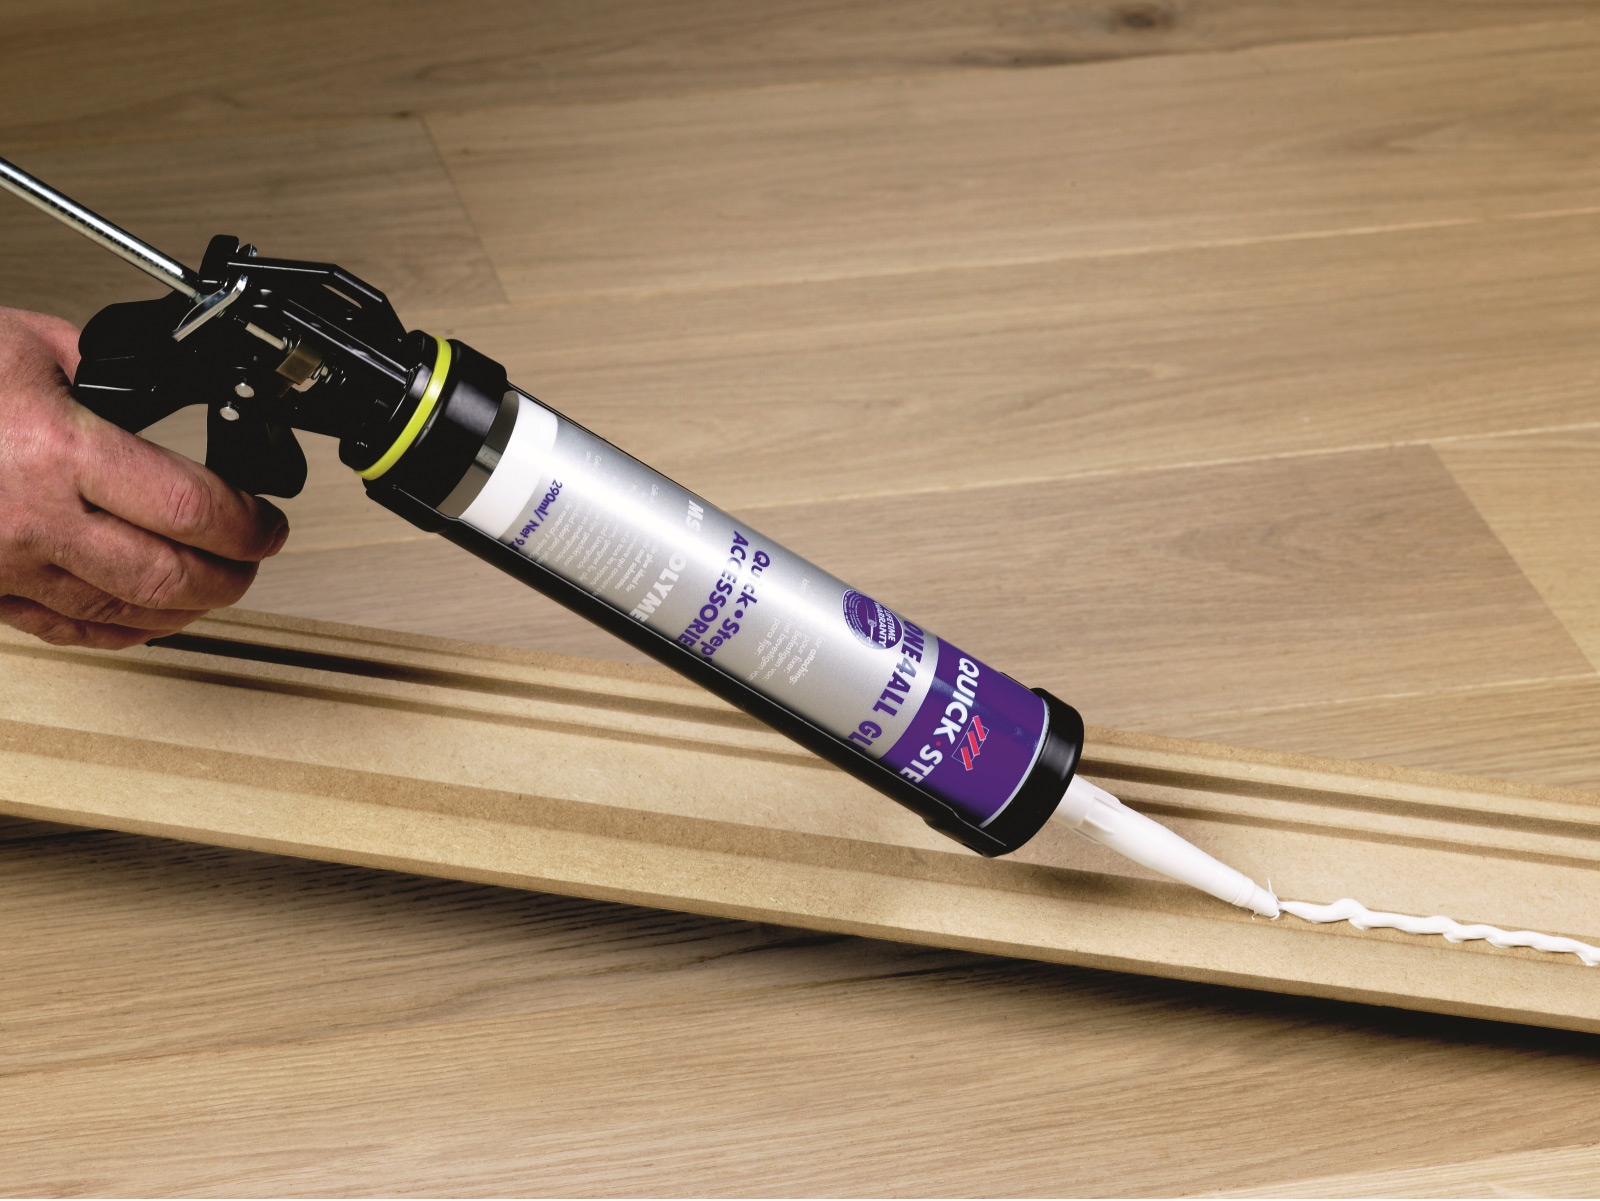
Now it’s time to directly install the ceiling skirting. We will fix the rails with the help of adhesive solutions, the manufacturer indicates the features of working with them on the packaging. In particular, the instruction contains a recommendation on the choice of the method of applying the solution - either dotted, dashed, or over the entire bonding surface.
The last step to installing the baseboard on the ceiling is to close the joints. An assembly gun will help to cope with the task faster, but when installing a skirting board with your own hands, a full set of tools is not always available, so home craftsmen also use rubber spatulas.