Fill floors with concrete screed: a guide for beginners
Floor screed - a rough coating, which allows you to level the building base, mask defects, raise the floor and improve the sound and heat insulation of the room. This design is performed in various ways, including using concrete mortar. There are several types of such materials and, in order to make the right choice, it is recommended to familiarize yourself with the properties of each product. For lovers who equip the screed on their own, masters are advised to study the technology for performing such a rough coating.
The content of the article
Types of concrete floor screeds
There are several types of concrete floor screed, depending on the method of forming the rough coating:
- Tied screed. This option is suitable for rooms where the aesthetic side of floor reconstruction is not important, as well as for rooms located on the ground floor. The solution is poured onto a building base and distributed using the rule. The result is a relatively flat surface. This is a simple type of screed that does not require a waterproofing layer or lighthouses. For this reason, roughing is popular.
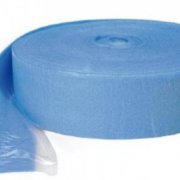
- Screed with waterproofing. Such a rough coating is performed in rooms above the second floor, as well as in rooms with high humidity - swimming pools, bathrooms, showers and kitchens. First, a waterproofing coating is laid on the construction base, and then lighthouses are put up, the solution is poured and the composition is distributed over the surface using the rule. Such a rough coating protects the building base from moisture.
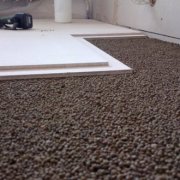
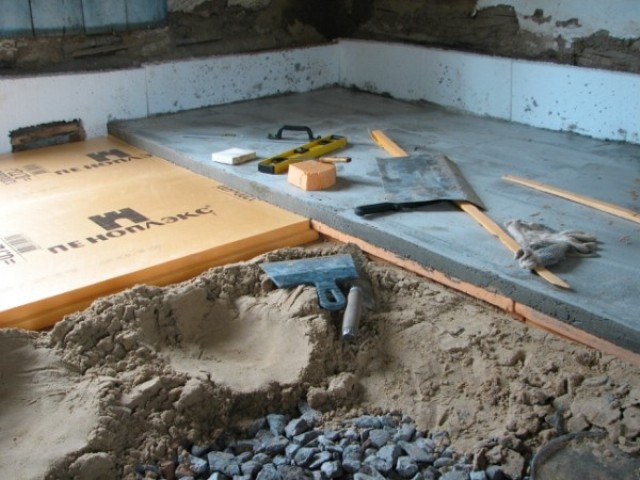
- Screed with insulation. Such a coating is performed in order to increase the thermal insulation properties of the floor and improve the indoor microclimate. Typically, such a screed is equipped on the first floors to protect the apartment from the cold coming from the basement. Layers of the rough coating are as follows: waterproofing layer, heat-insulating material, concrete mortar.
- Screed with bulk coating. In this case, an additional self-leveling fill is distributed over the concrete with a thin layer, which creates a smooth surface. This type of screed is usually used for laying linoleum or laminate, since such coatings do not suffer flaws on a building base.
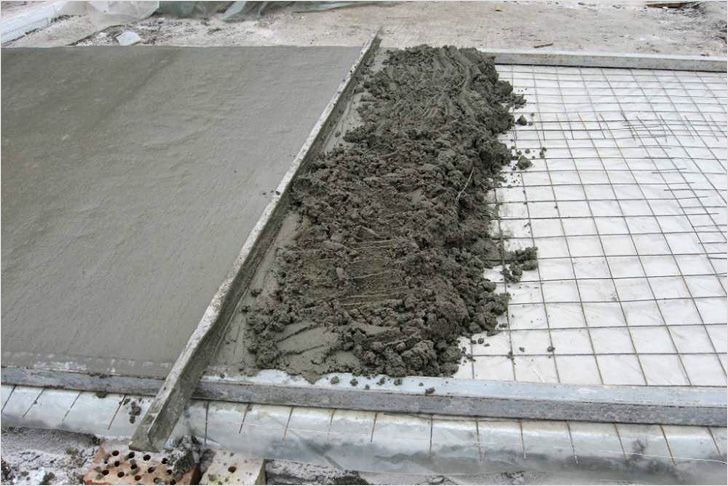
- Reinforced screed. Such a rough coating has increased strength and the ability to withstand heavy loads. The sequence of layers in this case looks like this - waterproofing material, reinforcing product, concrete mortar.
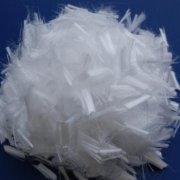
- Fiber screed. This is one of the options for rough coating with reinforcement. Fiber is a reinforcing material that increases the strength of the screed. Such a product is added directly to the solution, which eliminates the need to fix the reinforcing mesh on the surface. The composition is poured onto a waterproofing coating and level out with the rule along the guides.
Solutions for pouring concrete screeds
There are several types of solutions for arranging concrete screed:
Classic composition
To prepare such a solution, cement and sand are used in proportions of 1: 3. To knead a quality product, it is recommended to use quarry sand.Such a material ensures the strength of the solution and protects the material from cracking and the formation of other defects. Before mixing the product, it is recommended to sift the sand through a metal sieve with small cells. Next, cement and sand are combined and water is added so that a composition of medium density is obtained. After solidification, the liquid solution shrinks and does not have sufficient strength. Such a product also does not level the surface, since it will not be possible to distribute the product using the rule because of the liquid consistency. If the composition is made too thick, the material will not spread over the surface. For this reason, it is important to add such an amount of water so that a solution of liquid consistency is obtained. Certain standards for the ratio of liquid and cement-sand composition are established. However, such proportions are applicable for arranging reinforced concrete paving on an industrial scale. For home furnishing screeds, it is recommended to focus "on the eye." Usually, masters take a liter of water per 5 kg of the mixture. It is important that the water is clean. This affects the quality of the screed. Do not use technical fluid, since such water contains oils and other foreign substances. A concrete mixer is used to knead the product. After this, a solution is obtained that is easily distributed over the building base, creating a reliable support without air voids.

Ready-made dry mixes for screed
In order not to choose the proportions of materials for the preparation of the solution yourself, it is recommended to use ready-made dry mixtures for screed. In such products, the required amount of each element is optimally selected, and the exact amount of water that is required for mixing the solution is indicated on the package.
Ready mixes have such advantages over formulations prepared independently:
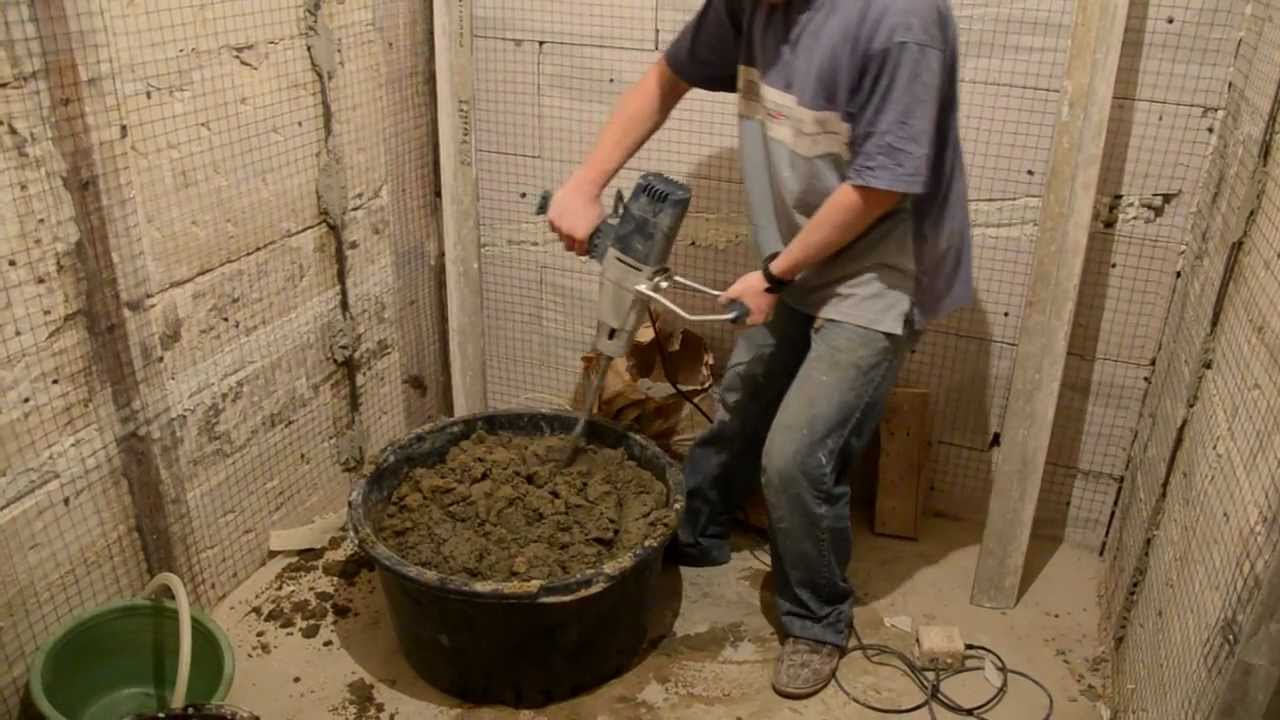
- to knead the mortar, a concrete mixer is not required; it is enough to use an industrial mixer or a drill with a mixer nozzle;
- screed made from ready-made dry mixtures, characterized by strength, durability and resistance to mechanical stress;
- finished products are easier than self-prepared mixtures, which facilitates the preparation of the solution and transportation of the material;
- the line of products includes such compounds that are selected for different conditions of use - for rooms with high humidity, for unheated rooms and so on;
- using the solution will not cause problems even for amateurs who do not have experience in construction.
The only drawback of ready-made dry mixes in comparison with the material prepared independently is the high cost.
Concrete Flooring Technology
To independently make a screed, it is recommended to adhere to the technology of filling the base.
Concrete floor level zero
Zero level concrete floor helps to make the screed even, correcting surface differences. To do the marking, a laser level is required. Since this is an expensive device, it is recommended to rent the unit, which will save a significant amount of money. You can also use the water or building level.
To make markup, proceed as follows:
- "By eye" determine the high angle of the room and put a mark in an arbitrary place at a distance of 1.2-1.5 m from the floor;
- with a device, such a mark is transferred to other walls of the room, as well as other rooms, if the screed is equipped throughout the apartment;
- marks are connected by lines along the perimeter of the room, and if the connection occurs at one point, then the level is set without errors;
- take measurements from the zero level line to the floor every 0.5 m, and the readings are recorded with chalk on the wall.
The minimum point value is the maximum plot height.After setting the zero level, calculate the height of the screed:
- subtract the amount of screed from the top point and put a mark - this is the distance from the reference line of the rough coating to the zero level;
- the obtained value from the zero level to the reference line is transferred around the entire perimeter;
- tags are connected in one line.

Preparatory work
Before screed construction base is prepared. The preparation algorithm depends on the type of surface. If the screed is made for a private house, which stands directly on the ground, they act as follows:
- remove the upper soil layers to get a depression of 500 mm;
- sand 100 mm high is stacked and compacted;
- 100 mm thick gravel is laid and also rammed;
- a layer of expanded clay is laid and poured from above with concrete so that a height of 200 mm is obtained;
- after the mortar hardens, the roofing material is laid on the construction base to protect the construction base from moisture penetration, while the sheets are overlapped and lapped onto the walls to the height of the screed;
- perform reinforcement and directly rough coating.
The construction foundation in the apartment is prepared as follows:
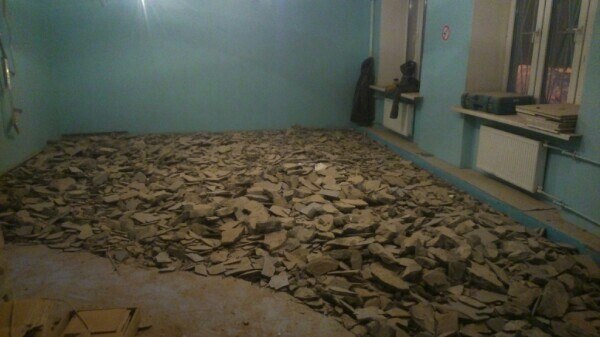
- remove old flooring;
- dismantle the previous screed with a perforator;
- the room is freed from construction debris, and the surface is removed from dust;
- if defects are present on the surface, then the cracks are expanded, treated with a primer and poured with a solution;
- in the presence of large surface differences, the flaws are cut with a grinder;
- metal elements are dismantled or treated with an anti-corrosion agent, if this is not possible;
- the construction base is treated with a primer, while the primer is applied in two layers with a break for drying;
- the surface is covered with a waterproofing film with an overlap of 20 cm on top of each other, and the edges of the material are let onto the walls more than the height of the screed;
- on the walls around the perimeter fix the damper tape.
After that, perform a screed.
Lighthouse
To evenly distribute the solution on the surface, expose lighthouses. Before fixing the guides, make the appropriate marking:
- lines are applied to the floor along the room from the wall opposite the door;
- measure the distance from the walls 2.5-3 cm and make a mark - the same manipulation is carried out from the opposite side of the wall;
- marking draw a straight line from which marks are made for the remaining guides at a distance less than the length of the rule from each other;
- the markup is connected in horizontal lines.
After that, the profiles are installed directly. They do this in several ways, but most often they use self-tapping screws:
- between the walls opposite the door, pull the fishing line parallel to the zero level;
- where the fishing line intersects with a line close to the wall, a hole is made with a drill, where the dowel is installed and a self-tapping screw is inserted - this manipulation is performed from the opposite side;
- they pull another fishing line along the wall, fixing the material on the caps of the screws;
- at a distance of 3.5-4 cm, other self-tapping screws are fixed along the line of the fishing line - this manipulation is performed on the rest of the markup;
- the height of the fasteners is checked by the building level and corrected if inaccuracies are found;
- cement mortars are placed on self-tapping screws with small tubercles;
- on top of the composition, the guides are fixed - the lighthouse is placed on the solution and the profile is firmly pressed so that the surface reaches the screw head.

Concrete mixture for filling the floor
To prepare a solution using a concrete mixer, proceed as follows:
- the necessary amount of water is placed in a working unit;
- add cement and leave to dilute the material in a liquid;
- gravel is poured into the solution so that the material contributes to the final divergence of cement;
- add the entire amount of sand and, if the solution is too thick, fill in water;
- pour crushed stone and leave the concrete mixer in working condition until the solution is kneaded - all this takes 122 minutes.
If you are using an industrial mixer or drill with a mixer nozzle, then proceed as follows:
- water is poured into the container and the material is added in the proportions that the manufacturer indicates on the package;
- the tool knead the solution to the consistency of thick sour cream;
- the material is left for 5 minutes, re-mixed and used as intended.
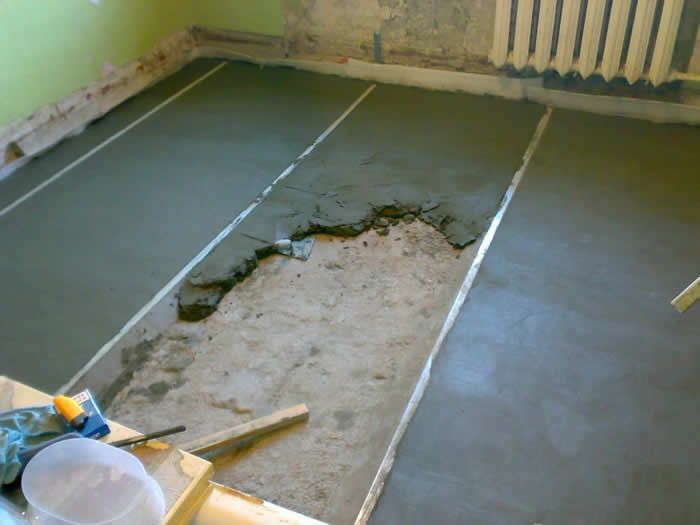
Filling the base of the floor
Algorithm for pouring a building base with concrete:
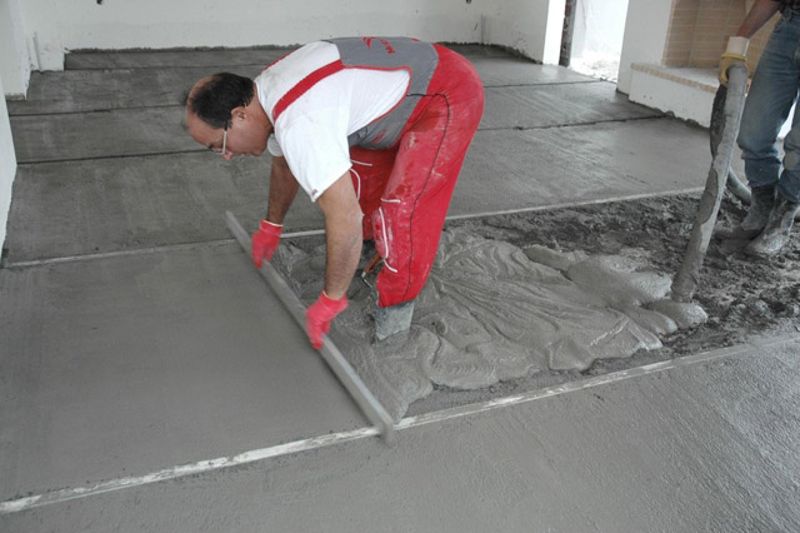
- with the help of a shovel, the solution is laid on one “track” of profiles;
- the mixture is spread over the surface with a trowel, filling in the voids and removing excess;
- the solution is aligned with the rule;
- manipulation is carried out on the remaining "paths".
Floor screeding
After pouring the solution, the beacons are dismantled. To do this, wait for the setting of the mixture and remove the guides, carefully stepping on a building base. All voids are filled with a solution. Trowel the material distributed over the surface, removing excess mixture. Take a break of 28 days. During this time, the material finally hardens and gains strength. For several days after pouring, the surface is sprayed with water to prevent cracking. After the material has dried, the surface is ground and the floor covering is laid.
Advice
To extract the mortar from the concrete mixer, professionals recommend equipping the gutter. This design will direct the mixture to the right place and prevent contamination of the device.
It is not recommended to do a coupler in parts. Draft coating is performed in one room immediately, otherwise cracks will form at the joints.
Professionals also recommend raising the reinforcing mesh over the building base. They do it this way - the grid is laid on the surface, a small amount of solution is placed, after which the reinforcing material is slightly raised so that the composition is distributed between the cells, raising the grid. This will protect the product from displacement during mechanical stress on the surface.
The video in this article demonstrates the rules for arranging a concrete screed.
Concrete screed - durable rough coating. This element of the floor construction helps to improve the soundproofing and thermal insulation performance of the room.