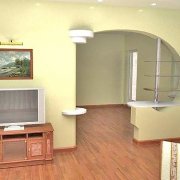
Do-it-yourself rough floor in a wooden house
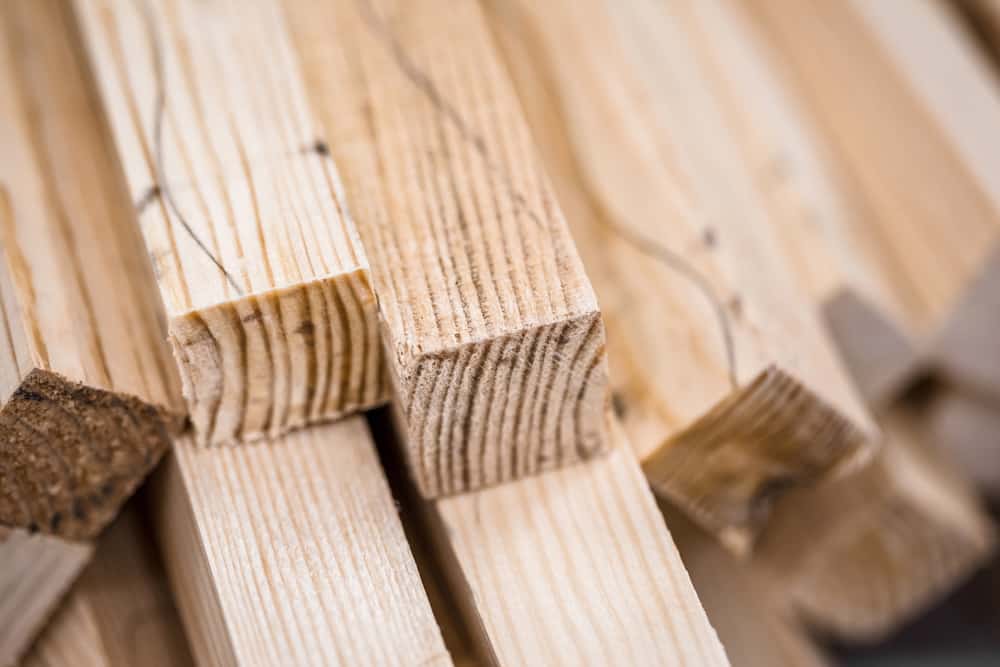
Let's talk about the device of floors, and specifically - draft. The process of constructing this wooden structure is a separate work. Due to the specific fastening to the walls, the rough floors in wooden houses are slightly different from analogues in monolithic or brick buildings. The result of the construction of the lower part of the two-layer sexual structure determines whether there will be a reliable, even coating under the feet of the owners. Will it last for many years, or in a short time will require surgical intervention. In the article, we will consider how to lay the rough floor in a wooden house with your own hands and avoid common mistakes.
The content of the article
Types of rough floors
3 types are distinguished, while focusing on the method of flooring, material, purpose and characteristics of the house. Layer lay:
- In the lags. In this case, the rough floors have an important function of the uniform distribution of the load over the area. As a rule, they act as a base for laying linoleum, laminate or parquet as a finish coating, so the base is made solid and even. For this, plywood sheets and oriented particle boards (OSB) are suitable. A common solution for floors between floors.
- Under the lags. Then the rough floor is based on cranial bars of a small section, in the intervals between the logs, an insulation layer is laid, and on top - a waterproofing layer.
- On the supporting beams. The most economical way to lay the rough floor with your own hands will be possible if you plan to lay on the supporting beams at the stage of preparation of the project. Then the plan includes the placement of beams at a distance from each other less than the standard (up to 0.6 meters). The beams leave more, but they are narrow and immediately perform the function of the lag, thus reducing costs (at least a third) and time for the construction of the floor structure. An additional bonus is that the floor level does not rise, so the height of the room does not decrease and there are no problems with reinstalling the doors.
General requirements for rough floors
We will talk about how to make a rough floor below, but for now we’ll deal with the design requirements. The first thing to start with is to prepare the necessary materials for the installation of the floor and the ventilation project. Let's see why this is so important.
Fire protection
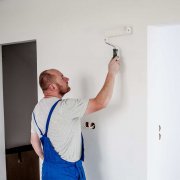
Compounds that reduce the fire hazard of lumber are called flame retardants. Installation of a rough floor in a wooden house implies the mandatory treatment of such substances before starting work.
Solutions of group 1 resistance to fire provide maximum protection against fire, therefore, are applicable to stove heating. In other circumstances, solutions of 2 groups are selected.
- We first clean the surface and dry the tree so that it absorbs a larger volume of the solution.
- In the painting method (using an ordinary brush), we coat the surface with a flame retardant at least twice, taking a break in application for 2-3 hours. A pneumatic spray gun saves time for coating, but rarely is with a home master.
- We protect the processed material from moisture and excessive mechanical stress.
Protection against rot and biodeterioration
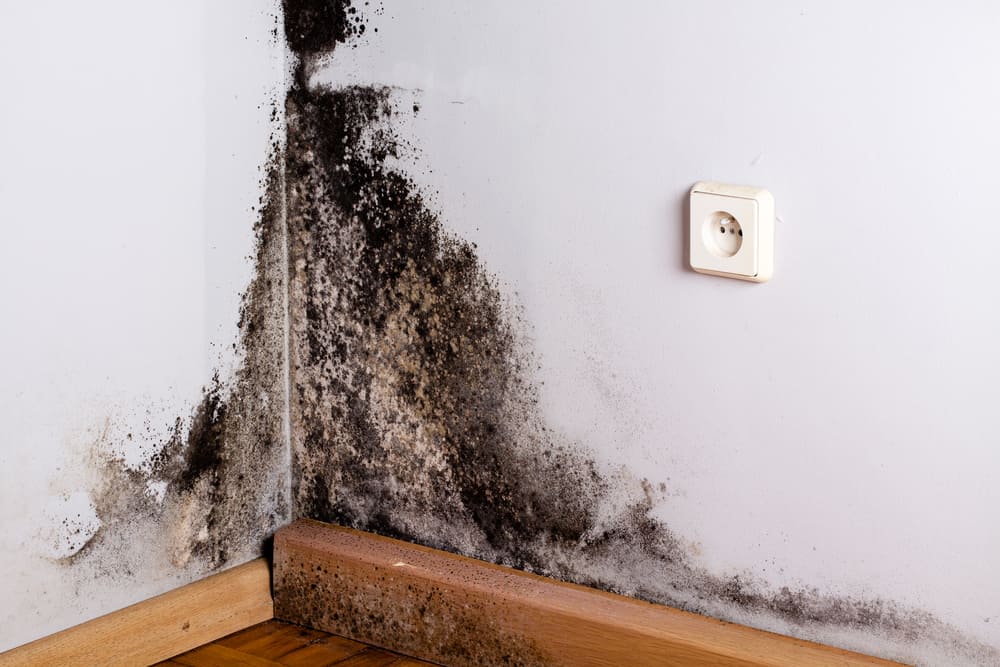
The instructions for the subfloor include the item “antiseptic treatment”.And the absorption of moisture from the soil, and the flow of water through the gaps in the finish coating will cause decay of the untreated wood-based elements of the base, the appearance of fungus and mold. Also, the danger of the reproduction of parasites is not excluded, therefore we do not skip this stage.
For impregnation, we use antiseptic agents on a water or organic basis.
- Water-based antiseptics are good because they do not require drying the wood before application, but at the same time they are poorly penetrated.
- The organic base of the antiseptic allows the composition to penetrate deeper into the material, but a persistent pungent odor will weather out of the room for a long time. The health of fumes is in doubt.
Combined products are presented on the market that combine both key properties of impregnation - refractory and antiseptic. The use of such a composition will reduce the processing time of materials and simplify the process. After thorough mixing, the wood fire protection solution is left to stand for 24 hours, and the liquid temperature is maintained at 10 degrees Celsius and above.
The third option is natural technical oils that are safe for people, and they can cope with impregnation no worse. Take the drying oil, which forms a film on the surface of the tree, the effect will be similar.
Availability of vents to ensure natural ventilation of wooden structures
To preserve the achieved operational properties of wood-containing materials helps the natural ventilation of the underground. After some time, the rough floor in a private house without any problems will still lose its protection and entail damage to the sexual structure. The vents are openings of arbitrary shape drilled in the aerial part of the foundation, but with a given area.
In the case of apartment buildings, for example, we will be guided by SNiP 31-01-2003. The norm prescribes:
- The ratio of the total area of vents to the area of the underground is not less than 1 to 400.
- There is also a restriction on the area of each hole. The lower bar is 0.05 square meters needed to implement the main function. The upper one is more of a recommendatory nature - it is undesirable to make vents larger than 0.82 square meters, because each of the considerations of stability will have to be reinforced. But if the fortification does not scare you, the hole may be wider.
- The ventilation efficiency will increase if there are an even number of holes and they are located opposite each other.
- The height of the vents above ground level is also important. The priority is in the highest possible location of the holes so that street moisture does not penetrate the underfloor, at least 20-30 centimeters.
Owners of private houses sometimes do not want to equip such ventilation, beingware of the cooling of the building and the penetration of rodents into the underground. Metal gratings will help to avoid the invasion of pests. And it is easier to warm the room by closing vents in the cold season. Opening the holes when it gets warmer, just in case, check the activity of air movement, bringing a lit match or lighter to the ventilation. Although some experts recommend not only not closing the holes, but also making sure that the snow cover does not accumulate outside.
How to make a rough floor in a wooden house
Having figured out what a rough floor is and how to prepare material for it, we turn to the instructions for construction.
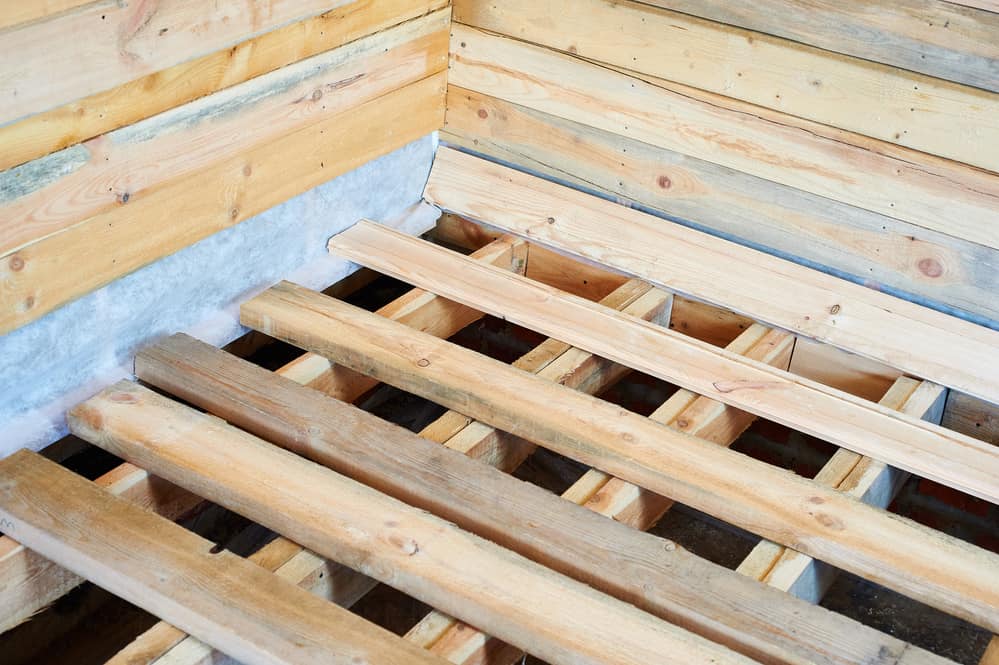
Draft floors on supporting wooden beams
To begin with, we consider the economical installation of the subfloor - on the supporting beams.
- Beams are laid on a strapping beam or foundation tape, depending on the nature of the foundation of the building. In the case of a strip foundation, wooden elements are insulated from concrete to prevent moisture exchange. Two-layer laying of roofing material will cope with this task and will cost inexpensively.
- Since the beams are exposed anew before arranging the subfloor, we first dismantle and turn each one over.A strip of OSB or a board that is 0.1-0.15 meters wider than the flat surface of the beam is fixed with self-tapping screws or nails. For a reliable connection, we select a long fastener exceeding the plate thickness by at least two-thirds.
- After installing the beams in place in their original position, we fix with squares of metal. Check if the boards or plates are in the same plane. If necessary, adjust the position with the help of linings, but not of lumber, which threatens a drawdown over time.
- On the edges of the boards or beams protruding from below, we place fragments of the OSB, and the sizes do not have to exactly coincide with the openings between the beams. Leaving small gaps, the master solves 2 problems at once - it saves material and increases ventilation efficiency. Laying sheets, we step onto the beams, since the constructed layer of the structure will not withstand such a load.
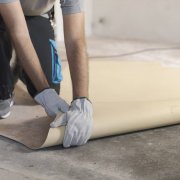
- The next step is the vapor barrier flooring. A polyethylene film is not suitable, since it passes harmful vapors, is destroyed from the cold and does not provide for the removal of steam, which in the form of condensate moistens the insulation layer. To prevent this from happening, the vapor barrier layer is made of a membrane. Isospan is popular. After lapping, the strips are fastened to the beams with a stapler and glued to the joints with tape, or fastened with galvanized nails.
- We put a heat insulator on the membrane. Instead of mineral wool, claydite or sawdust is sometimes taken. Polymer heaters are also popular - polystyrene foam, polyurethane foam, isolon, penofol, polystyrene - which are attractive for use without vapor barrier. We make a warming layer of 0.1-0.15 meters, depending on the climatic characteristics of the area. The strips on each subsequent flooring are shifted to overlap the joints.
- Let us consider in more detail the option of mineral wool, as the most preferred. This non-combustible material is safer and more natural, no harmful fumes. Sound insulation is high. The market includes glass, slag and stone mineral wool.
- Another membrane - waterproof - is placed on top of the insulation. It is fixed similarly vapor barrier.
- If you use lags, beat the slats at an equal distance from each other, which will perform this function.
- Now everything is ready for laying the last layer, for example, fiberboard or plywood sheets. It is recommended to grind the plywood in order to even the resulting surface and to exclude sudden changes in height at the joints. With the help of a professional machine, this is done quickly, the main thing is to grind perpendicular to the structure.
The device of rough floors on logs
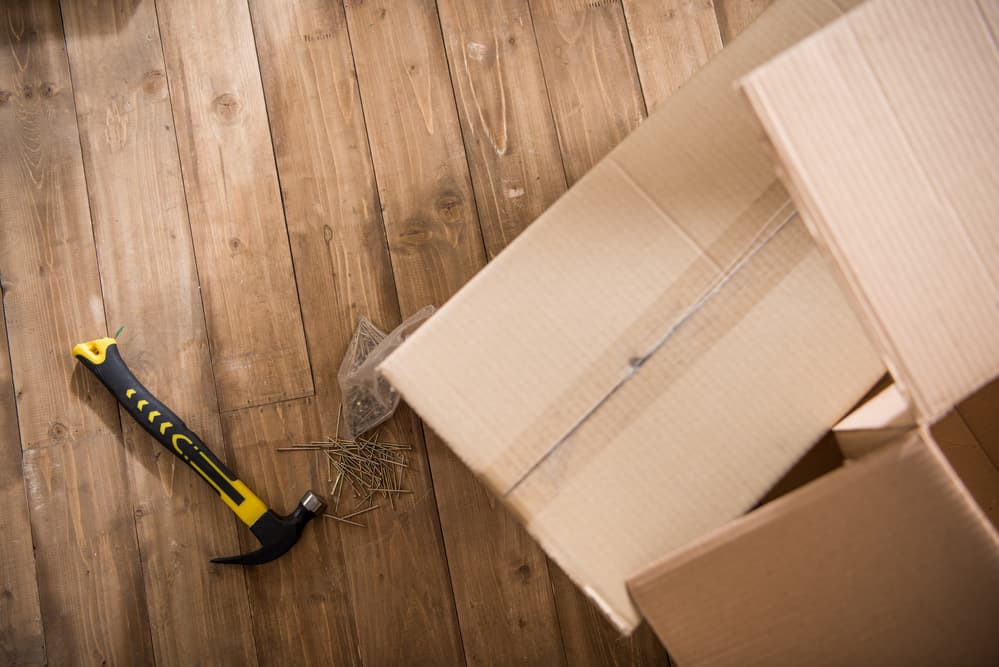
Laying the rough floor in a wooden house begins with the layout. Take 20 mm plywood (if this thickness is enough for the planned floor load) and coated thread.
- We measure with a thread 120 cm (the classic length of a plywood sheet). But if another is purchased from you, we focus on its length.
- We lay out the plywood layer, marking before this the excess in width in order to understand where to apply the adhesive composition.
- We cover the logs with liquid nails that dry quickly and securely fix the elements relative to the base of the structure.
- We turn over the plywood sheets, and additionally fix them with hardware, leaving safety gaps between the sheets in case the plywood expands if the humidity level rises. Hitting a sheet on utilities is not dangerous, we mark such places and their sizes so that then you can open access with a hand-held electric circular saw.
- In order not to lose joints, randomly arranging the sheets of a new layer, at the next approach we shift by half - the placement is staggered.
- Cut off the edges of the sheets protruding beyond the contour lag. We comply with safety precautions when working with complex and traumatic equipment.
- It remains only to place plywood or fiberboard on top, sand the surface, and the subfloor flooring is considered complete.
The main mistakes when installing the rough floor in a wooden house
It is not enough to know how to make a rough floor, what it will take and how long it will take. Caution against common errors is also significant information, which we suggest you familiarize yourself with. To avoid mistakes, we check everything from the distance between the lags to the final stage of the construction of the subfloor.
- Do not install a lag with an indent of more than 0.6 meters from the neighboring one, this will help to more densely lay the insulation.
- When preparing the material for installation, treat the ends of the lumber with antiseptics and flame retardants with special attention, since this part of the boards absorbs more than the rest of the surfaces due to the location of the capillaries. Attention: the processing is carried out during preparation, and not after installation, since the ends of the boards or bars already installed on the supporting elements cannot be reached. Consequently, the brush passes only on two surfaces, and the impregnation is weak.
- To prevent the floor from sagging and creaking after a while, do not use splintered wooden linings to level the lag. Sand is best suited to prevent lags from sagging.
- In order not to aggravate the effect of the “cold bridge” along the perimeter of the room, wind and moisture protection is placed only between the lag, but does not enter the walls.