How to make a rough floor screed with your own hands?
The main element of a level floor is a strong and reliable rough screed. Correctly executed screed guarantees high-quality flooring. About what a rough screed is, what types it happens and how to make it with your own hands, we will discuss below.
The content of the article
What is a rough screed
A screed is made between the base of the floor and the flooring - first draft, and then, if necessary, fine. Draft for:
- elimination of differences;
- raising the floor level;
- stiffening;
- arrangement of the supporting structure when installing the floor on the ground;
- creating a bias if necessary;
- heat and sound insulation;
- preparing the base for laying the flooring.
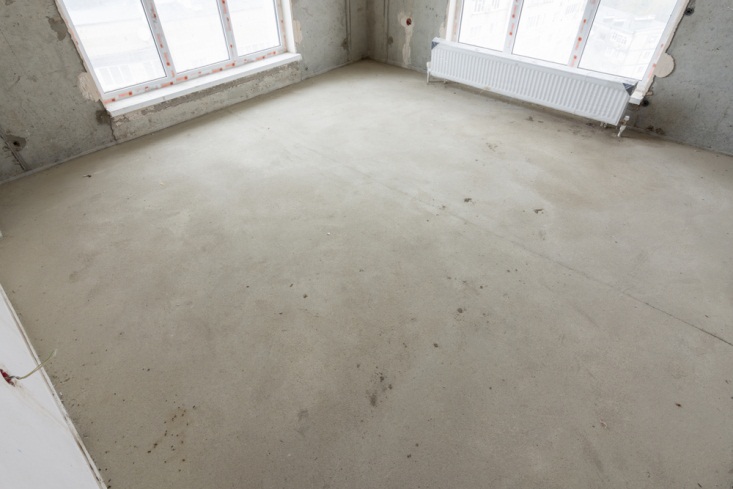
It is allowed to roughen the rough floor and not be perfectly even. To obtain a flat surface of the base for arranging the coating, a finishing screed is performed.
Types of roughing screed
Do-it-yourself rough screeding of the floor is done in a wet, semi-dry or dry way. Different materials are provided for the screed, providing strength characteristics to the rough floor. Rough screed do:
- concrete;
- sand and cement;
- gypsum.
Concrete guarantees a solid foundation, involving intense loads. It is made in warehouse complexes and trade pavilions.
In apartments, sand-cement or gypsum screed is performed. For the first option, a sand-cement mortar is used. It is ideal for arranging flat surfaces. Dries and becomes durable in about 1 month.
Gypsum screed is good for residential buildings. Ready for use after 1 week, does not shrink, self-leveling. But it absorbs moisture and is not suitable for rooms with high humidity.
Semi-dry screed is made from a ready-made dry mixture moistened with a small volume of water. If you squeeze the finished mixture in your hand, and at the same time a lump forms and a little moisture comes out, then the solution can be used. For dry screed use backfill (expanded clay, quartz or silica sand, fine-grained slag), OSB or chipboard slabs, plywood panels, modules with polystyrene. Fix plates on self-tapping screws and glue.
To improve the performance, plasticizers, frost-resistant substances, fibromaterials are added to the solutions for mounting the screed.
How to make a rough floor screed
You can perform a rough screed on your own, in several stages in stages:
- floor preparation;
- fixing lighthouses;
- stirring the solution;
- pouring the mixture;
- checking the condition of the screed until it dries completely.
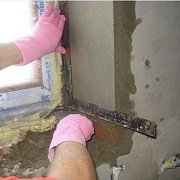
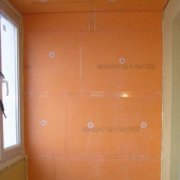
When preparing the floor, the plinth is removed, the old coating is removed (if floor repair is required). In a new apartment, they lay a waterproofing layer on the floor slabs, reinforce the base for pouring.
Lighthouses are secured from the highest point of the floor. They are arranged in parallel rows and fixed with mortar for pouring screed. A cement-sand mortar is obtained by mixing sand and cement in a ratio of 1: 3. To improve the properties of the solution, plasticizers are used.
Pour the solution from the far corner of the room, moving towards the door. When leveling, it is shaken to prevent the formation of air bubbles. Lighthouses are removed one day after filling. The holes are overwritten with a solution. The resulting sand-cement base dries for a month. So that the screed evenly dries and does not crack, it is moistened with water during this time.
Now you know how to make a rough screed with your own hands and that it is not difficult if you adhere to technology.You can safely start work, performing it in stages and creating in your home a reliable foundation for a flat floor.