Finishing putty for wallpaper: an ideal result on any surface
You started a repair and want to stick wallpaper, but the surface of the walls has flaws. Finishing putty for wallpaper will help to hide them. In the article we will talk about putty classifications, varieties, performance, methods and places of application.
The content of the article
Putty surfaces
Putty mixtures are used on almost all building surfaces, this includes:
- Concrete.
- Wood.
- Drywall.
- Plaster.
Depending on the type and amount of damage to the wall, various putties are used. To eliminate deep and large potholes, cracks, wide seams, as well as leveling the walls, use the starting mixture.
It has a coarse-grained structure, less ductility, which prevents the mixture from swimming off. Besides, starting putty It does not require perfect smoothing, dries quickly.
Universal putty can be used at all stages of work, except when repair of large defects with the use of cement-based mixtures is required.
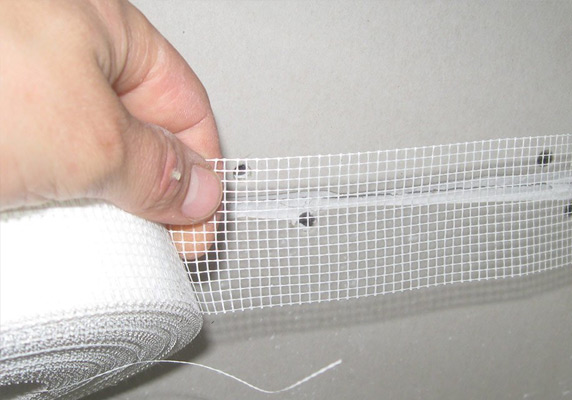
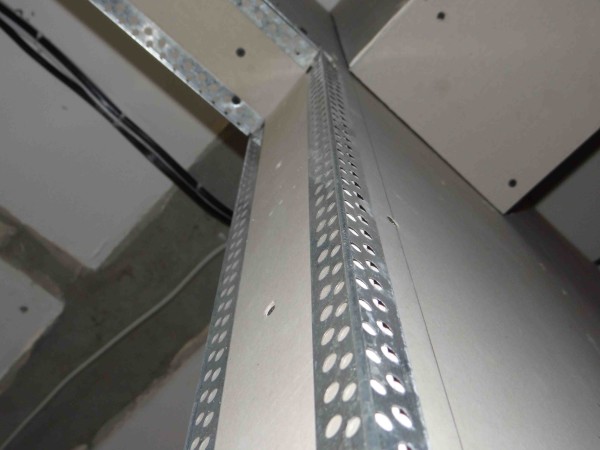
Important! In the presence of deep seams between the sheathing sheets, cracks or chips, the putty layer will be quite thick. Therefore, it is recommended to use a paint net (sickle) or perforated tape. These precautions prevent cracking of the dried mixture in problem areas.
-
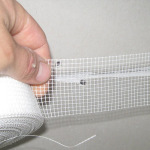
- More problematic defects are strengthened with a paint net
-
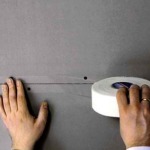
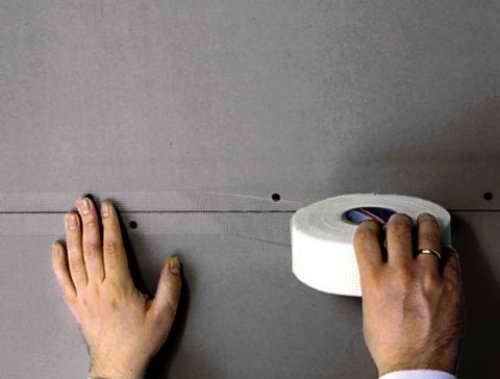
- Thin joints and cracks are glued with a serpentine tape
The task of finishing putty is to give the surface a perfectly even smooth look, this will facilitate subsequent finishing work.
Types of finishing putty
When ready, mixtures are available in two forms:
- Dry, requiring self-cooking.
The shelf life of such a mixture is about a year, so if there is a large front of work, it is better to give preference to dry putty. The breeding instruction is simple and written on the packaging, which makes it easy to prepare the mixture with your own hands.
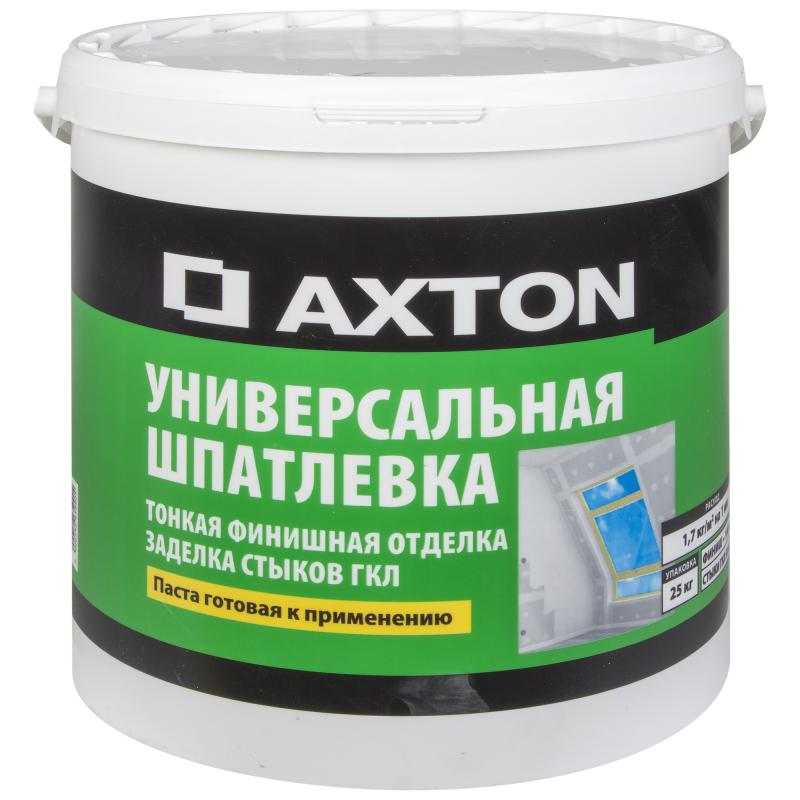
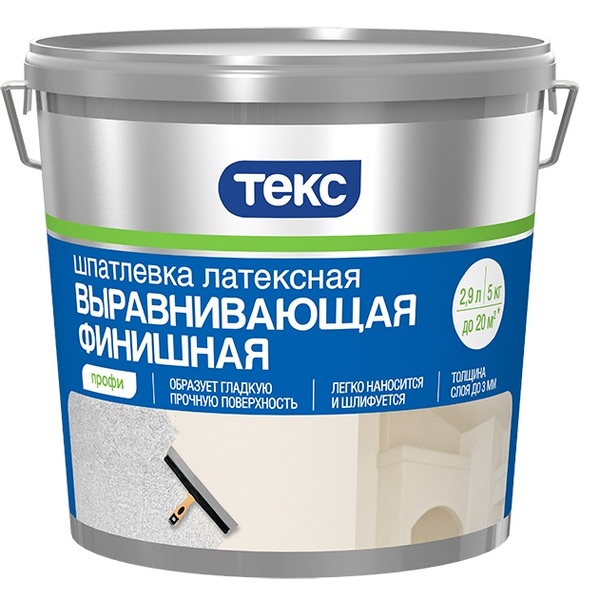
- Ready-made, packaged in plastic packaging of various sizes.
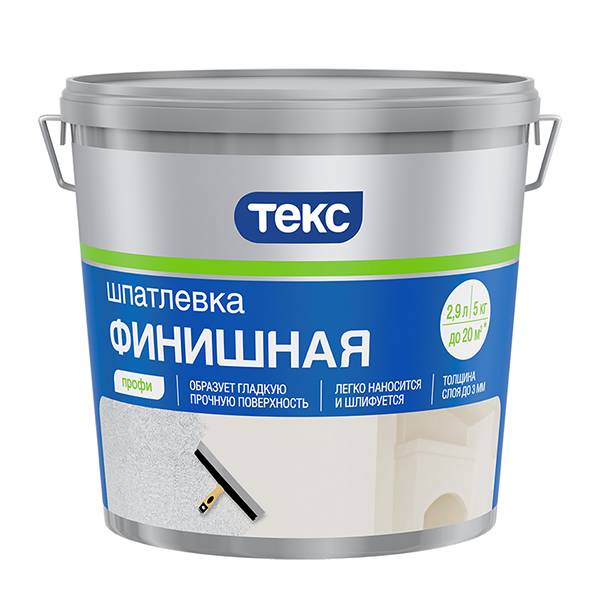
Such a mixture can be used immediately, but its shelf life is small, after opening the container, putty quickly becomes worthless. Although manufacturers write that the dried mixture can be diluted with water, but the quality after this drops significantly.
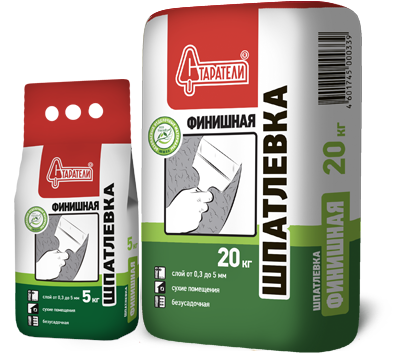
The composition of the finishing putty is divided into the following types:
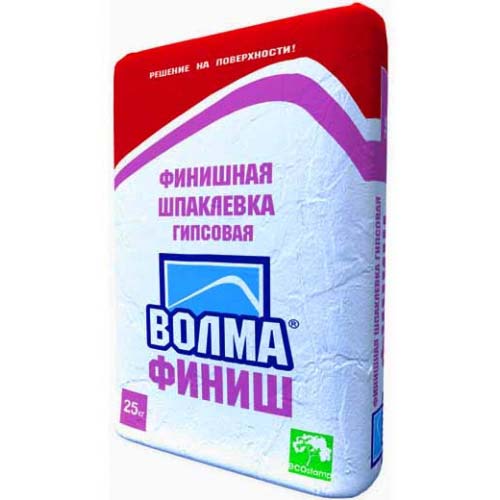
The mixture has a white color, high plasticity, protecting the applied layer from cracking. Gypsum putty adheres well to the surface, has good breathability, and is easy to apply and process. It forms a smooth surface without shrinkage, dries in a couple of hours, the overlay layer is 2 mm.
The disadvantages include poor moisture resistance, so it is recommended to use the mixture on a gypsum basis only in dry rooms.
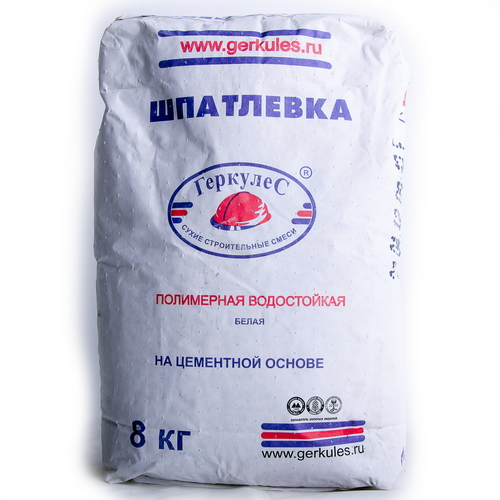
The composition of such a mixture includes cement, the degree of adhesion of the putty to the surface depends on the brand. The mixture itself has a grayish tint, so through thin paper wallpaper the shade can shine through and slightly change the tone of the wallpaper.
But the cement putty is moisture resistant, durable, not afraid of temperature changes, so it can be used in rooms with high humidity. Over time, gives a slight shrinkage, the appearance of microcracks is possible.
- On a polymer basis.
The putty contains plasticizers and polymeric materials (acrylic or latex). The price of such a mixture is higher than that of analogues from other materials, but the operational and technical characteristics are at the highest level.
Polymer putty has a longer service life, a complete absence of unpleasant odor, high moisture resistance, resistance to mechanical stress. In addition, despite the presence of polymers, it does not emit harmful substances at all, so it can be used even in children's rooms.
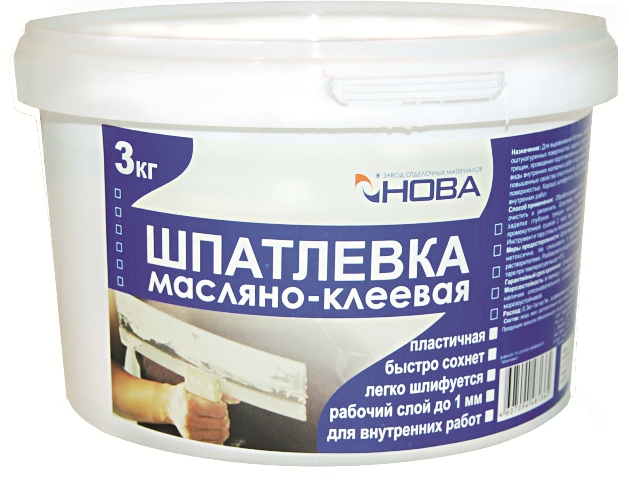
It is made with glue and drying oil, it works well on surfaces subject to moisture and possible mechanical damage. It does not crack, it is perfectly polished, during operation it does not reach for a spatula, is resistant to abrasion.
Why putty walls
Often many people ask the question "Do I need a finishing putty for wallpaper?". According to experts, it is necessary to putty the surface before the wallpaper sticker, this will help to avoid many unpleasant moments.
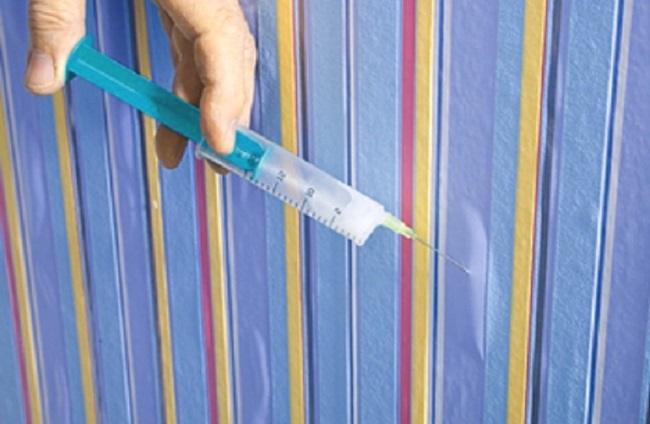
- Unfinished cracks, potholes contribute to the formation of bubbles, voids under the wallpaper, which subsequently leads to distortion and even peeling of the paintings.
- Drywall screws have the ability to be covered with rust after some time, which, penetrating through the wallpaper, greatly spoils the appearance of the paintings.
- If the starting mixture was colored or unevenly applied, then its shade or dark spots can shine through the wallpaper and change the color of the paintings.

- Even thick vinyl or non-woven wallpaper is not always able to hide significant pits or bumps on the surface of the walls, defects will stand out and again spoil the interior of the room. And if you chose thinner wallpapers (silk-screen printing, fabric or paper), then even slight flaws will be visible on them. In addition, on thin wallpaper defects are visible more clearly and clearly than in reality.
The same can be said of the drywall joints. They have recesses on the edges, specially designed for applying putty. If they are not filled with a mixture, then the vertical recesses will clearly stand out on any wallpaper.
Rules for applying finishing putty
The choice of finishing putty mixture depends on the following factors:
- Type of premises.
For dry rooms, you can take gypsum putty, for wet rooms - cement. Universal is suitable for any room, but since its price is much higher, it is unprofitable to buy such a mixture for a living room or bedroom. Although, it all depends on the financial capabilities of the owners.
- Type of covered surface.
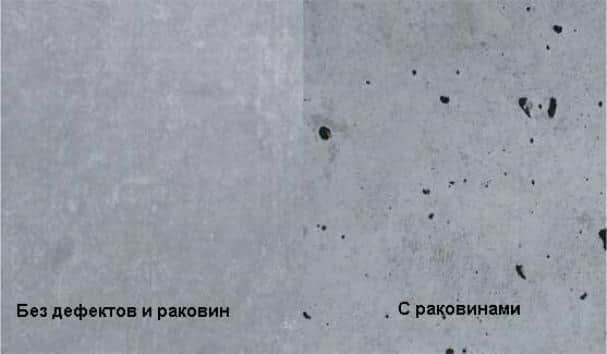
For concrete surfaces with minor defects, gypsum or universal putties are suitable, they will perfectly close small flaws and give the surface a white color. On smooth surfaces, they can be used even without first applying the starting mixture.
The same applies to drywall, starting putty is used only for sealing joints, the rest is covered with a finishing mixture.
For more problematic walls, you can take a cement mixture, it is more durable and can even close a rough texture. But after it, the second layer is still recommended to use white putty.
Technology for applying putty
Puttying the walls is done in several stages, let's list them.
The presented photos will illustrate each stage individually:
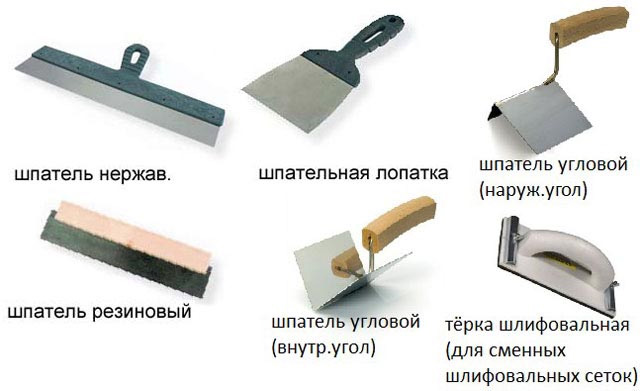
- To apply the finishing putty on the walls, various tools are used. They are recommended to be prepared in advance so as not to detect the absence of any necessary object during the work process.
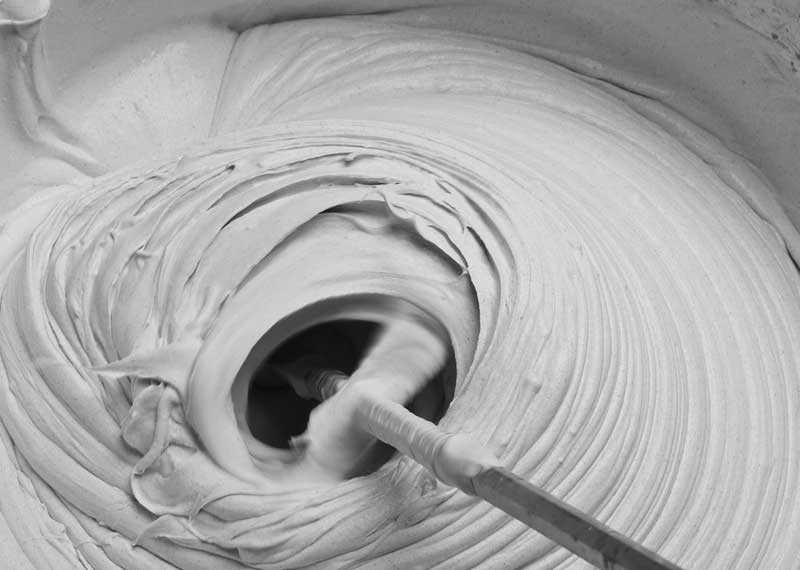
- The dry mixture is kneaded strictly according to the instructions, in order to eliminate lumps and give the putty an even, plastic consistency, it is recommended to do this with a construction mixer or drill with a special nozzle.
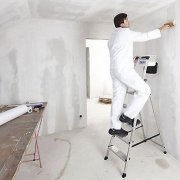
- For work use several spatulas, from small to large. With a small spatula, the mixture is applied to a large spatula, the remains are removed to it.
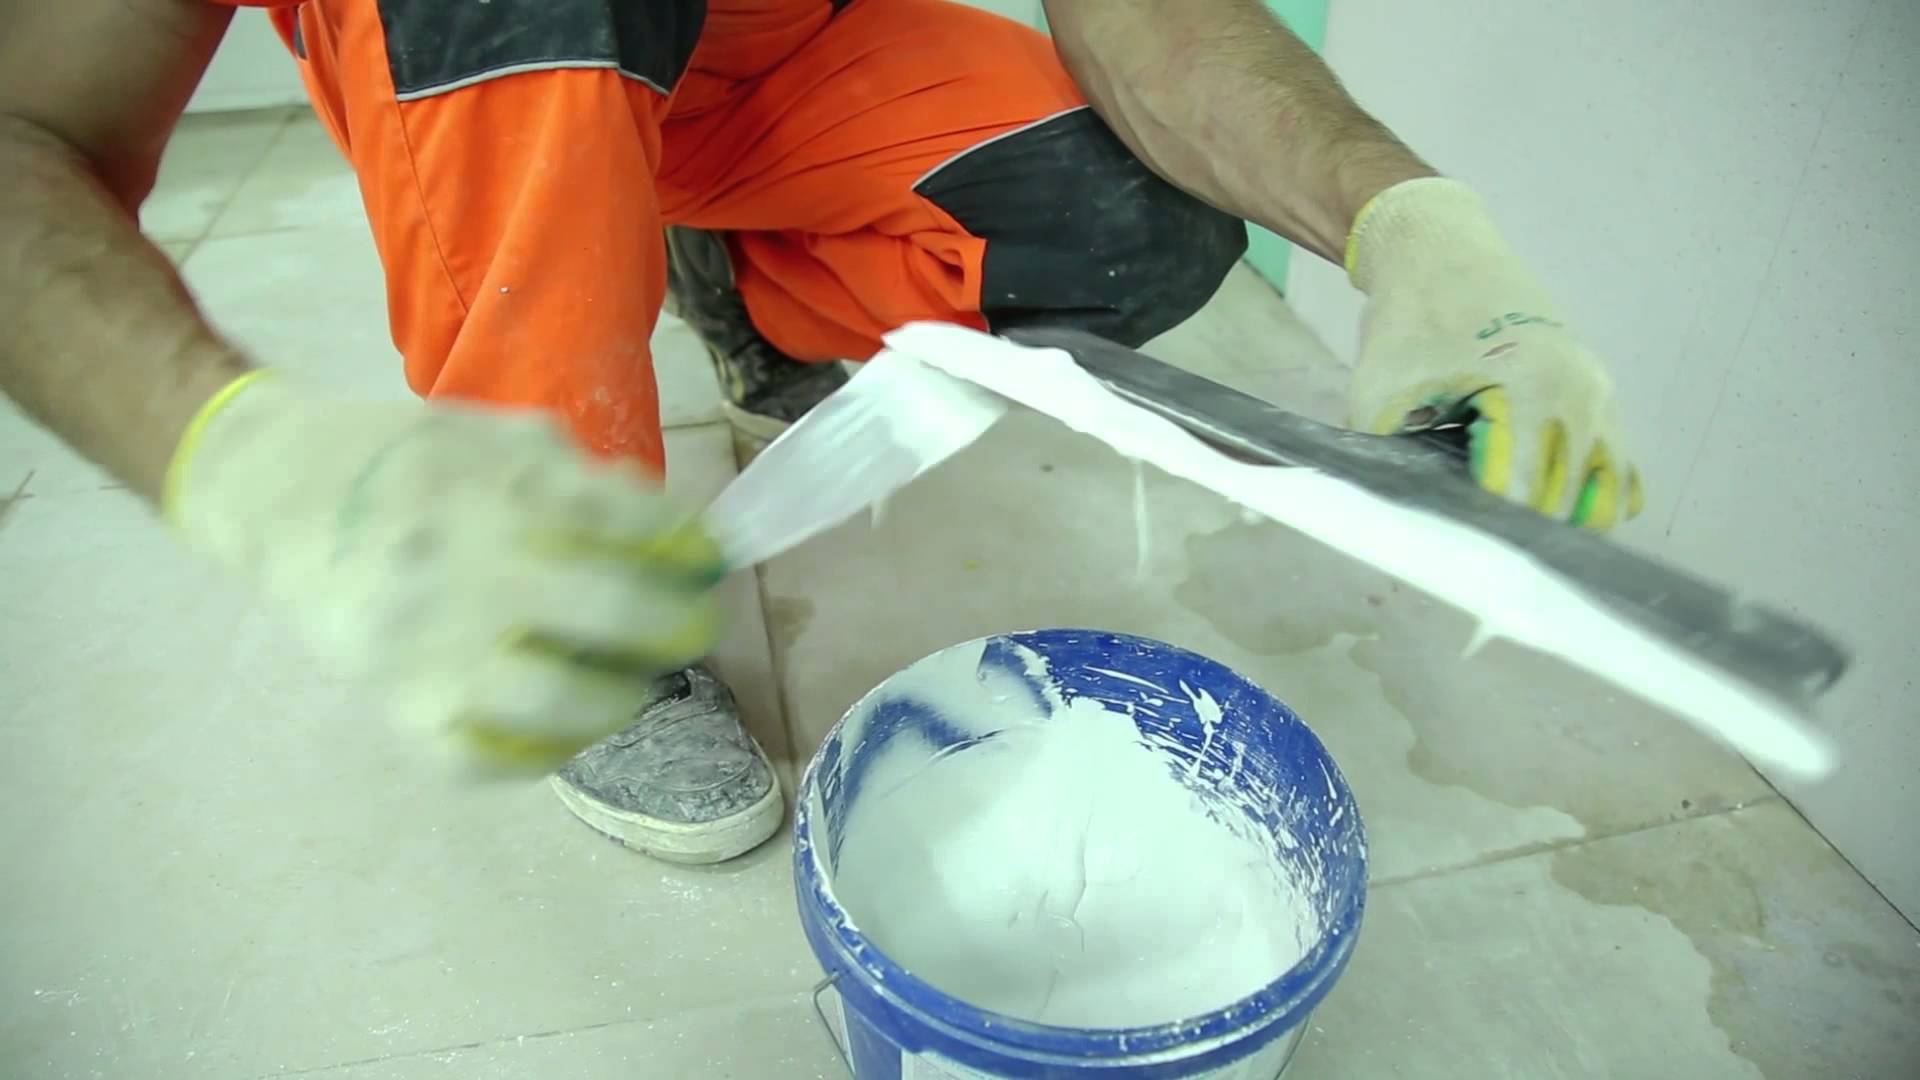
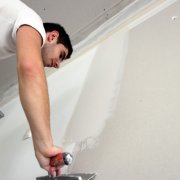
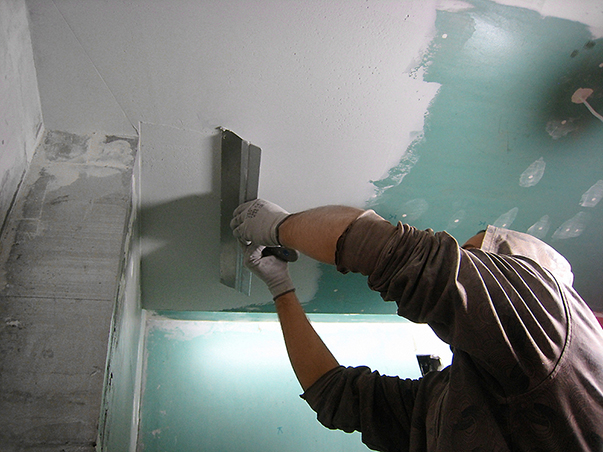
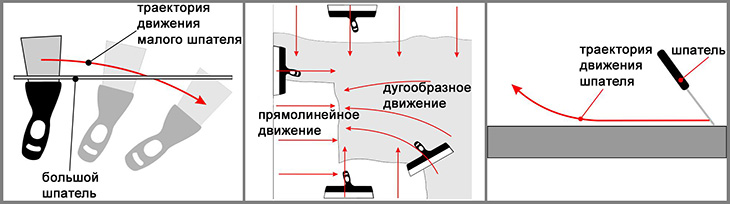
- With a large trowel, putty is applied to the wall with smooth arcuate movements.
- The diagram shows the trajectory of the spatula when applying the finishing putty. Experts recommend the use of just such movements, as they will facilitate the work and provide a more even layer of the mixture.
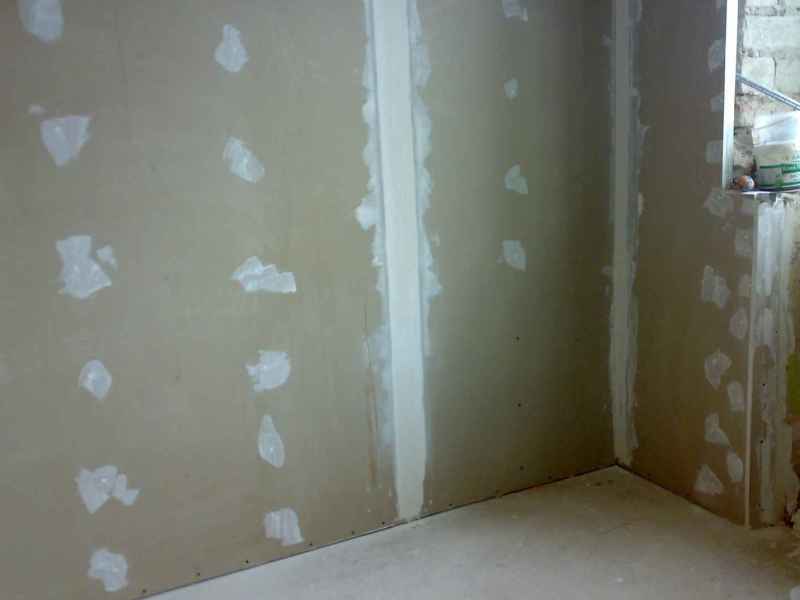
- Separately, all the holes with self-tapping screws pass, they must be puttyed before the finishing putty is applied, and dried.
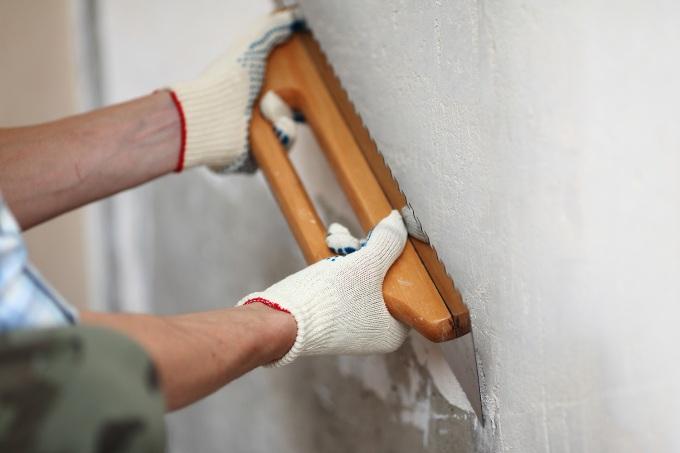
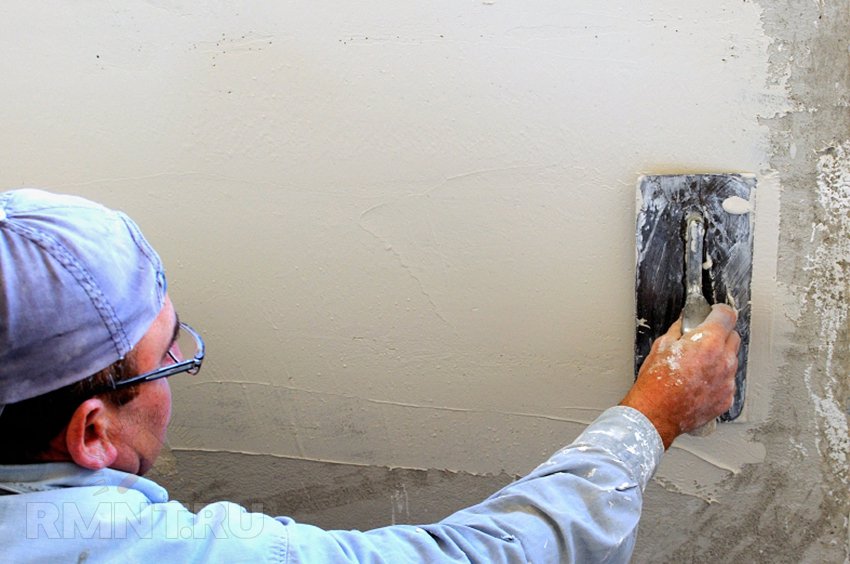
- They smooth the surface with a metal grater, removing traces of the spatula, removing excess mixture and overwriting the missing defects. A layer of putty leave a maximum of 1 mm, a thicker application can cause the formation of microcracks.
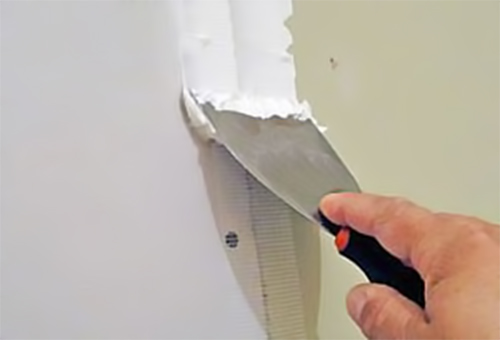
- Cracks in concrete, seams between sheets of drywall, grooves with screws and other wall defects are covered with a paint net. It is placed between two layers of putty. The first layer before applying the subsequent must be dried.
- Outside corners on gypsum plasterboard walls are reinforced with aluminum perforated or plastic corners to prevent chips. It is recommended to do this at the initial stage of finishing work.
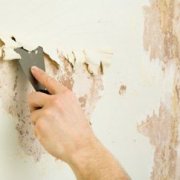
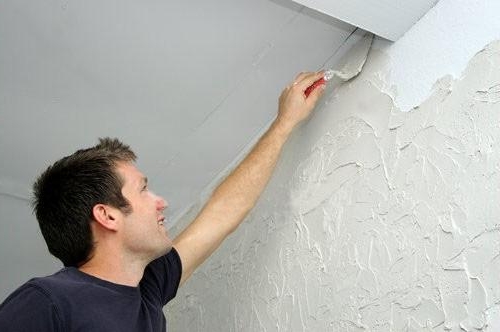
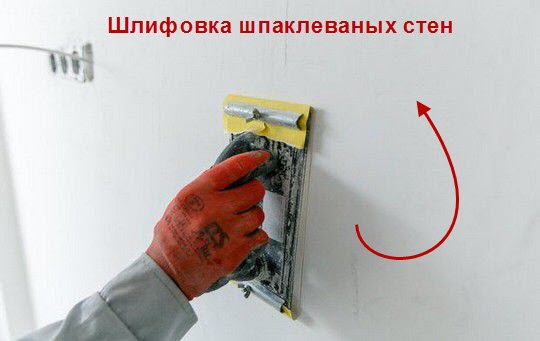
- After applying two layers of finishing putty and drying, the surface of the walls is sanded with fine sandpaper (nulevka) manually or using a grinder in order to remove all small imperfections, traces of a spatula or grater, roughness. It is made by uniform circular movements.
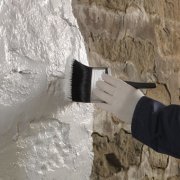
- After polishing, the walls must be primed to remove dust and create a water-repellent film that will prevent the surface from absorbing wallpaper glue.
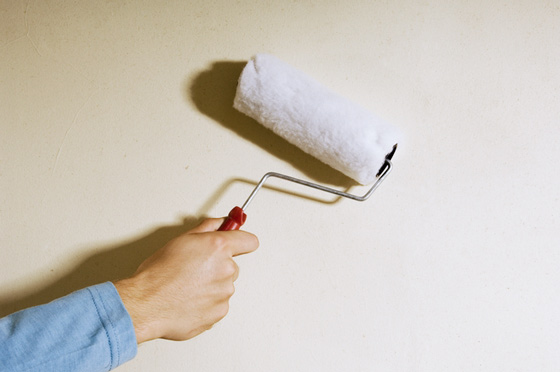
Important! Specialists recommend applying a primer to each coat of putty. Let this slightly delay the work, but give the material additional strength and moisture resistance.
- It is best to take a deep penetration primer, it will not only strengthen and remove dust from the top, but also penetrate the entire thickness of the layer.
All! The walls are ready for the next stage of work - the wallpaper sticker.
Conclusion
We talked about the types of putties, phasedly examined the technology of their application. We hope that they answered the question “Do I need a finishing putty for painting or wallpaper for wallpaper”. See another video in this article for more information.