Do I need to putty drywall under the wallpaper - tips from a seasoned master

Using gypsum plasterboard in repair today has become as familiar as laying tiles or whitewashing ceilings. Sometimes inexperienced home masters sheathe the rooms of their cozy house on their own, investing their souls in this matter, while saving considerable money.
But when it comes to the finishing of such walls with wallpaper, it often rolls over an irresistible desire to save even more, and stick them directly on the finished surface. Risk, of course, is a noble cause, but let's determine for sure whether plasterboard should be putty under wallpaper?
The content of the article
What threatens the wrong finish
Looking ahead, we say that such a sticking is possible, but with one caveat - in the future it can cause problems that a lover to do everything with his own hands does not know about. But let's talk about everything in order.
Putty and wallpaper
Drywall is a material for rough finishing of premises, and in most cases requires subsequent processing. The exception is the moments when structures are mounted from it under ceramic tile. But due to the fact that this material absorbs moisture well, even in this case, improved adhesion is required. For these purposes, deep penetration primers are used.

So:
- After the soil has dried, the tiles are laid directly on the drywall. As you probably already guessed, such a design is monolithic.
- Due to the fact that the surface of the drywall is a thin paper layer, the dismantling of tiles without damaging the base is almost impossible.
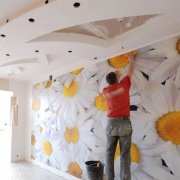
- When wallpapering (seeWall repair and wallpaper sticker: do it yourself) with high-quality adhesives, a similar situation arises. Everything will be fine with you, up to the moment when you want to change the appearance of the room. When removing wallpaper, it is very easy to damage the top layer of cardboard, or remove it completely together with the gypsum part. The wall, of course, will not collapse, but its evenness and strength will suffer greatly. These defects are especially noticeable when pasting expensive thin wallpapers that emphasize every unevenness.
When puttying drywall, we create an intermediate layer that strengthens and evens out the surface of the wall.
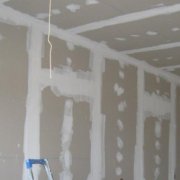
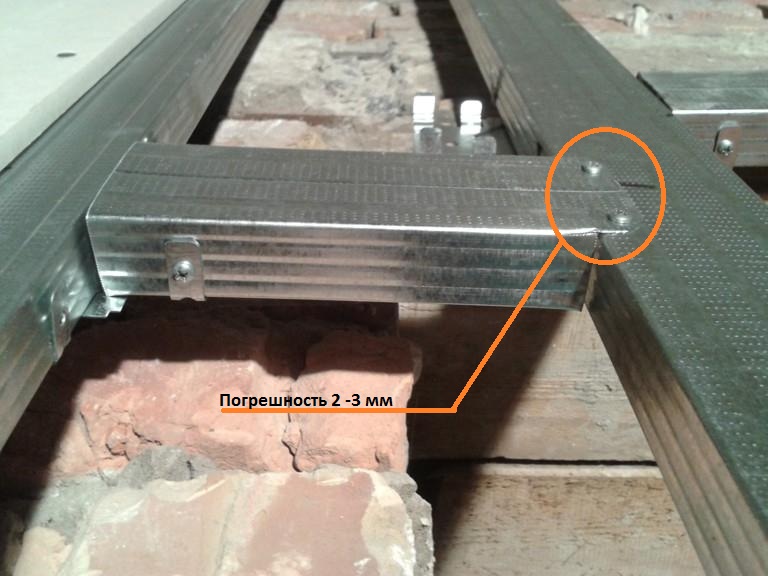
When assembling some frames, at the joints of the vertical jumpers and horizontal racks, bumps are formed. Differences in height arise due to screwed-in screws and overlapping profiles on each other, and are 2-3 mm (see photo below).
Naturally, the screwed drywall will be deformed in these places, and sometimes even break. Finishing putty Drywall for wallpaper, even with very thin layers, helps to minimize all swings.
Someone may object, they say, we used to glue on the curved walls, and everything has been kept for decades. To this we will answer that then there is no point in starting such an alignment in order to finally stop halfway. In addition, the average price of one 30 kilogram bag of universal putty varies from 200 to 350 rubles, which does not greatly burden your wallet. Labor costs will also be minimal.
Below you will find detailed instructions for quick plasterboard plastering.
What else threatens the wrong finish
A couple of unpleasant moments that may arise when gluing wallpaper directly on drywall.

If our arguments seemed unconvincing to you, and you still want to glue on an unprepared surface, then try to minimize all problems:
- When installing drywall in rooms with high humidity, moisture-resistant sheets of GKLV are used, which have a characteristic green tint. If your wallpaper is neutral in color, then get ready for it to turn green after sticking it.
- The same situation is with refractory sheets, only in this case the walls will turn pink.
- Almost any drywall has an ink marking. On some models, it is printed on the side, and on others, right in the middle of the sheet. So, most likely she will come through the wallpaper.
- Even in the case of sticking directly to drywall, you still have to pick up a spatula to seal the seams between the sheets and hide the black hats of the screws. If on the surface there are pressed-in self-tapping screws (twisted too much), or simply potholes, you will have to repeat this procedure until it is completely leveled, as the first time a deep hole will never hide completely.
- When the surface is completely putty, there is no need to additionally return to each hat.
Advice! To get rid of the overlay of drywall color, add a white water-based paint, which partially covers the surface, when priming to the primer. You can also use a special primer for wallpaper, which is partially tinted by the manufacturer. One of the options you see below.

Putty drywall under the wallpaper
In this chapter, we will talk about the materials that you will need when filling gypsum plasterboard, and also consider in detail the process itself.
We prepare the material
Let's see how to putty drywall under the wallpaper. There are a lot of materials on the market, and often they are no different. But sometimes there are individual specimens that are not worth taking, which we will also mention in this review. So, let's begin.

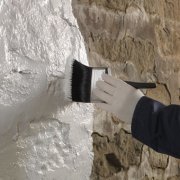
Before starting puttying, it is necessary to impregnate the walls with a primer. This treatment strengthens highly absorbent surfaces and improves their adhesion. It will also allow you to get rid of dust that settles on paper fibers during installation.
There is no need to select the exact composition of the soil, it is enough that it is deep penetration. If there is poor ventilation in the room to be finished, then a primer with antifungal additives can be used.
-
- Universal putty for joints
-
- Specialty putty for joints
Knauf is perhaps the largest producer of gypsum materials. Drywall of their production can be found in almost any hardware store. It is inexpensive and of high quality.
This company pays great attention to the complexity of its products, therefore, in their assortment, you will find the optimal solution for almost any type of work. We do not advertise this company, just by coming to the store, you will see for yourself that no other manufacturer offers such a variety of profile mixtures.
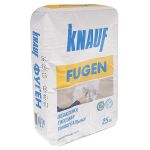
After the primer dries, the first thing we need to do is close up the seams and hats of the screws:
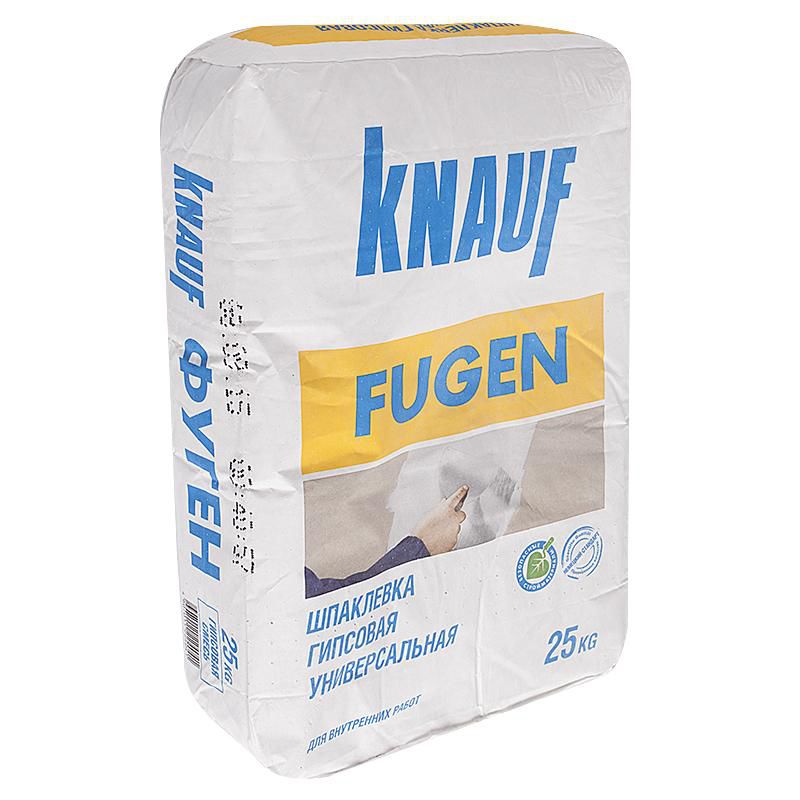
- The versatile Knauf Fugenfuller mix is perfect for this purpose.
It has high strength and elasticity, which is indispensable for puttying sheet joints. Also, this putty dries very quickly, which allows you not to waste extra time.
This composition is universal, and is suitable for puttying surfaces, although in practice this is not entirely true. To putty a large area, a larger amount of the kneaded mixture is required, for which a power tool is used.But since this putty is not suitable for machine breeding, you have to constantly cook it manually, which is not very convenient.
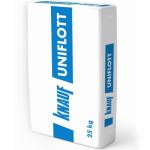
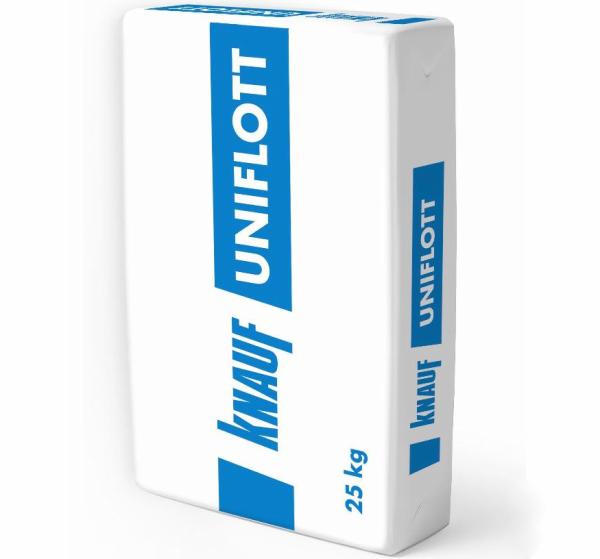
- Knauf "Uniflot" - This is a profile putty designed for sealing joints between sheets of drywall, gypsum fiber and Knauf superfloor plates. It has a very high strength, and does not require the use of reinforcing tape. It should be kneaded in small portions, and produced within 20 minutes.
The cost of this variant of the mixture is much higher than that of Fugen, but the quality of the joint will be much better. Almost all good craftsmen use this particular putty.
Advice! Do not try to knead the Fugen with a mixer to obtain a homogeneous mass, as it freezes in your bucket in less than five minutes.
-
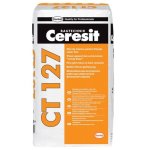
- Dry polymer putty Ceresit CT 127

-
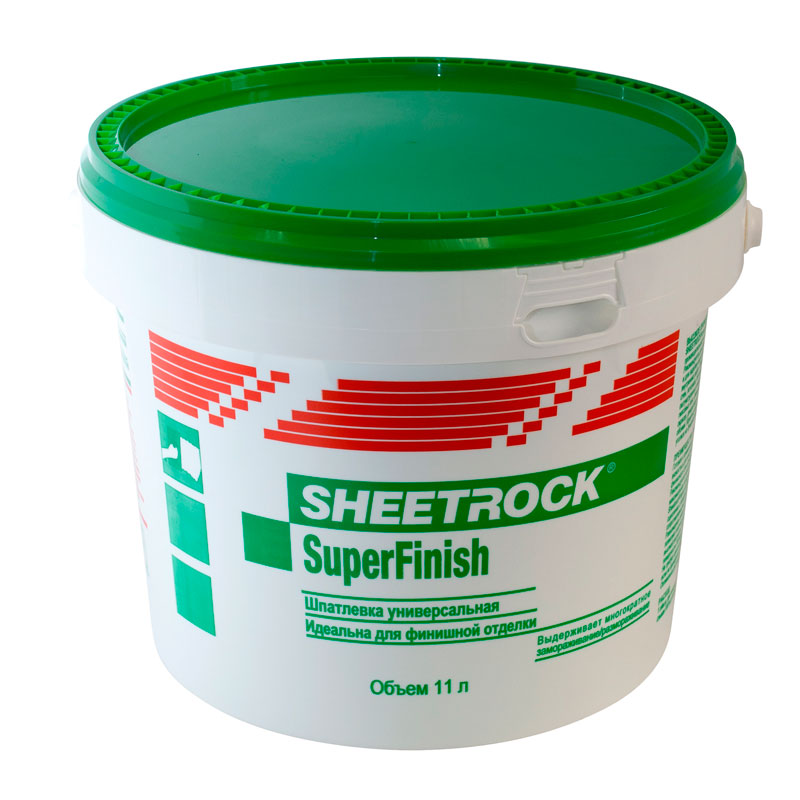
- Ready-made latex putty SheetRock
-
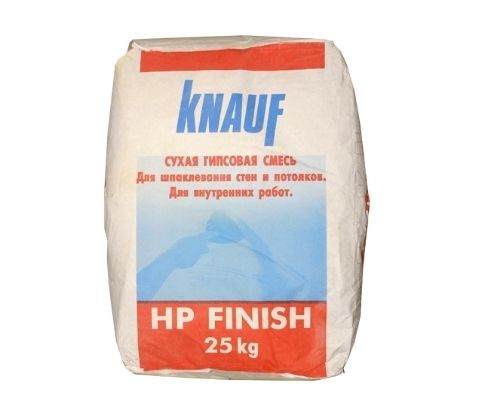
- Drywall finishing putty for HP Finish wallpaper
-
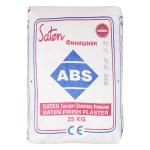
- Finishing putty ABS

Now let's choose a putty for the base layer. In the store you can buy it both in dry and in finished form. The second option will be slightly more expensive, but you don’t have to spend time mixing and brewing the mixture. Next in order.
So:
- ABS - this gypsum finish putty. It is used for application on cement plaster and other surfaces. Recently, she has lost much in quality, and has become very fragile. Easy to peel and peel. Buying recommendation - do not take!
- Knauf HP Start - It is also made of gypsum, but has a denser structure than the above option. Great for application on drywall surfaces, forms a durable layer, the thickness of which should not exceed 3-4 mm.
- Next comes one of the most expensive representatives of diluted mixtures - “SheetRock”, which is a polymer, latex putty. When applied, it forms a smooth texture, ideal for painting and wallpapering.
- The last photo shows the polymer putty “Ceresit”, although with the same success it was possible to place “Unis” or “Vetonit” there. The essence of such compounds is the same, and only a professional who works with them constantly can notice the difference between them. Latex putties are very convenient to use, as they allow the use of a mixed solution during the day.
So which option should be preferred - gypsum or polymer? The question is complicated: it all depends on the repair budget and the condition of the wall being processed. Plaster fillings are best suited for walls with large irregularities and elevations. Gypsum polymer on the contrary - for smooth and smooth surfaces. But for drywall walls, both options work equally well.
The only thing worth mentioning is that polymer putties are not suitable for rooms with high humidity, as they do not allow steam well and violate the natural microclimate. We will indicate all other materials and tools as the work progresses.
Stitching
Let's go back to the stage where our primer has dried. As already mentioned, we will start by closing the seams.

To give the joints of drywall sheets greater strength, it is necessary to stick a reinforcing tape - a sickle. It has an adhesive base, so just unwind the roll along the seam and smooth it out well with your hand or spatula. You can cut the tape with a clerical knife, or simply press the end with a sharp spatula and pull.
Advice! Make sure that there are no sagging or convex places, as they will interfere with the application of the putty.

Instead of building mesh, Knauf offers reinforcing tape made of perforated paper, which is even easier to work with. In addition, the joint is more durable.
If the mesh you bought is poorly saturated with glue and constantly strives to peel off, then fix it after applying the first layer of putty.To do this, unfold it according to the applied mixture, and press down with a spatula. Then remove the excess putty, and let dry.

Serpyanka is also glued to the corners of the room and to horizontal joints. But before that, do not forget to remove the end edge from the sheets - this will create a space for putty. If you forgot to do this during installation, now is the time to fix your flaws. Use an assembly knife for these purposes.

The glued sickle must be putty putty. To do this, we collect the diluted mixture with the middle spatula, and fill the gap with transverse movements. After that, smooth the putty along the seam, but already in the longitudinal direction. In this manner we go through all the joints and corners in the room.
While the first layer dries, we proceed to the glossing of the screws. A small spatula is best for this job. Apply the putty pointwise, smoothing it in different directions. Make sure that no furrows or lumps remain on the surface. If you still missed somewhere, then they can be cleaned with a spatula after drying.
If you feel that the head of the screw is sticking out, then you need to tighten it. It is convenient to use a spatula for these purposes, which has a screwdriver on the handle. Such a tool can be purchased in a store or made by yourself, by wrapping a screwdriver with electrical tape.

Next, you need to apply the finish layer to the seams, making them perfectly even. As a result, your wall should look like the wall shown in the photo above.
Puttying the surface
Putty on drywall under the wallpaper will not take you much time, since it will be enough to apply two layers.
In order not to stand idle, immediately knead a third of a 10-liter bucket. Follow the instructions carefully for the preparation of the solution, and do not forget to clean the bucket before each new batch.
Advice! Always use only a clean tool - this will save trash from getting into the putty, which, when spreading along the wall, leaves furrows behind it.

As the main tool, an even hard spatula with a blade width of about 35 cm, or a metal trowel with similar dimensions, is suitable. To remove excess and pick up the mixture from the bucket, it is convenient to use a 10-centimeter spatula with a more flexible blade.
- Always start to putty from the corner of the room. Apply putty in a thin layer and stretch evenly over the surface. For easy application, putty should be of medium density.
- The first layer should have a thickness of about 1 mm to cover the entire surface of the drywall. Putty with long sweeping movements, trying to avoid furrows and sag. The angle between the spatula and the wall should be as sharp as possible - this will allow better control of the layer thickness.
- What did we mean by speaking about quick puttying of a drywall surface? After you finish coating one wall, you do not need to wait for it to dry, so that the adhesion of the surface remains at a high level.
- Once the putty has set, apply a second top coat. To do this, dilute the mixture a little thinner than the first time - this will make the layer much thinner. When smearing, change the tilt angle of the spatula by 70-80 degrees relative to the wall, and remove the putty almost to zero.
- After you finish applying the finish coat, leave the wall to dry, and move on to the next one. If the wall area is large, then you can break it into segments in order to have time to apply the layer on time.

After complete drying, all the walls must be sanded - so you will achieve a perfect surface. But if nevertheless there are uneven places, then do not be too lazy to put another layer on them.
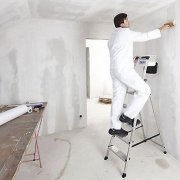
Before wallpapering, the surface requires a thorough primer, but this is a topic for other reviews, which, by the way, you can easily find on our website. Pay attention to the video in this article, in which an experienced wizard performs the considered work. On this, plasterboard puttying under the wallpaper can be considered completely completed. Thank you very much for your attention!