Facing with ceramic tiles with glue: technology of work

Facing walls with ceramic tiles on glue is not such a difficult task. You can completely do it yourself. Then the finish price will be much lower.
The consumption of glue when facing walls with ceramic tiles is not large. Since the fastening is done on a flat plane. Before starting work, you should look at the photos and videos and understand how everything is done, then it will be much easier for you to do the work.
The content of the article
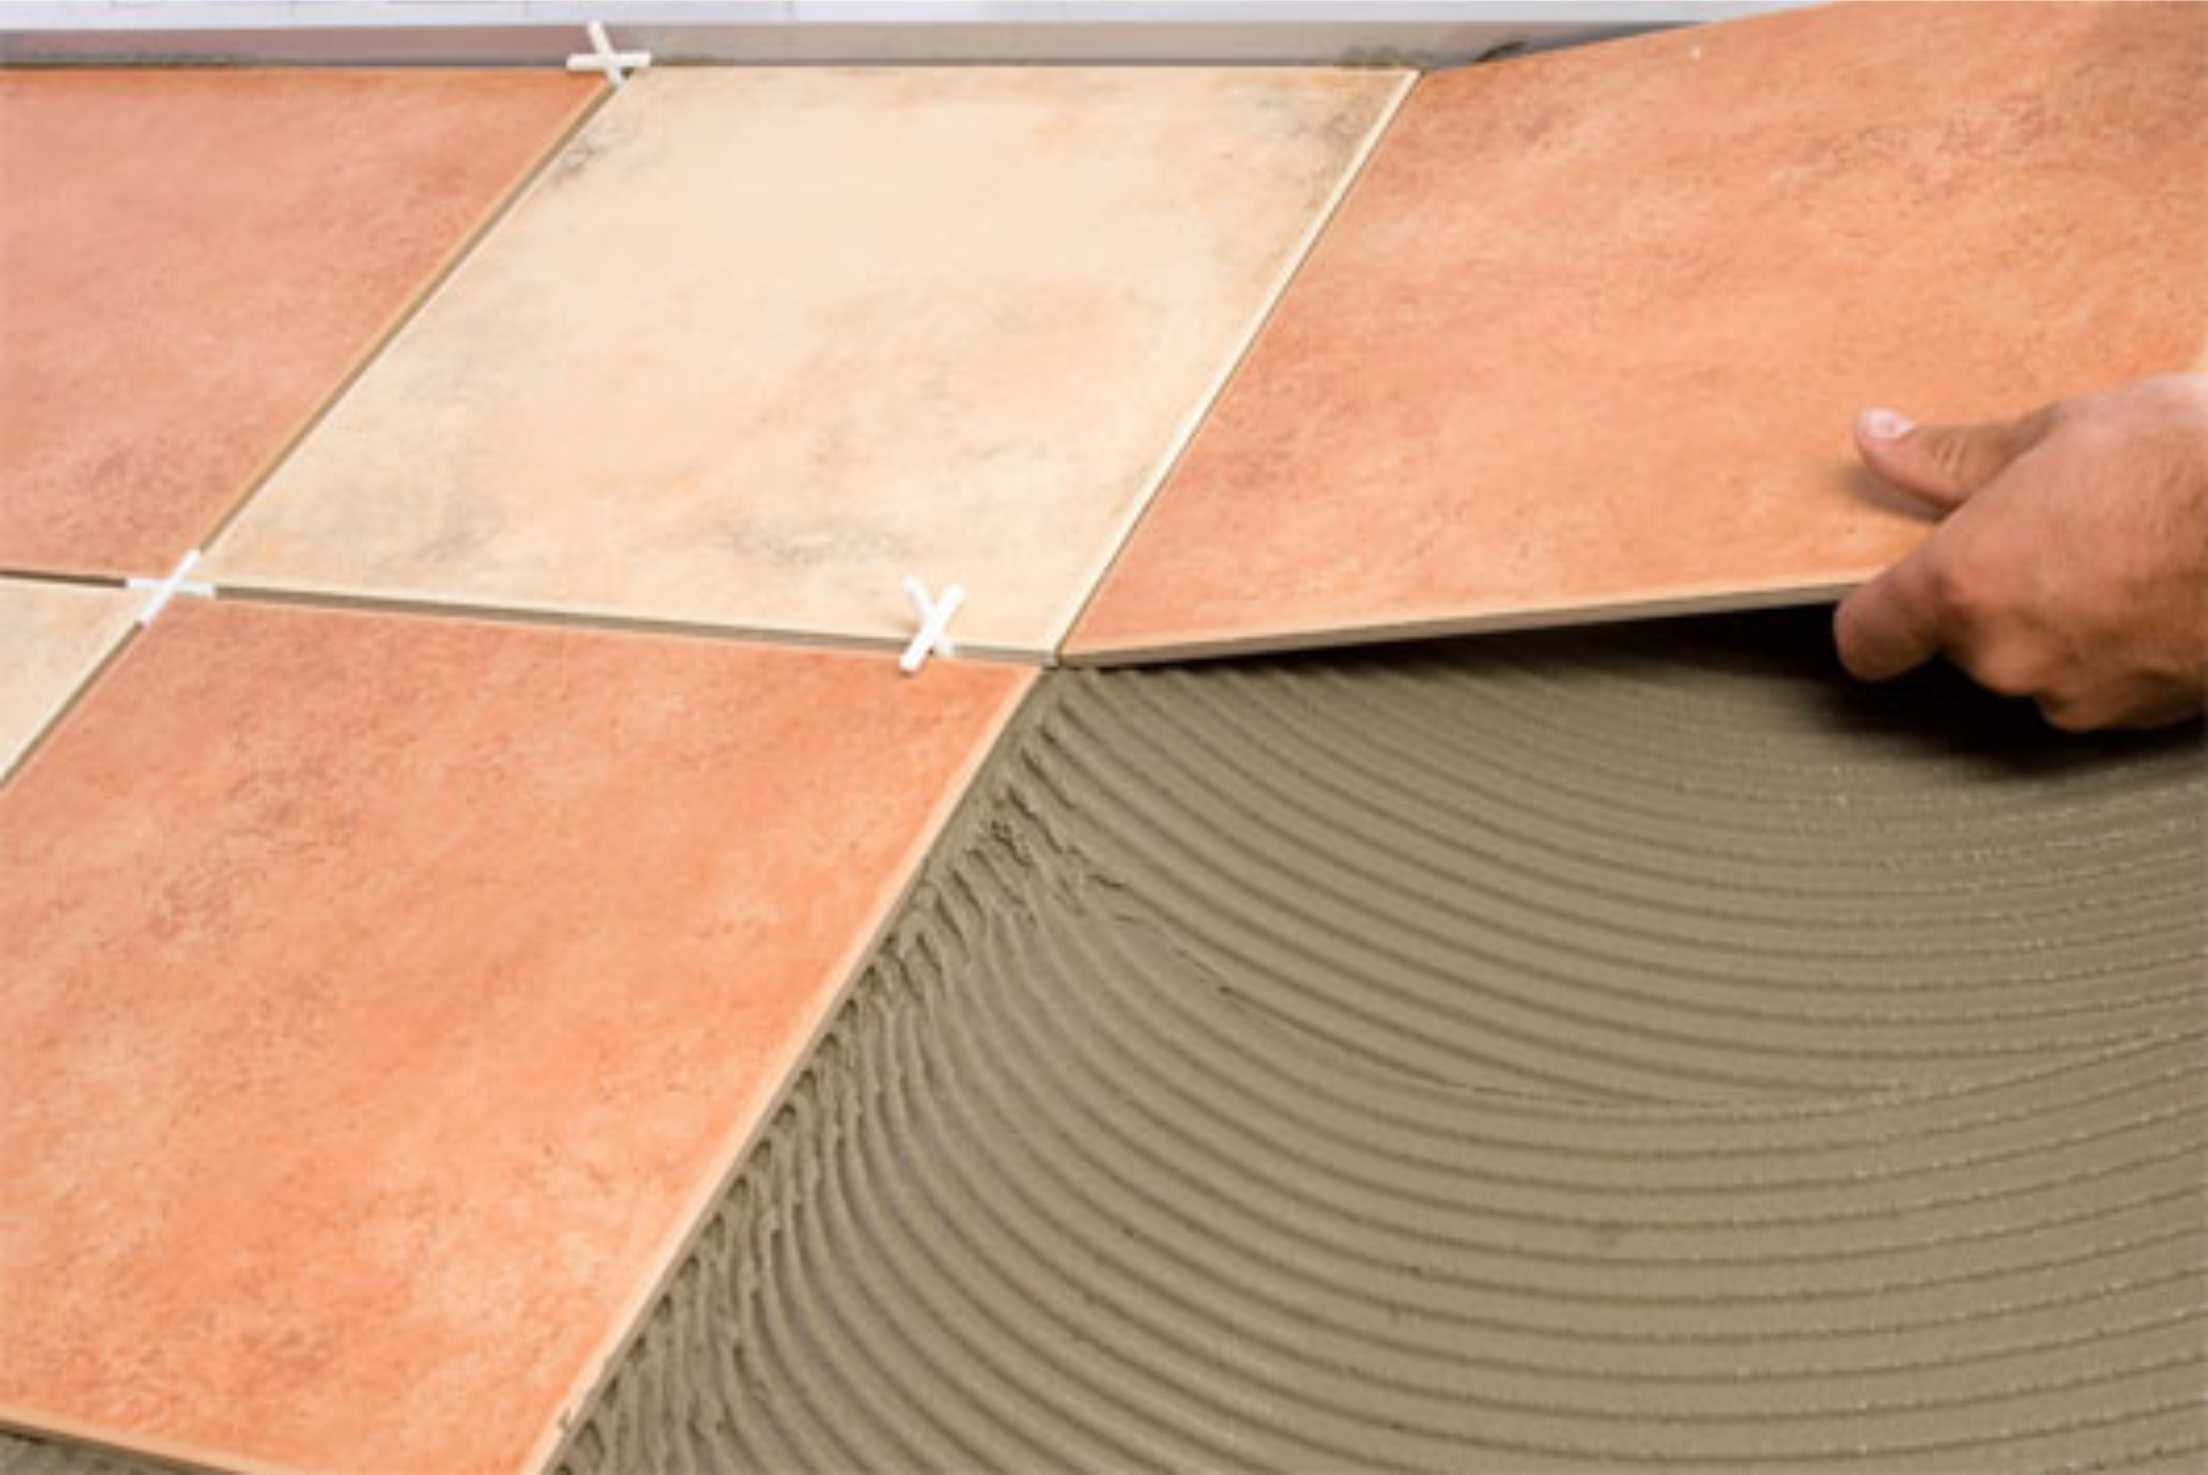
Laying ceramic tiles on glue
Ceramic tiles can be laid not only on the floor (see Ceramic flooring - the right veneer) and walls, but also on the ceilings. In order to carry out such a technological operation without problems, special adhesives are used for ceiling cladding.
Ceiling tiles are produced for the ceiling, the adhesive for the facing ceramic tiles is selected according to this list:
- Universal polymer compositions.
- Liquid Nails.
- Polyvinyl acetate formulations.
- Acrylic putty.
Attention: When buying any material, the instructions should be studied. If this is a bath, then the glue should be moisture resistant. If the room is not heated, then pay attention to the application temperature.
For the cladding of ceilings, a special technology is applied that allows you to keep the laid tiles well:
- For better fixation of the tile, after applying glue, the tile is pressed to the ceiling, and then removed and, after a one-minute exposure, is pressed finally.
- A one-minute pause allows the adhesive mixture to dry, which means it is more reliable to fix the tile. For ceiling surfaces, the mixture should be prepared with a thicker consistency, since the tile under its weight can come off and fall.
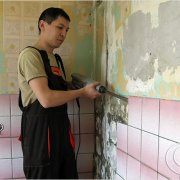
- Before facing the ceiling, you should pay attention to the presence of old plaster, which may not be reliable. To protect yourself from the consequences, the old plaster must be removed with a sharp spatula. If it does not lend itself well, then it must be wet and wait a bit, after which it can be easily removed.
- Technology wall cladding with ceramic tiles Provides a flat surface. So after cleaning the surface we take the fishing line and pull it along the diagonals of the plane.
Attention: If the deviations in the plane are more than 5 mm. then you need to do surface plastering. If within the permissible limits, then the fastening can be done on glue.
When facing ceilings, the adhesive mixture is applied over the entire area of the tile for more reliable fixation.
Installation of tile on drywall
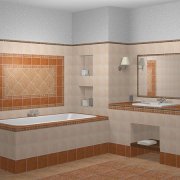
The most common place that is cultivated with tiles and, possibly, using drywall is a bathroom. If separately, then this is a toilet and bath, although other options are possible.
Attention: For preliminary alignment of walls, you can use ordinary wall drywall, but it is better to give preference to moisture resistant.
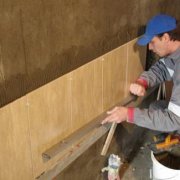
Drywall is a gypsum plate with a thickness of 12.5 mm, dressed in a cardboard shell. To make the surface reliable plasterboard cladding performed according to technology, using profiles or wooden battens.
The technology of laying tiles on drywall has its own characteristics:
- For greater reliability attached to the surface of drywall plaster mesh.
- Then the surface of the drywall is primed in two layers with a deeply penetrating primer using a roller.Before applying the next layer, you should give the opportunity to completely dry the previous one.
- For laying drywall tiles a special adhesive mixture is used. As a rule, these are dry mixtures (possibly the use of mixtures of various companies) that are diluted with liquid.
- To prepare the mixture, it is advisable to use a drill with a special nozzle (mixer), which will give a very high-quality mixture, ready for use.
- In this case, it is not necessary to prepare a large amount of glue, but in small portions, since it quickly hardens. Usually, glue is kneaded, about one square meter of area, which makes it possible to rationally and correctly use the adhesive mixture.
Attention: As a container for kneading, it is better to use containers with even planes. Then the mixture will be uniform in moisture.
Almost all universal adhesive mixtures are intended for laying tiles, both inside the building and outside. The main condition for choosing the composition is the popularity of the company and the advice of sales managers. For indoor installation, you can use adhesives, both domestic and foreign manufacturers.
Layout selection
The technology of wall cladding with ceramic tiles is as follows. To calculate the number of tiles, it is better to invite a master who will be engaged in facing.
To consider a tile by area means to miscalculate and have to buy more, but the tiles of that party may no longer exist. And this can lead to the fact that you have to add tiles of a different shade, which is not always acceptable. Therefore, be sure to consider the waste and tile pattern.
Attention: When calculating, take into account the tile pattern. As a result of laying on the plane, additional waste may occur.
- If you decide to lay the tiles with your own hands, then you should know that the classic laying scheme involves laying the cut tiles in the inner corners and the whole tile in the outer corners.
- In this case, preference should be given to symmetrical laying: cut tiles at the edges should have the same dimensions, and this suggests that tile laying should start from the center of the wall. In all cases, the width of the seams must be taken into account.
First row gluing
Always, whatever the work, a very important stage is the beginning. If we talk about the tile, then what will be the beginning, so will be the end. Properly and evenly laid the first row will also allow you to continue laying evenly and correctly.
So:
- For good reliability, before laying the first row, it is necessary to fix a flat rail on a drywall, in a horizontal position. It is fixed strictly horizontally, which is controlled by the building level.
- When laying tiles, crosses should be used for uniformity of seams. They are sold there and can have various sizes. You can advise the following approach when choosing crosses: the larger the tile or room, the thicker the crosses can be, and vice versa.
- It should also be said that with wider seams it is easier to adjust the position of the tile. This is due to the fact that the quality of tiles, in recent years, wants to be better, especially for tiles, which are bought by the main segments of the population. High-quality tiles are usually very expensive and not accessible to the majority of the population.
Attention: When laying it is never necessary to apply glue immediately to the tile. First you need to try it on and if you need to adjust to the desired size and only after this do the fastening.
The preferred scheme for laying gypsum plasterboard tiles
The number of tiles is not selected according to area, but according to the figure, each tile and each half is considered. Typically, the pattern corresponds to the selected styling scheme.
- Drywall is good because it can be used to hide any communications, which means that it is possible to have various drywall boxes, which should also be present in the picture, otherwise it will not be possible to calculate the tile correctly. Therefore, basically, a little more tiles are ordered to protect themselves from unforeseen consequences. In addition, tile defects or microcracks that are detected during tile processing are possible.
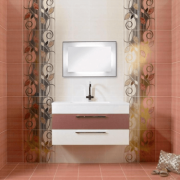
- Tile installation should begin from the middle of the surface and only in extreme cases - from the edge of the surface.When laying tiles, door and window openings must be taken into account, near which, as a rule, a whole tile is laid. This is due to the fact that around the doors, possibly, platbands will be mounted.
According to the tile drawing, it is immediately necessary to determine with the laying scheme. It can be in two versions.
The types of wall cladding with ceramic tiles and the ceiling can be as follows:
Stacking from the bottom row First row bottom | In this option, you must first mark the attachment line.
|
Laying with a rhombus Do the styling with a diamond | Here, each element is attached angle to the center. The markup is done as follows:
|
Direct styling Stacked by direct method | We mark the centers of the opposite sides and connect them.
|
- When performing external corners, it is advisable to use special plastic crosses.
- Tile should be laid in small portions, which will make it possible to correct and fix them. After this, the laid tile must be allowed to seize and only then can the lining continue. In such cases, it is better to lay the tiles on two walls. This will make it possible to comply with the technology and speed up the installation process.
- After laying the row, you need to walk along the seam with the angle of a spatula and remove the glue.
- On the second day (in a day), you can begin to overwrite the seams. To do this, putty is diluted in the desired color and pressed along the seam line with a rubber spatula.

- When the seams are putty, do not wait until they are completely dry. After a little drying, go over them with a damp cloth and remove excess mixture.
- We are waiting for complete drying and wipe the resulting white coating with a dry rag.
Having done the work with your own hands, you save money, you can do everything qualitatively. The most important thing is not to make a mistake in the calculations of the material and not to rush during operation.


On drywall, I tiled the bathroom. Drywall must be waterproof, green. As a flat rail, for the device of facing the first row, you can use a metal profile for drywall. The glue needs to be used so that it grabs quickly enough, and the tile does not slide down, for example, Cerezit SM 11.Apply glue to the tile, you need a notched trowel.