Installation of wall paneling: a professional approach

Lining is everyone’s favorite natural material that can give natural comfort and warmth to both a large country house and a modest city apartment, which sometimes lacks natural beauty and a sense of freedom. In a recent article, we discussed how to upgrade walls from a lining.
Now let's talk about how to do the installation of this material with your own hands. Installing the lining on the walls is not a quick process, and requires a master to have a certain exposure and skills to work with a power tool.
The content of the article
Lining selection
To begin, let's quickly go over the types of lining, and try to determine from what material, you need to choose a lining for specific purposes.
Varieties of lining

When choosing a lining, you immediately pay attention to the letter designations of the varieties. But for an unprepared person, this data is incomprehensible and uninformative, and it is often very difficult to hear a clear answer from sellers. As a result, the buyer focuses on the price, not paying due attention to the condition of the boards.
Well, as you know, all defects are detected during installation. Nobody will take the opened packages back, and the delivery of material requires funds and forces for loading. Therefore, as in any other business, choosing a lining you need to be fully equipped.
There are four types of lining, regulated by GOST 8242-88 1996, the main characteristics of each of which are given in the following table:
| Lining grade | Quality attributes |
| Extra | This variety is elite, as the boards do not have: knots, cracks, resin pockets, rot, discoloration, warping, size disruptions, wormholes and other insects, mechanical damage, defects in the lower edge of the groove and other imperfections. This type of lining is made by splicing individual elements, since there is little wood in nature that meets the above requirements, and the one that is available is used for the manufacture of ultra-expensive materials. |
| "AND" | This variety has a small number of defects (covered resin pockets, cracks, warp). Through it, the presence of through cracks and falling out knots is unacceptable. The total core volume with access to the front should not exceed 20% of the total area of the board. Also not allowed: the presence of rot, damage by microorganisms, wormholes, mechanical damage and groove defects. This lining is perfect for finishing work, and does not require additional processing of defects. |
| "AT" | Lining of the 2nd grade, on which significant visible defects can be present - this is the grade “B”. Mechanical damage to the board can reach up to 10 mm deep, in the amount of three per blade length. The presence of knots, rot, resin pockets, bank wood, tarred patches and through cracks with access to the end face is also acceptable. Wormholes and discoloration are not acceptable. The price of such a product is much lower than the previous analogues, but the appearance of the skin, without special treatment, will "scream" about the budget repair. |
| "WITH" | Everything that was rejected, and not included in the previous categories, falls into “hell”, which is called - grade “C”. This is of course a joke, GOST does not allow the presence of marriage in any of the varieties, but it does not stop many manufacturers. The number of defects will be significantly higher than in category “B”.In such a lining you can find: loose or fused knots, significant mechanical damage, wormholes and high warp. Installation of this grade may require fitting boards. This type of lining is mainly used for decoration of technical and utility rooms. |
Advice! When buying a lining, you can ask the seller to open several packages to check the conformity of the grade material, in fact. Very often, unscrupulous manufacturers replace the product with a low-quality one, hiding it under the top ideal board. Also, before buying it will not be superfluous to agree with the seller about the possibility of returning the re-grader.
Separately, we add a few words about the euro lining. Its main difference is a fixed size, which is: width - 80, 100, 110, 120 mm; thickness - 13, 16, 19 mm; length 0.5 - 6 m; tenon size 8-9 mm. In its relation, GOST gives its own regulations, but they do not differ much from those indicated in the table.

Wood species for lining
The quality of the lining determines not only the grade of the product, but also the material from which it is made. Each type of wood has its own unique properties, which determine the scope of the material. The lining for sale is divided into two types: softwood and hardwood.
Let's look at the most popular of them:
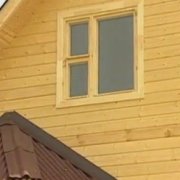
- If you need wall paneling in the bathroom or bath (seeFinishing the bath lining: do it right), as well as lining for the outer wall, then pay attention to the option made of Siberian larch. You can see an example of this material in the photo above. The main advantage of this tree species is its incredible resistance to moisture. It does not require special treatment, and over time it will only get stronger. These properties strongly distinguish this material against the background of other coniferous breeds, which are not recommended for use in rooms with high temperatures.
- Larch has a rich assortment of shades, is a natural difficult-to-combust material, and has high impact resistance, which makes this material the most popular on the market.
- Larch lining has the property of retaining heat well, and the subtle aroma of wood resins and the presence of volatile production make it possible to create a unique microclimate in the room that prevents the reproduction of the bacterial flora. Staying in such a room will be useful both for colds and for people who are involved in the prevention of respiratory diseases.

- Another popular option is a pine lining, which is a leader in the budget segment. It has a pleasant golden hue, is easy to process, and with proper care it will serve no worse than hard wood varieties.

Oak is a king among deciduous trees, and despite its high price, lining made of this material is well-deserved. It is very durable, dense and resistant to decay, in addition, a pronounced woody pattern will give the room a unique look.
- If you cannot afford buying expensive types of wood, then you can turn your attention to more affordable varieties: spruce, cedar, linden, ash, alder.
- Each of them has unique properties, so be sure to find information about the option that interests you before buying.
- To create a beautiful interior, it is not necessary to buy the most expensive lining - it is enough to properly process it and paint it in a color that combines with the surrounding space (seeHow and with what to paint the lining inside the house: we understand).
-
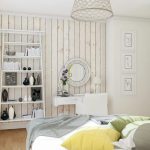
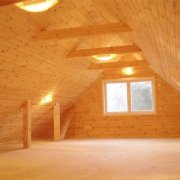
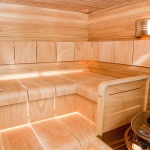
- Interior wall with clapboard

-

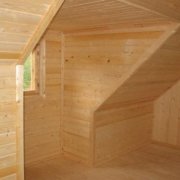
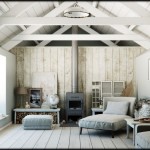
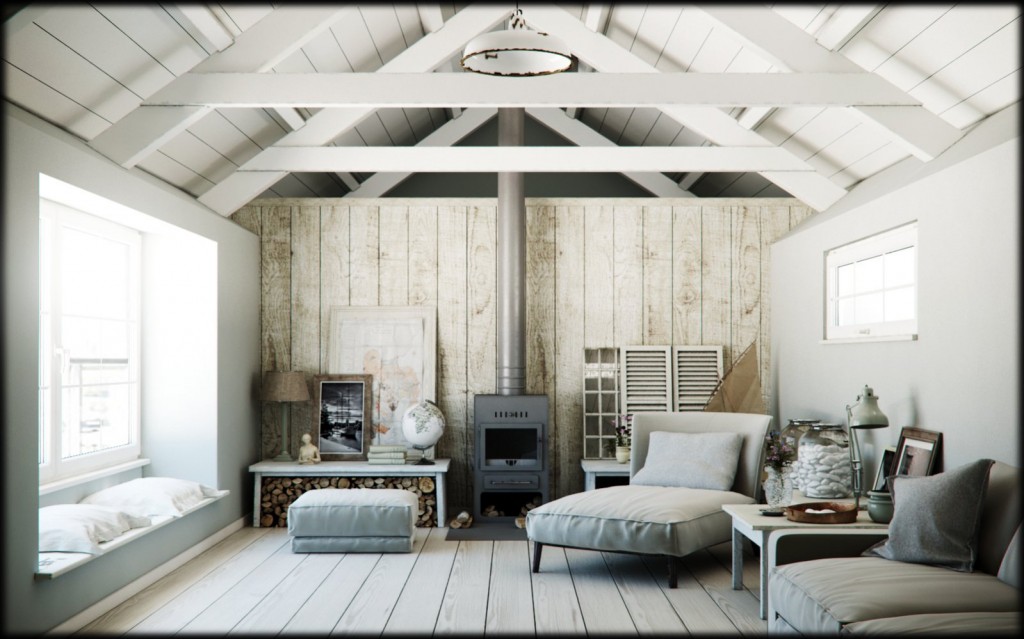
- Clapboard design example

-
- Lining for bleached oak
-
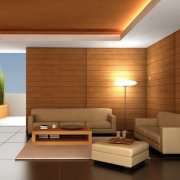
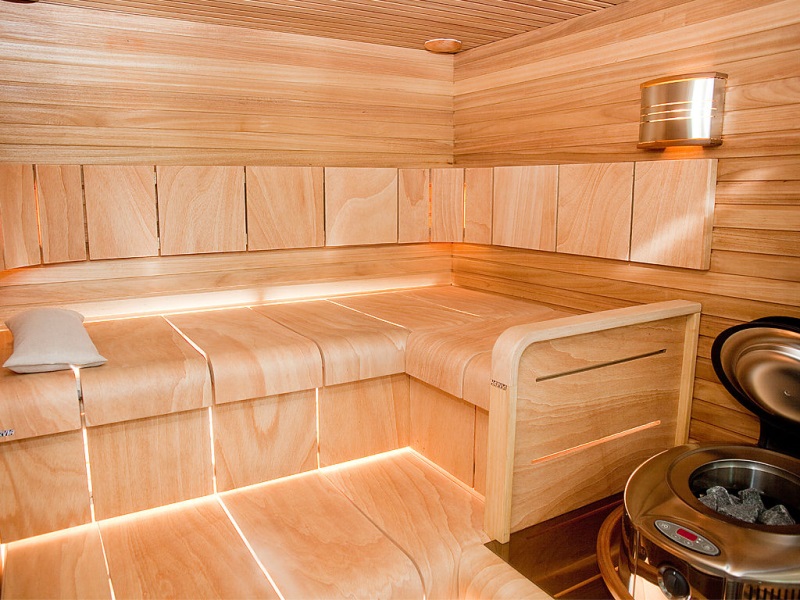
- Clap trimmed with LED lighting
Advice! When buying lining in a bathhouse, give preference to hardwoods, as their wood does not emit tar and does not heat well, which is important for observing fire safety.
Lining installation
This chapter will talk about how to fill a lining on the walls. The process will be considered in stages, indicating some subtleties that may come in handy when doing the work yourself. The video in this article is presented as an addition to better assimilation of the material.
Frame installation
Lining, like any other modular finishing material, is sewn onto a frame, which can be made of wooden battens, beams or metal profiles. When sheathing a frame house, the supporting beams of the structure can also serve as the basis - such work will be much simpler than the one that we will consider later.

Usually, unpolished cheap bars are used under the frame, since they are completely hidden behind the skin. This measure is justified and saves a decent amount of money.
But if you are going to sheathe a damp room or the facade of a house, without fail treat the wood with compounds that will give it moisture resistance, resistance to decay and high temperatures.
- For these purposes, special impregnation primers are used, which can be purchased at any hardware store.
- This treatment is needed to increase the life of the lining. Otherwise, due to the fact that the back of the board is constantly in contact with the decaying beam, and is exposed to microorganisms, these processes, sooner or later, will be transferred to it.
- All work on the priming of wood is carried out before mounting on the wall, after which the boards are dried at positive temperatures. It is important to process the beam from all sides, including the ends.
- If you are reluctant to mess with impregnation, then you can always buy a ready-made version already in the store. In addition, factory processing will be much better than home.

If the installation will be carried out in a dry room, then this item can be safely skipped, and immediately proceed to assemble the frame:
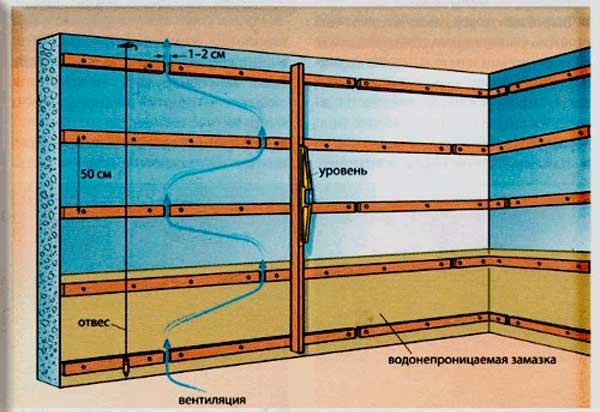
- The frame for the lining consists of several mounting belts, which can be placed both horizontally and vertically (depending on the direction of the casing), but should always be located strictly in the same plane.
- The distance between the belts should not exceed 50 cm, so the resulting surface will not bend.
- In the door and window openings, vertical and horizontal belts are additionally installed, giving the basis for slopes.
- The same goes for the inside and outside corners of the room.
These requirements apply to all types of frames. Next we describe the features of each of them.

If the sheathed base is fairly even, then buy a rail. Its installation will be easier, and the resulting plane will not capture a lot of space in the room - especially true when covering the bathrooms.
- Start the construction of the frame with the installation of the main verticals (corners, doors, windows). To accurately position them in the plane, you need to fix the guides on the floor and ceiling of the room, for which you can use the same rail, or a metal profile for drywall (this option will give a more accurate layout).
- Is it worth reminding that they should be installed in a level strictly parallel to each other.
- After installing the horizontal guides, fasten the corner verticals. For accurate fixation, use a stretched kapron thread.
- The rail is attached using the dowel of the screws - the tree and the wall are drilled together, and then connected. To compensate for wall irregularities, use wooden wedges made from the same rail. The belt must be connected with a lining, a nail or a self-tapping screw.
- For large differences, it is convenient to use direct suspensions - they allow you to comfortably mount the rail at a distance of 5-6 cm.
- The remaining verticals are also set, but not finally fixed. To align them, a thread is stretched crosswise, after which it is fastened.
As a result, you get a perfectly flat base on which mounting belts are exposed and aligned. The further procedure is simple and does not require a detailed description.
The frame from a bar or a metal profile is assembled similarly. It is best used when the walls in the room are very curved, or if you need to place a heat-insulating layer under the skin. This design will allow you to make the necessary indentation from the wall.
Wet frame
To improve air circulation, a vertical frame is used to cover the bath. But many are tied to the direction of laying the lining, and choose the horizontal option.
In this case, consider the following:
- Firstly, do not forget to protect the bottom of the wall from water penetration - this measure is desirable for any reason.
- Secondly, equip the ventilation inside the frame. Different bars of the frame should not be attached end-to-end, but at a small distance from each other so that air circulates freely from the bottom up.
Otherwise, the installation process will not differ from the standard.
Lining mount
Before upholstering the prepared walls with a lining, do not forget to sand and process it. How to properly perform this procedure, you can find in the already mentioned article.

For installation, the lining has a tenon-groove mounting system. This is very convenient, and allows you to hide the locking elements. Hidden fasteners are made using a metal kleimer (staple), the height of which should correspond to the size of the groove of the board - for eurolining it is 4 mm.

At the base of the Kleimer there are three holes intended for fixation: the extreme ones are used for installation with a construction gun, and the central one for fastening with nails or self-tapping screws.
- We start covering from any corner of the room. We cut the first board in height, and set it in a corner. We insert the kleimer into the groove opposite the belt of the frame, and fasten them using any convenient method. In this manner we go through all the belts.
- Next, take small nails (20 stainless steel), flatten the caps with a hammer, and nail the spike to the corner vertical. This technique will make the nails less noticeable.
- The second board is pushed tightly into the groove of the previous lining, and is similarly fastened with clamps.

The rest of the installation process is no different. All that remains is to follow the joints of the corners (they hide behind special planks and baseboards), and perform a smooth cut.

What if the length of the board is not enough for the wall? This nuance must be taken into account when erecting the frame in order to have a basis for joining two boards.
If the joints of the lining are located in one line, then such a seam is easily hidden under a special decorative strip. But much more beautiful, the whole canvas looks where the lining is staggered, and the joints are tightly fitted to each other. For these purposes, a high-speed face saw will be required, with the help of which the tree is easily cut at a perfectly even angle.

If you need this tool only during the repair, then you can use the services of companies that provide equipment for rent. If even this option is not affordable for you, then use a miter box and a fine-toothed hacksaw, but in this case you will have to sweat pretty.
This, perhaps, concludes our review.We tried to explain everything in an accessible language, but if the question of how to wall the walls with a lining has not been fully opened for you, then you can easily find other articles on our website where, perhaps, you will find the necessary information.