Attic decoration: how to install a wall made of drywall with your own hands - part 2
So hello again! We continue the promised review of attics and attics. As you remember, in the first part we insulated the room using mineral insulation. In this article, we will tell and show how to install a wall made of drywall with your own hands.
The content of the article
Frame erection
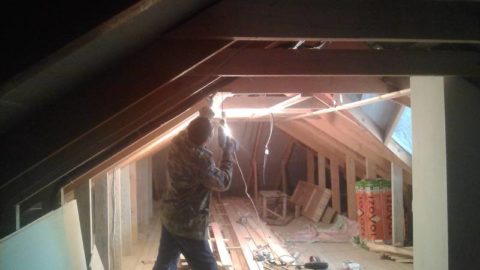
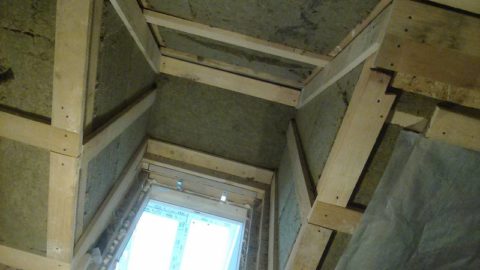
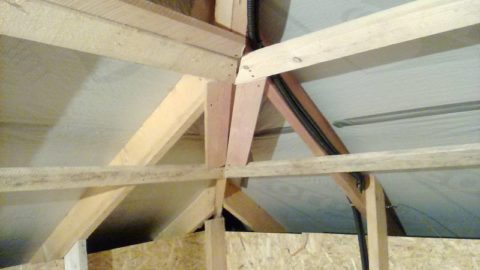
Before us is the same attic that we equip for a living room. The roof has a wooden beam base, on which we will tie the frame for drywall. We will mount it from boards measuring 25x100x6000 mm.
This material is not the best solution for the task, but in our case it was not necessary to choose, as the customer wanted to get rid of excess lumber, and hired us with this condition. In addition, we think that it will be very useful for many enthusiasts who want to save on decorating a country house to find out the intricacies of such a technology.
Accuracy is the politeness of builders
Agree that it is very pleasant to carry out any finishing work when the base on which you are installing is perfectly flat, does not have height differences and strictly corresponds to the level. The fitting of any material in such conditions becomes a fascinating and uncomplicated task.
And vice versa, how often do we recall the "cheeky" builder when every two minutes we are forced to measure and adjust the material, as well as rack their brains in an attempt to "change the laws of geometry" after his work. Therefore, if you want to save not only money, but also nerves - lay the foundation geometrically correctly, and then installing walls made of drywall with your own hands will not seem an impossible task for you.
Marking - the first stage of any exact work
Before grabbing the tool and starting the installation of the frame belts, it is necessary to check the accuracy of the installation of the vertical roof support beams, make all the necessary corrections and precise marking.
The only plane in this room that we can attach to is the window.
In the room in question, it was exactly in the center of the room:
- It is from him that we will lay off the planes of future walls.
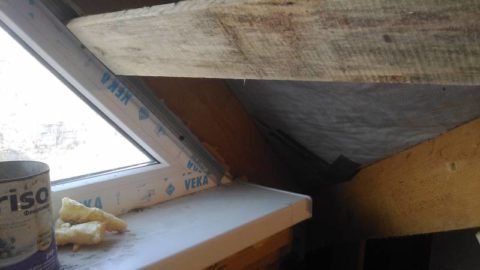
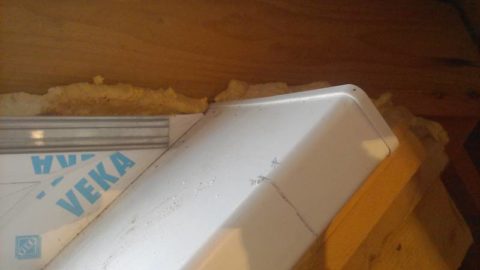
- We wind on the edges of the window frame a guide metal profile of 27 * 28 mm under the drywall. Do not forget to pre-evaluate the location of the beams, and make sure that they do not interfere with the installation of the frame. Otherwise, move the profiles from the edges to eliminate interference.
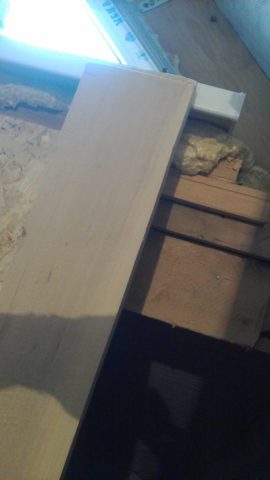
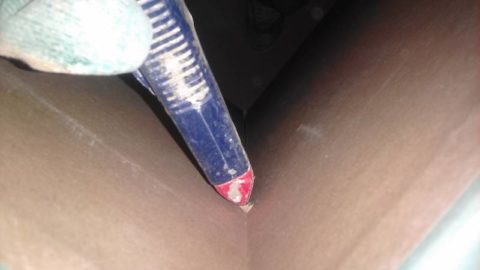
- Next, using a square, make marks on the windowsill, which correspond to the point of intersection of the plane of the windowsill and the outer edge of the guide profile (see photo below).
- Then we measure the width of the window sill on both sides, since it can be installed with a warp. In the future, in case of discrepancies, we will make adjustments to the markings on the floor.
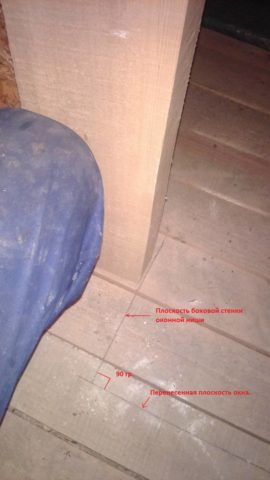
- Now, with the help of a long building level, we transfer the marks to the floor, if necessary, adjust the difference in the ledge of the windowsill, and draw a line between the two marks obtained.
Advice! When lowering the level from the windowsill, do it immediately in two planes, so as not to return to this in the future.Thus, you will immediately get the marking of the side walls of the niche in front of the window.
If you do not have a long level, then you can replace it with a short one, in combination with a rule or a level beam.
Now, we need to draw strictly perpendicular lines that indicate the plane of the aforementioned side walls. For this, we also use a square.
Guided by the previously mentioned vertical beams, we mark on the roulette points on the lines received:
- Then, from end to end of the room, we tightly tighten the kapron thread or the dyeing lace, making sure that it coincides with the marks, and not one of the beams interferes with the tension. If there is interference, you will have to adjust the indent and repeat the procedure.
- To simplify re-tensioning, after the first successful positioning of the thread, duplicate the marks already in the corners of the room.
- Next, measure the distance from the received line to each of the vertical beams. Thus, we will be able to determine the most prominent and falling out of them.
- Ideally, all beams should be in a line, observing the vertical level, but in practice, this is far from always possible. Therefore, the next step is to look at their vertical with the help of a level, calculating those that are littered inside the room.
- Then, with a long level, we lower the highest point of each such beam to the floor, making marks with a pencil. We measure the distance from the received mark to the base of the beam, and record it somewhere separately.
- Alternately, repeat the entire procedure on all littered beams. Then we compare all the obtained values - we are most interested. We return to this place, and measure the distance from the mark to our previously stretched thread. The resulting difference is transferred to labels that stand in the corners of the room.
- To get the end points of the plane of the future frame, we also throw the thickness of the boards to the marks. In our case, this is 25 mm, but it is better to add 30, leaving some space for possible corrections.
Does all this seem too complicated for you? Not at all. The price in the form of the time spent that you have to pay is not so high - and as a result, the obtained measurement accuracy will allow you to create a flat frame without disturbing the plane.
Advice! If you are too lazy, and at the same time do not mind the extra five centimeters of the area of the room, then you can immediately take the values with some margin, but always be prepared for the possibility of making mistakes with estimates.
Now, to mark the plane of the opposite wall, it is enough to retreat an equal distance from the received line on both sides of the room, and repeat all the manipulations with the adjustment.
Find the plane of the side walls either by the rule “the square of the hypotenuse is equal to the sum of the squares of the legs”, or using a good big square:
- First way you should remember from school - it is enough to form a triangle with the help of a thread, in which the legs will be 3 and 4 meters respectively, and the hypotenuse will be 5 meters. As a result, you get an angle at the intersection of the legs equal to 90 °. And, of course, one face of the triangle should coincide with the plane of one of the walls.
- With the second method everything seems to be clear, so we think that if you have this tool, you can cope with the task without prompting.
Advice! If the dimensions of the room do not allow the use of the indicated dimensions of the sides of the triangle, then reduce them in proportion to the specified formula.
Do not forget to focus on the slanted corners of the roof - this is very important, otherwise you will get walls with different heights. That is, in other words, the opposite walls should be spaced from the center of the room at the same distance.
Ceiling frame
For the ceiling, we do not need any marking, since the only requirement for it is compliance with the horizontal level.
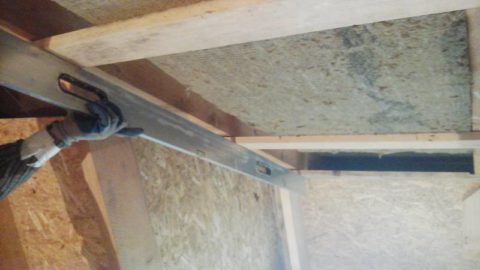
First of all, check the location of the horizontal beams. To do this, perpendicular to them, pull the thread on both sides, which will immediately show the presence of elevation differences. You can use the long rule to which you need to attach a level and evaluate the horizontal.
If everything is in place, then you only need to wind the boards of the same thickness on them. Otherwise, you will need to determine the lowest beams.
Advice! When checking the horizontal, do not try to pull the thread immediately across the room, since no matter how strong the tension, it will still sag under its own weight. Therefore, it is better to divide the room into sections 3 to 4 meters long.
- Using the level, find the lowest point on the ceiling beams (this will most likely be the edge of one of the beams).
- Install the first crate belt on it, and secure with two self-tapping screws so that it is firmly held in place. If necessary, add temporary fixation points along the entire length of the board.
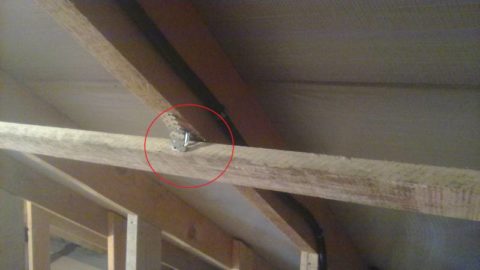
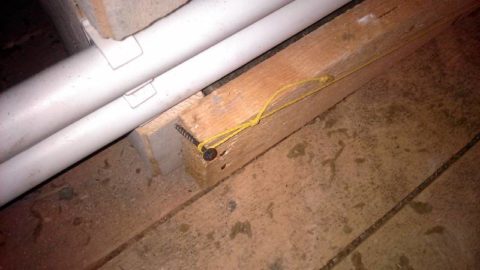
- Next, screw another long self-tapping screw next to the board, to which tie the end of the thread. We will perform a similar operation on the walls, so the photo report will be shown later in the course of the article.
- Fix the second self-tapping screw on an arbitrary beam (within 4 meters). Tie the end of the thread to the first self-tapping screw at the level of the lower edge of the board. Then, focusing on the hydraulic level (at least two people will be required to perform the manipulation), fix the second end, giving the threads the maximum possible tension.
- Now, guided by the thread, accurately adjust the position of the belt in height. If necessary, fix using direct suspensions.
After you go through the entire section, transfer the thread in the same way to the next. Repeat the operation until you have completed the entire ceiling.
So, the first belt is completed. Now transfer the level to the opposite side of the ceiling, and repeat the whole procedure, but with the second belt.
The middle belts of the crate are set using the rule, which is placed perpendicular between the extreme. The distance between the centers of adjacent belts should be equal to 60 or 40 cm.
Inclined parts of the frame
Perhaps the most difficult stage of the frame device is the installation of its inclined parts. The whole difficulty lies in the fact that they are not tied to the level, and do not have places where it is possible to make orienting marks.
The only way that we came up with when doing this work for the first time is as follows:
- We find the center of the ceiling, and mark it with a line along the walls that we intend to expose first.
- To the slant of the roof, from two sides (connection to the ceiling and the wall), we temporarily fasten the battens of the battens onto the screws.
- We put a rule on them, approximately forming the future plane.
- We retreat from the intersection of the rule and the ceiling plane of 0.5 cm to the center line in order to have some margin for possible differences, and mark this point. We measure the distance from it to the center line, duplicate it on all beams, and draw a line along them.
- Again, we put the rule in time zones, and make a mark already on the wall beam, adding the same 0.5 cm. Based on the received mark, we beat off a horizontal line on all the beams. For this, it is most convenient to use a laser level, or a hydraulic level.
Thus, we get two lines indicating the plane along which we will expose the belts in the future.
This stage will give you an approximate idea of the location of the bevels, as their evenness will suffer greatly if the wall beams have deviations from the vertical.
- It is much more correct to install the ceiling and walls first, and only then align the inclined planes. But due to the fact that we needed massive insulation under the frame, we left the walls for later.
- This means that after installing the walls, to get a horizontal line on them, you need to repeat the action.
- The further procedure is quite simple: we pull the thread between the lines, lower the bevel belts to it, and firmly fix them with self-tapping screws on the suspensions.
To get the same angles of inclination of all planes, it is necessary that the lines of their connection with the walls have the same level, and the distance from them to the lines on the ceiling is the same everywhere.
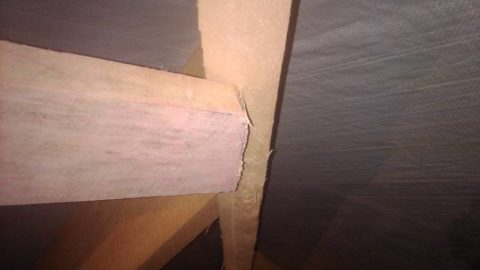
A very difficult place is the connection of two bevels. In these places, the belts are cut off approximately in the center of the beam. If you have an end saw, which we did not have, then you can join the corners more accurately.
This moment is not critical, and the strength and evenness of the frame will not be affected in any way.
Frame on the wall
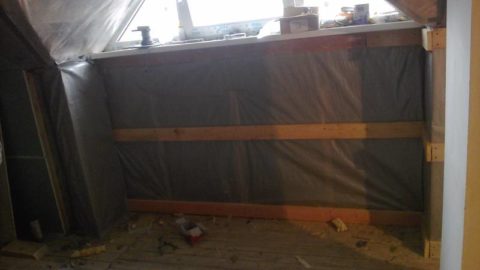
And finally, the lightest part of the frame is its walls. We already have a strict layout of the room, which we will be guided by. We start from the lower belt - we set its edges strictly according to the marks, and we pull the thread, which will allow us to align the belt.
We described a similar procedure when aligning the ceiling, now you can consider the process in more detail.
As you can see, the thread immediately shows the deviation of the wooden belt from the intended plane. Now, all that remains for us is to tighten the board with the help of a self-tapping screw to the desired level.
In a similar way, we expose the upper belt of the wall crate, finding its extreme points using the building level.
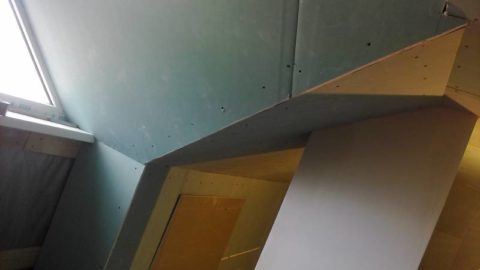
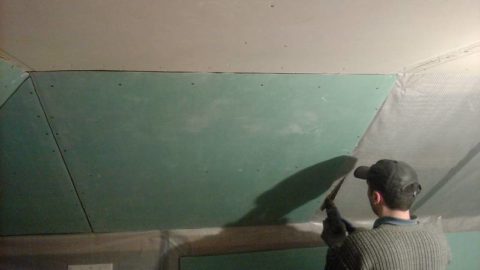
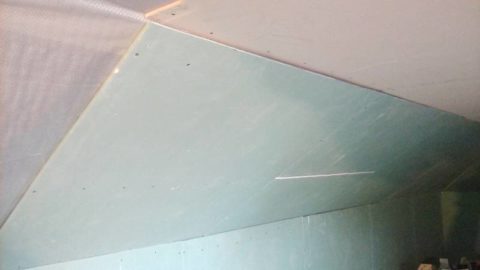
We sew the frame with drywall
The most difficult stage of the casing has already been completed, and if you have done everything accurately, then further work will not cause you any difficulties.
Drywall Work
Drywall is an unpretentious and pliable material that can not only be cut, but also bent. And if we do not touch on the creation of complex geometric shapes, then cutting is something that you will certainly encounter in the process of work.
This procedure is very simple. To do this, you will need: a long straight line (level, rule), an assembly knife, and in the case of curly clippings - a hacksaw.
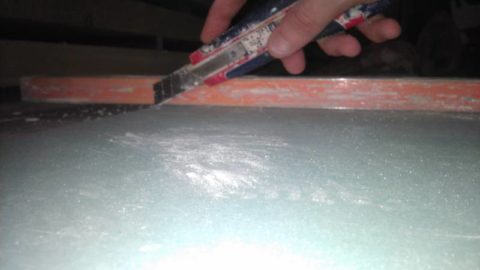
To smoothly cut a sheet of drywall, attach a guide rail according to the marks on its surface, and cut through the front layer of cardboard that reinforces the gypsum core.
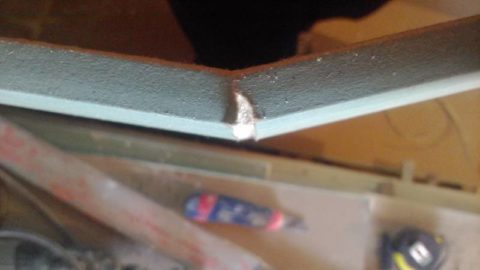
Next, put the sheet on the edge and break it. Drywall breaks exactly along the cut line.
Then, bend the halves to a right angle, and cut a layer of cardboard on the back side.
If space allows, then you can cut off the extra parts of the GCR in place, after installation. When you need to make a “G” -shaped cut, then you need to saw one side with a hacksaw, and the second one can already be cut with a knife.
Drywall Installation
The technology of installing drywall on the walls, involves fixing the sheets to the frame with self-tapping screws for metal (25 mm, small thread pitch). But they are not suitable for mounting on wood, so we use wood screws with a length of 35 mm.
We cut the sheet of the desired length and put it in the seat, after which we fix it with screws along the entire perimeter. The distance between fixation points should not exceed 17 - 18 cm. The center also scrolls.
You say - wait, how can we fasten the sheet around the perimeter, when we have only horizontal belts? That's right - this is another minus of the wooden frame, since the installation of crossbars causes certain difficulties. And, despite this, they should be.
To simplify the task, we do it as follows:
- Next to the wound sheet we cut a vapor barrier with an office knife;
- We pass into the obtained slot a pre-prepared crossbar of the desired size;
- We fasten it to the edge of the installed sheet, and seal the cut with reinforced tape.
Parts of the frame in the inner corners of the room are screwed on even before the installation of the first sheets of drywall.
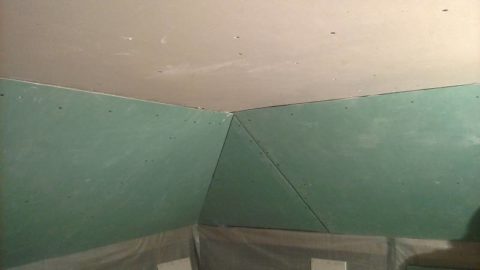
If your size of the sheathed plane is greater than the length of the standard sheet (2.5 m), then install each subsequent sheet of drywall, shifting it in a checkerboard pattern relative to the previous one.
The sequence of plating, by and large, does not play any role. You can start both from the ceiling and from the walls.
- Do not worry if you get gaps between the planes, as all of them will easily hide under a layer of putty. By the way, the next part of our series of articles will be devoted to this very process.
- If you plan to install fixtures in plasterboard walls, place sockets and switches, then all that is required of you at the sheathing stage is to determine their exact location, cut holes of the desired diameter and pass wires into them.
- In the case when you have not yet decided on the dimensions of the fixtures, make a small hole in the drywall in which you pass the wire. And after buying electrical appliances, with the help of a special file on drywall, you can cut out precise holes.
On this, perhaps, to summarize. We have figured out how to install gypsum plasterboard walls yourself using non-planed boards as the material for the frame. The process itself is quite interesting - especially with regard to the layout of the frame, and its proper location in space.
Also read other parts of the article:
- Insulation of walls from the inside with mineral wool plus drywall: Part 1
- Attic finishing: part 3 - do you need to putty plasterboard for wallpaper
- Decorating attics and attics: Part 4 - Do I need to prime the walls before wallpapering
If you want to familiarize yourself with the material more widely, we suggest that you take some time and watch the video in this article, which shows how to build a frame from a standard metal profile.
