We put the tiles in the bathroom: part 2 - laying tiles on the wall

Preparing the wall for masonry is the topic of the previous part of this article, in which we described this process in detail. This chapter will describe the laying of tiles on the wall, a video of the process of which, you will also find here. An example is still the same bathroom that was mentioned earlier.
The content of the article
Further preparation
As we already wrote, at this stage, the preparation of the walls for masonry is 95% completed, and to complete it, you must wait until the plaster has completely dried. This usually takes up to 7 days, but do not forget that each manufacturer has its own parameters and requirements, so each instruction should be studied without fail.
Work with the surface
First of all, it is necessary to clean the entire surface of the walls with an ordinary spatula. Thus, we remove unnecessary growths and small fragile particles that will crumble in the form of gypsum crumbs. Pay particular attention to the corners of the room.

The next step is to apply a primer. In our case, a deep penetration composition of the Lacra company was purchased, which contains mold control additives. This soil belongs to the budget class and the average price per 10 kg fluctuates around 400 rubles. Of the total mass, it does not stand out anything special and is quite good for a gypsum surface.
This stage is mandatory, as we will give the wall additional antimicrobial properties, bind the dust and strengthen the adhesion, which will improve the quality of adhesion of the tile to the wall.
The procedure does not take much time. The soil is applied with a brush or roller, while making sure that it covers the entire area of the wall and literally flows down the wall - this way the plaster is much better impregnated.
Tile layout
While we wait for the soil to dry, we can take the time to distribute the tiles. If you still have not decided on the size of the tile, then now is the time to address this issue.
All that needs to be done is to accurately measure all the walls and calculate the optimal width of the future tile in order to avoid large waste during cutting. Pay special attention to the wall with the doorway, since above it you will have to bring the two sides together, we will describe in more detail below.
The following diagrams show the types of masonry tiles on the wall:
-
- Tile Alignment
-

- Edge layout
-
- Seam alignment
Laying tiles on the walls is a rather important stage that will determine the further appearance of your bathroom.
It is of three types (diagonal laying is not considered in this article):
- When laying from the edge of the wall, the first tile is installed in an angle with an indent of about 5 mm. All clippings are done on the opposite edge of the wall, so a symmetrical pattern of the seam will not work. It makes sense to use this scheme only when the cut of the finish tile does not exceed half of its full size, otherwise the appearance of the masonry will suffer greatly. For many masters, this method is the most convenient and preferred.
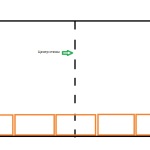
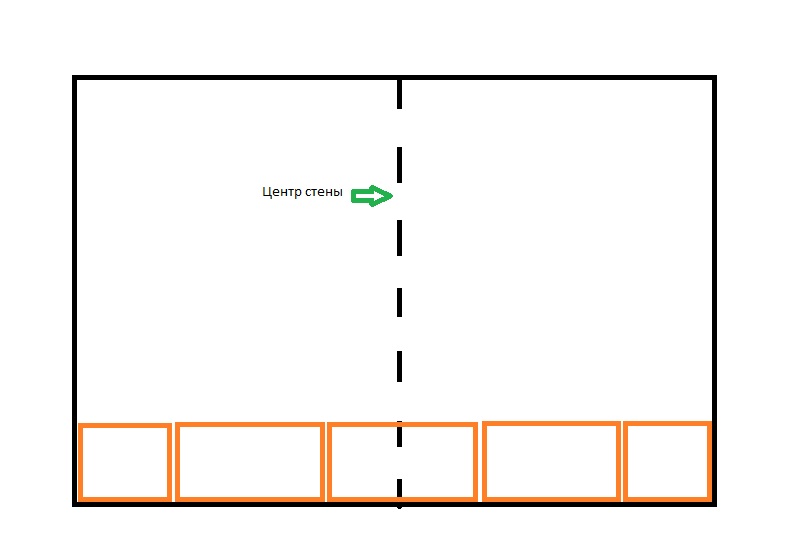
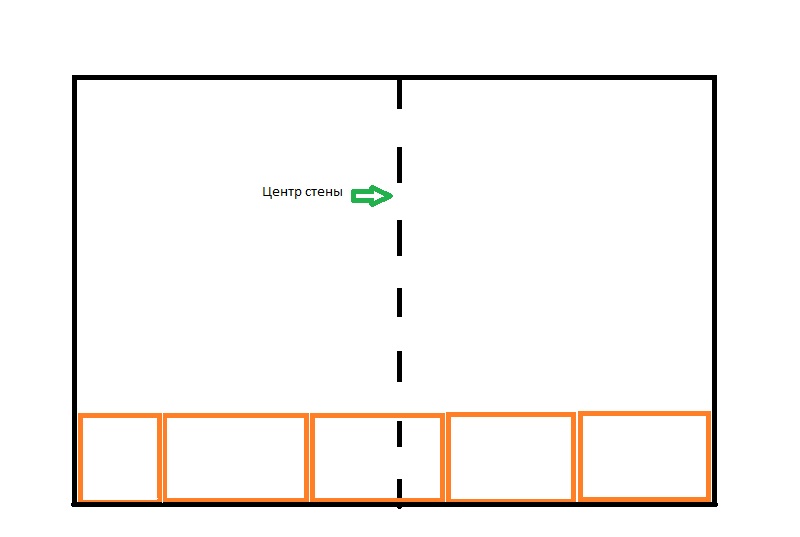
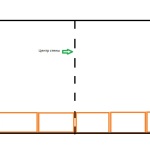
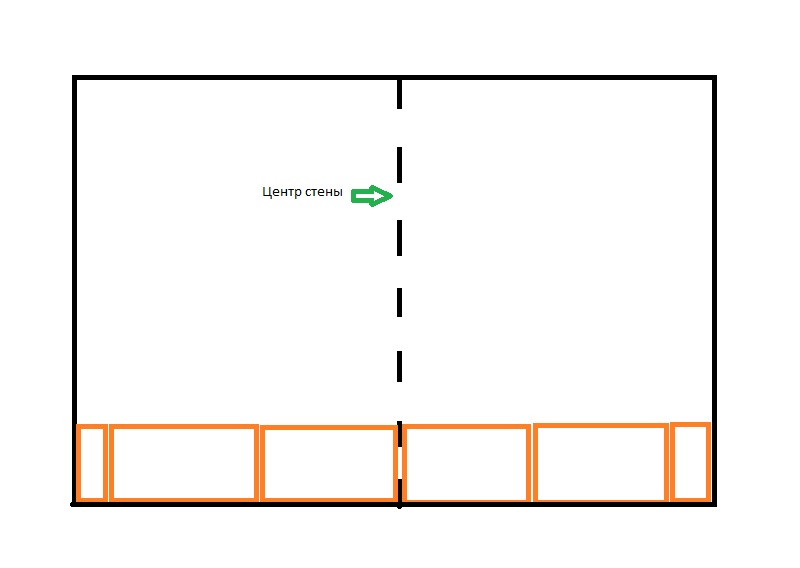
- The second method is to determine the central seam. To do this, calculate the middle of the wall and lay the tiles from it simultaneously in two directions. The result is a symmetrical distribution with trimmed tiles on both sides, which will take you a little longer.
- And finally, the last way to lay out is to center the tile itself. We also find the middle of the wall, but now we shift the seam with respect to the center by half the length of the tile. In other words, the middle of the tile should match the resulting label. This distribution resembles the previous version, with the difference that the seam will be shifted by half the tile.
The last two methods are the most correct, but most likely you will get increased material consumption. So, if it’s not a problem for you to buy a couple of squares of a tile, then apply them. Determining between them, choose one in which the cuts from the finish tiles will be minimal, which depends on the length of the wall and the tile itself.
Additional supplies
What else needs to be purchased before laying? The most important material is tile adhesive, since all surface strength depends on it. Which of the options presented in stores is worth buying, or is it better to make the mixture yourself using cement, sand and plasticizers?
Self-made solution is beneficial only for large volumes of masonry. Also do not forget that inaccuracies in the recipe can degrade the properties of the resulting mixture. Therefore, for small rooms, such as the considered bathroom, it is better to buy a turnkey solution.
-

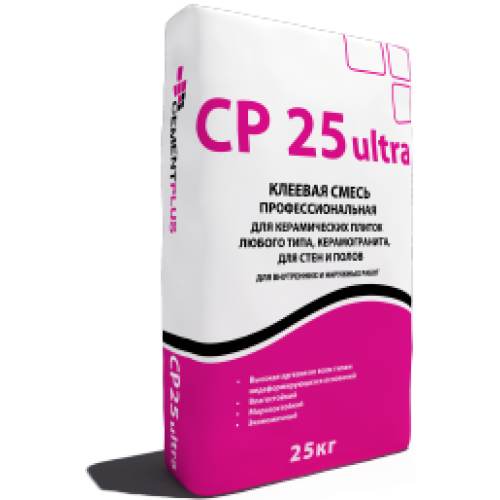
- Domestic manufacturer "Cement Plus"
-
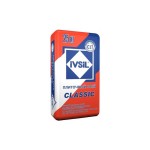
- Tile adhesive "Ivsil"

In the photo above, there are two options for tile glue (CP and Ivsil), both of them are produced in Russia and are easy to find on store shelves, in almost any city. The products of these companies are distinguished by good quality and reliability, which has been repeatedly tested experimentally.
Of the advertised brands, recently, Unis glue, which was purchased for this object, began to lose ground. More precisely, I did not like the low elasticity, which prevented me from adjusting the position of the tile already on the wall. There are no complaints about the strength of the coupling.
The worst mixture that the author has worked with is Bolars products. It seems that the manufacturer uses heavy river sand, since the mixture gives sediment and does not stretch well on the tile. We are generally silent about elasticity - the tile adheres tightly without the possibility of further amendments. And if you still pull, then it just peels off - and this despite the fact that the surface is well primed.
-

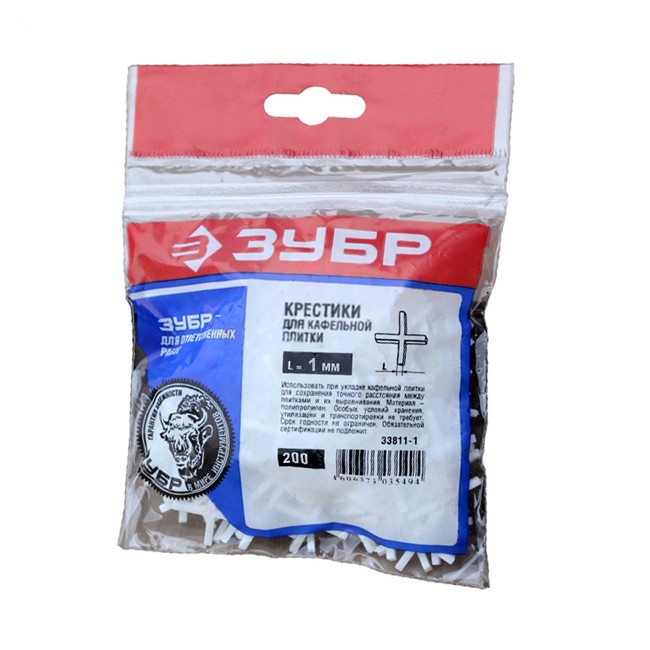
- Cross stitches
-

- Tile Wedges
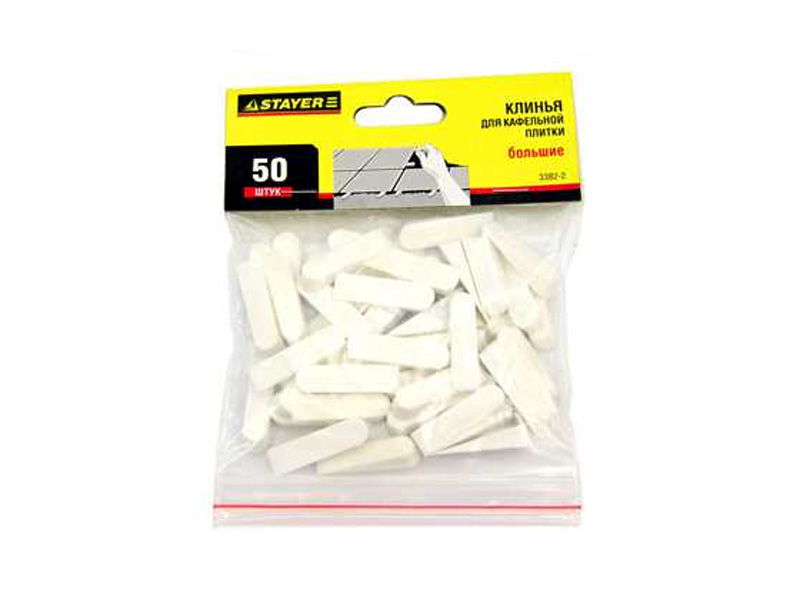
The next item will consider tile alignment systems. The simplest and most common are crosses and wedges, the price of which does not burden any wallet.
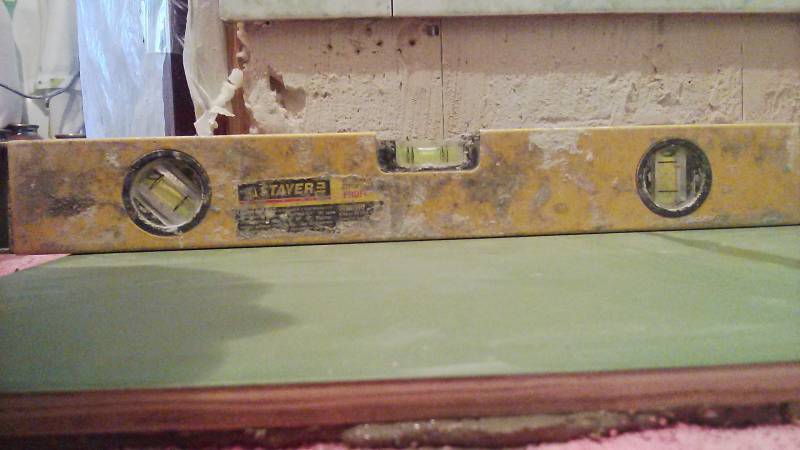
The edges of the crosses should not contain defects in casting, and the presence of differences in the thickness of the blades will make you sweat when aligning the seam. Therefore, we recommend manufacturers such as Bison and Stayer, since their products, at the same cost, are much better than other analogues.

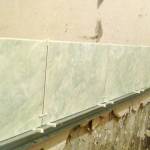
To get the perfect result, use the alignment system "SVP wedge-clamp", the principle of which is clearly shown in the photo above. It is a more expensive solution, because in addition to the price, the expense also increases - because four elements are installed on one crosshair.
Using a wedge, it is easy to pull up the sagging tile and set it on the same plane with the rest. This will allow you to do all the work yourself, no worse than an experienced master. Best of all, SVP is used when laying expensive tiles, the evenness and dimensions of which do not give errors.

If there is a need to start laying not from the bottom rows, then buy several metal guide profiles with a section of 27 by 28, which are used when mounting the frame under drywall. From them we will make an emphasis on the tiles, which greatly facilitate the task.
Start finishing
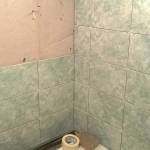
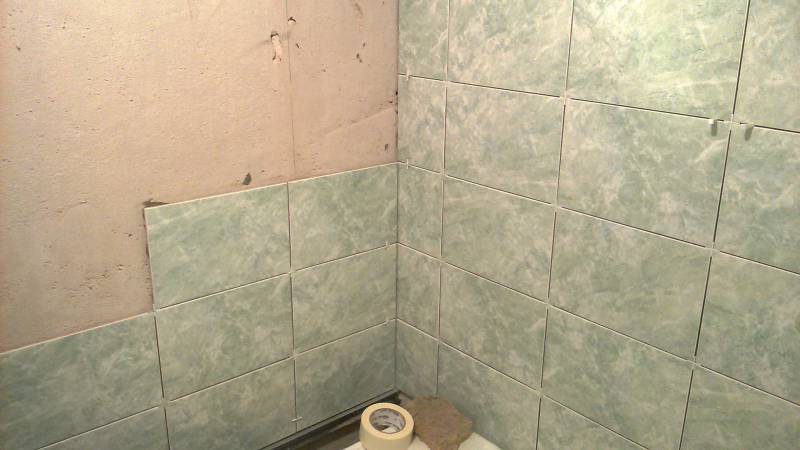
During the time we acquired everything we needed, the primer dried up and now the wall is completely ready for tile installation. Since everything remains unchanged behind the bathroom, the first thing we do is set up our profile.Of course, the bathroom itself can be used for these purposes, but in our case its edges turned out to be rounded, because of which the starting seam had to be lowered 2 cm lower.
For convenience of fixation, use self-tapping screws with a press washer on wood, they hold well in the plaster and firmly press the profile against the wall. Observe the level strictly, as this will greatly facilitate your task in the future.
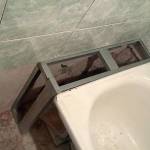
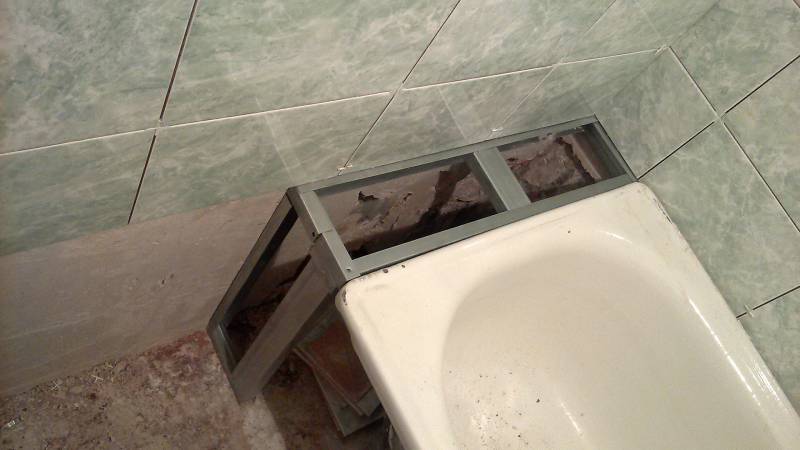
On the back of the bath we attach a double profile. Part of it, which is shown in the photo, is fixed with dowels, as it will later become the basis for a shelf for shampoos and other small things.
Wall marking
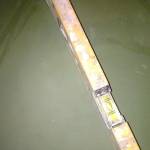
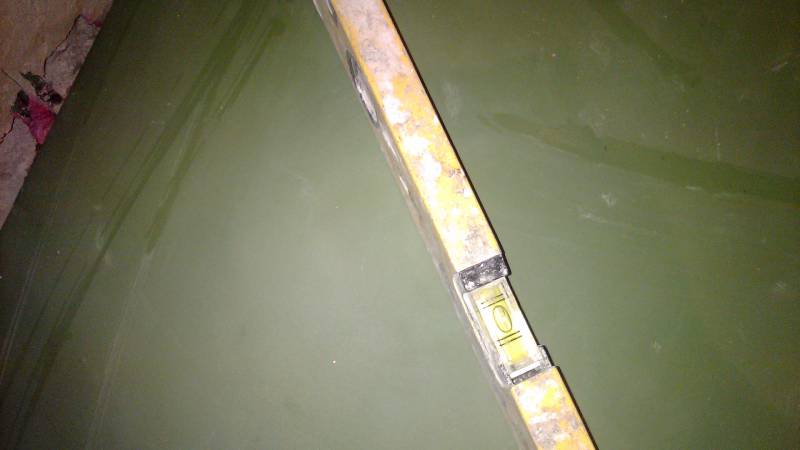
In order for the seams between the tiles to converge on all walls, it is necessary to perform the correct marking. For this purpose, it is not recommended to use the construction level, since it can give a good error. It is best to use a laser or water level. The most accurate result will be obtained by the latter method, but its complexity lies in the fact that markup alone will not succeed.
We put marks on the corners of the room, which need to be connected to each other. You can use a dyeing lace, but the most reliable way is to drive the dowels into the marks, and pull the kapron thread tight.
Advice! If the length of your wall exceeds 3-4 meters, then when pulling the thread, drive an additional dowel in the middle to avoid sagging.
In our case, due to the fact that the room was very small, we relied on our own eye and did not use more accurate tools than the usual level (it is not recommended for beginners).
Tile laying process
Installation begins with the correct installation of the first row - it will determine the subsequent evenness of the plane. At the object being repaired, we settled on laying out the tiles from the edge of the wall, since this solution was the most economical, and the cut of the finishing tile was not very large.
-
- Technology of masonry on the wall
-

- Tile glue application
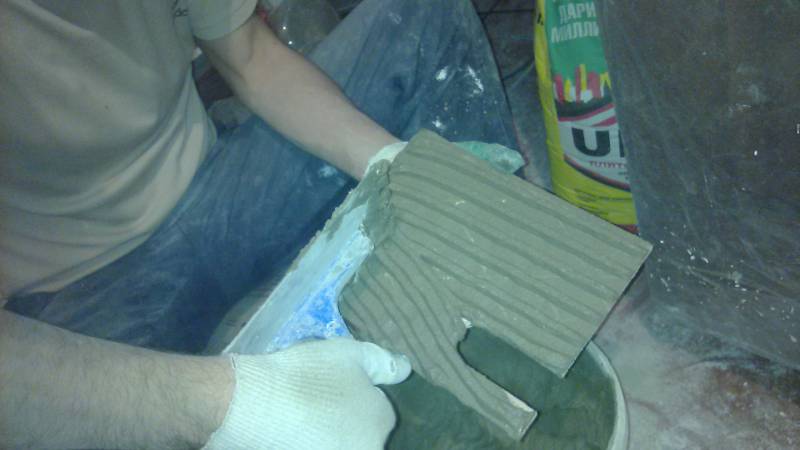
Advice! When preparing the glue, make sure that it is not very thick, or very liquid. In the first case, it will be more difficult for you to pull it on the surface, and in the second it will drain.
So:
- Apply glue to the tiles or to the wall - as you prefer. We install the first tile in a predetermined place, and lightly slap the palm on its surface to slightly press down the glue - this will create a better adhesion.
- Now you need to align the plane of the tile and plaster. To do this, take the rule, and apply to the surface of the tile first horizontally, and then vertically. Make sure that the distance from the rule to the plaster does not change - if necessary, press or pull the desired edge. You no longer have to worry about the level, this should be taken into account at the stage of leveling the wall.
- After, set the horizontal seam level (with a tightened thread, we focus on it). To do this, we use wedges that you need to slip under both edges of the tile, achieving the desired result. The gap between the tile and the profile is set in the region of 3 mm, so that there is a place for adjustment.
- We repeat the manipulations described in the second paragraph of this list, correcting possible displacements when aligning the seam. If everything is done correctly, then you guaranteed yourself an even plane of the future wall.
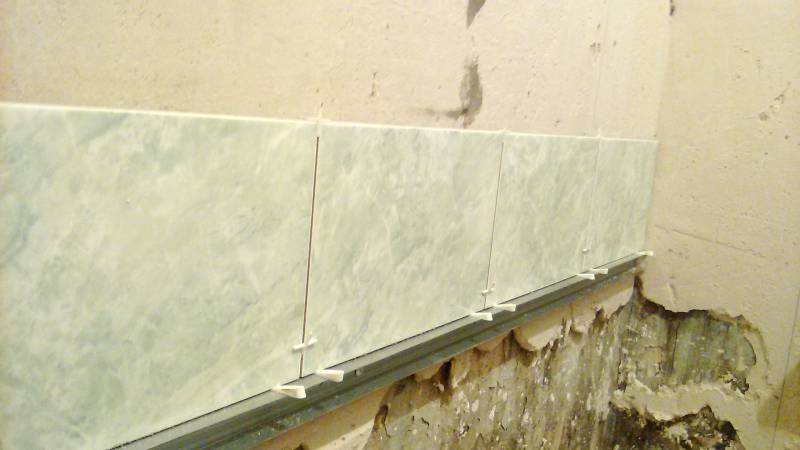
- The next tile is set strictly on the first, for this we apply a rule or something even, in our case this is the lower part, all of the same level. Carefully watch the corners of the tile - they should not protrude or sink. In a similar way, the first tile of each next row is aligned. An example can be seen in the following photo.

- The second and subsequent tiles of the upper rows are aligned exactly at the three corners formed by the already laid tile. First of all, the second tile is installed, since it is a difficult task to slip a cross from an angle.
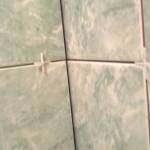
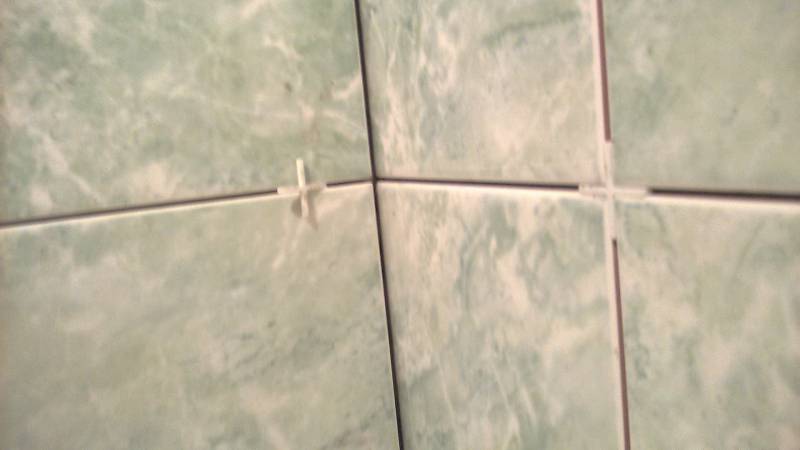
- To comply with the seam, crosses are inserted between the tiles. In our case, their thickness is 2 mm - this is not very much, and makes it possible to correct the irregularities of the tile itself. If your tile is of low grades, then the difference in its size can reach 1-2 mm, therefore, it is best to pre-sort the tiles, sending the rejected to trim. Wedges are also used for intermediate adjustments.
- Note that crosses, like tiles, have a bevel on their sides. Therefore, make sure that they are installed strictly oblique to the tile. Drown them to the same depth, otherwise you risk that the seams “float”, that is, they begin to converge, or vice versa to diverge.
After the first wall is fully laid out, go to two adjacent ones, but first attach a rule with a level to the resulting plane, and evaluate the deviations from the vertical. If the level has escaped, then you will have a new difficulty - this is a corner seam run.
It is eliminated by the use of a layout on the adjacent walls, in which the extreme tile in this corner will be cut. But everything is fine with us, and we are moving along the planned path.

We completely repeat the installation procedure of the first row, additionally focusing on the seams of the first wall. All further procedure is completely identical.
The main problem at this stage is to accurately reduce the angle, so check each row and adjust the position with the help of wedges. Minor flaws can easily be hidden from the eyes by subsequent grouting. The correct angle is as follows.
-
- Technology for masonry on the walls
-
- Watching for horizontal seams
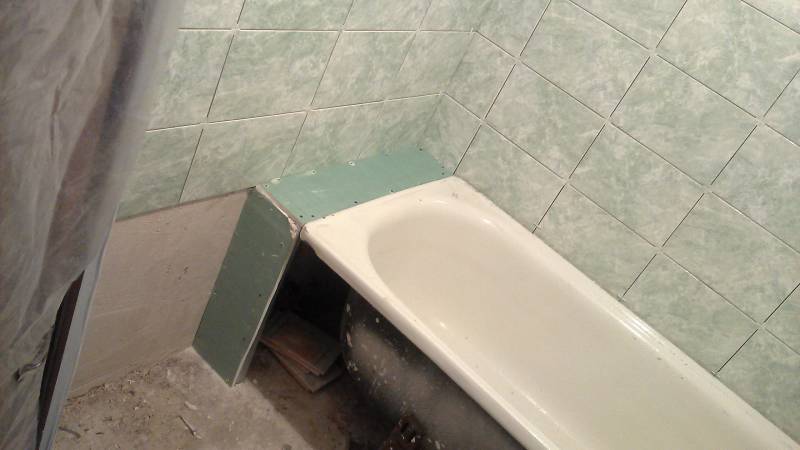
Now, after we have finished walking around the bathtub, we can lower the first row closer to the floor, but first we will collect the already mentioned shelf. We will not give a detailed description of the process; we will limit ourselves to just a few photographs.
-
- Frame under the shelf from the profile
-
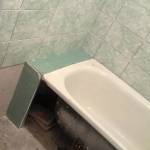
- Sheathe the shelf with drywall
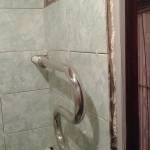
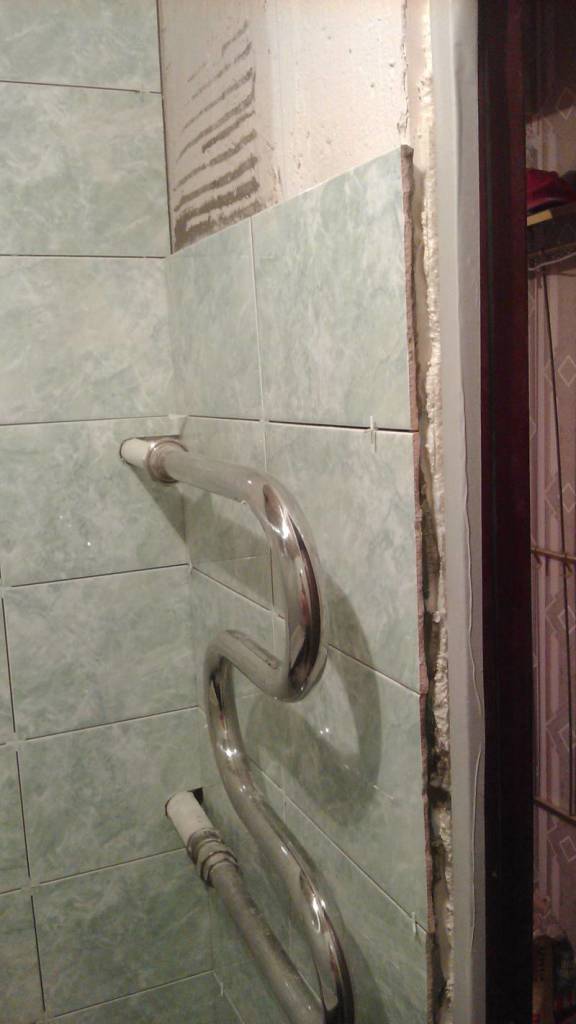
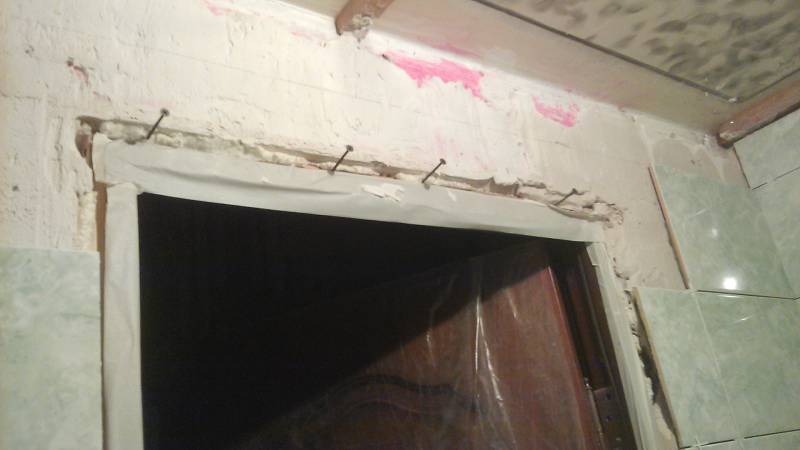
Now, having measured the required distance, we move the stops down. The bottom row of tiles will be cut to the floor level, so at this stage it will not be placed. We report the side walls and move on to the most difficult - the finish. The main catch is to reduce the horizontal seams above the doorway, but if the marking is done correctly, then you won’t leave a lot of time, it’s enough to just tighten the nylon thread between them.
It is best to start laying on both sides at the same time, and conduct it strictly in parallel, which will allow you to check each row and, if necessary, make corrections.
-
- Trimming around pipes
-
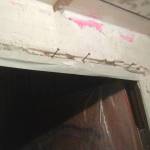
- We reduce the seams above the doorway
“But how do I calculate the length of the clippings?” - you say, and this is the right question. Most often in these places, tilers use the following technique. On both sides, the row starts with a whole tile. To prevent very narrow inserts in the middle of the masonry, all clippings are made above the door, for which you need to make a preliminary calculation. If the dimensions of the wall and tiles do not match as needed, then you still have to additionally trim the starting tile.
In our case, the extra distance was 6 cm, so we had to remove two centimeters from three rows of tiles. The result can be seen in the photo above. All cut edges are ground using a conventional grindstone. Note that wood screws screwed into the rough part of the door frame are used as an emphasis.
Now let's say two words about the tool with which the tile was cut. In our work, we use the Matrix tile cutter from the Professional series. It was bought before the ruble fell for 3000. It copes with almost any tile perfectly, with the exception of porcelain.
For cutting complex shapes and holes, we use a Makita grinder and an electric drill with diamond nozzles.

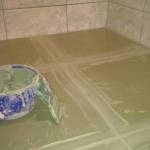
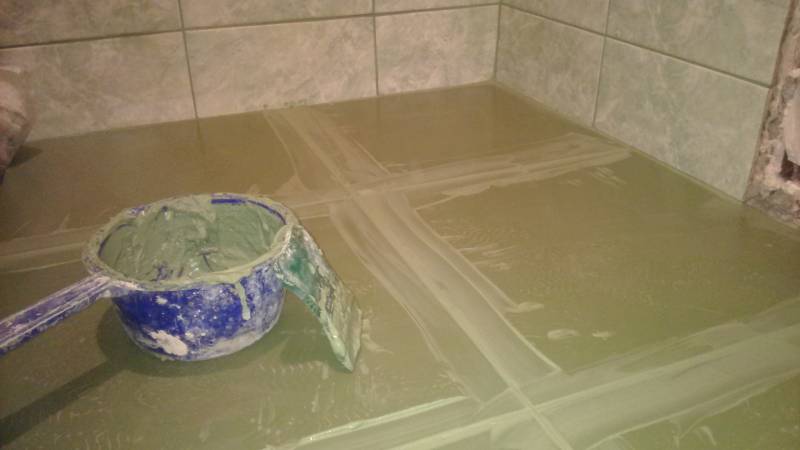
Floor laying and jointing
The next step is to lay the floor tiles. Do not forget that the glue layer should not exceed 2 cm, with large differences, you will have to pre-level the base with the help of the self-leveling floor.
We begin by making a preliminary layout directly onto the floor, determining the most beautiful tile layout. After that, you can start laying.
-
- We closely monitor the level
-
- Level the floor
The process of laying the floor is a pleasant experience if the base is perfectly flat. We have to regularly raise the tiles, and put glue in places of subsidence. Carefully monitor the seams, level and evenness of the plane.
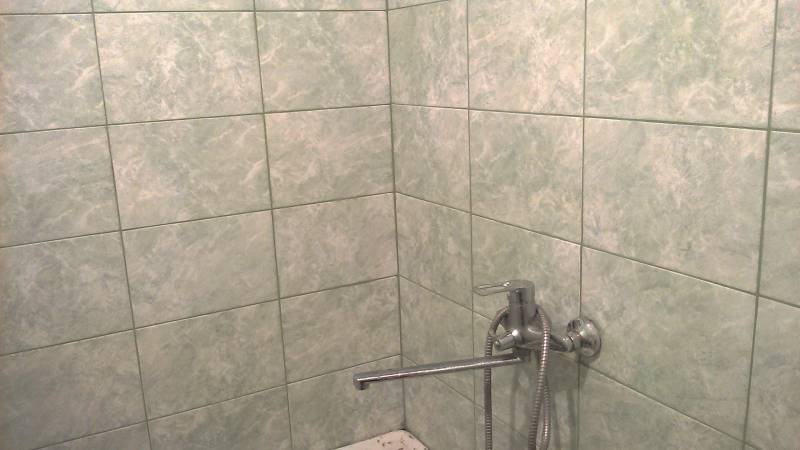
After the floor has dried (the first walk is possible after one day), we report the remaining tile to the walls, and proceed to cleaning the joints.

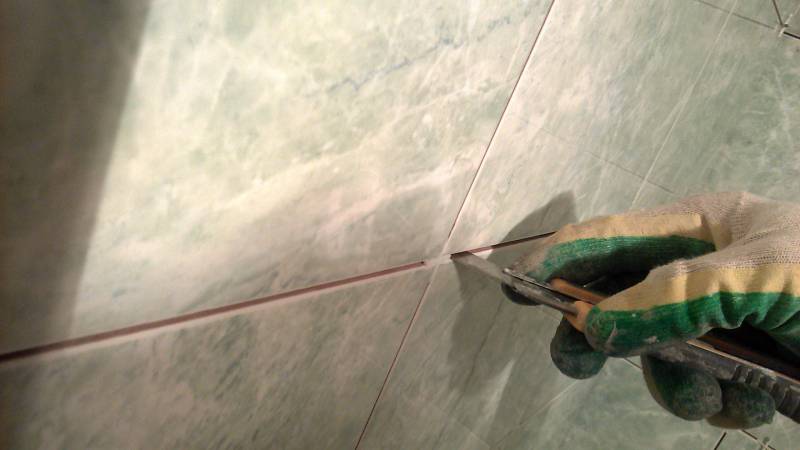
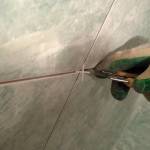
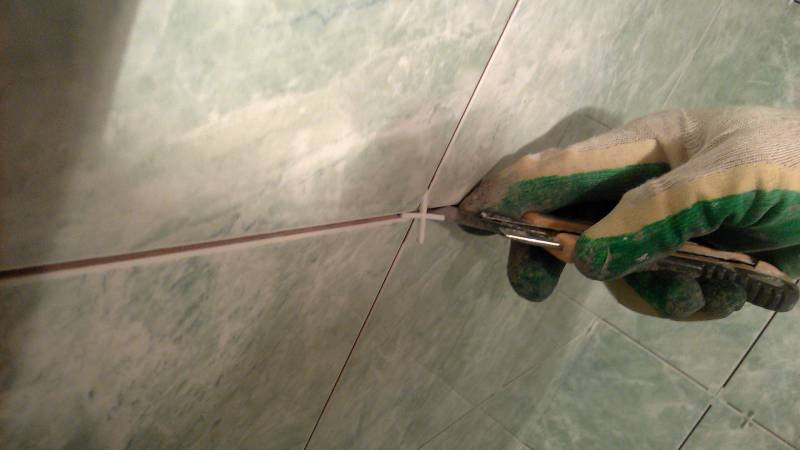
Now you need to clean all the seams from the extruded glue and crosses, for which it is best to use a mounting knife. After we pass all the walls with a clean, dry sponge to remove any dust.
-
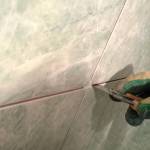
- We clean the seams
-
- Crosses drawn this way are not suitable for reuse
Then you can start grouting. A rubber spatula that repeats the shape of the tile is great for this. After the grout dries slightly, it is necessary to wash its excess with a damp sponge. Do this work with latex gloves to protect your skin from erosion. Next, we give some photos of the room after grouting.
-
- Overwrite the seams
-
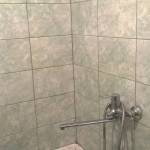
- Wall washed after grouting
Now let's summarize. Laying tiles on the walls of the kitchen or any other room will not differ in any way from the method that was discussed above.
The only thing we did not touch on was the installation of external corners under the tile, since we did not have to install them on this object. Look for the necessary information on our website, watch the video in this article, try your hand, and you will succeed.
Read in the articlePart 1 - preparing the wall for tiles.